Heads up: this post has affiliate links, so if you grab something through them we may earn a little (at no extra cost to you).
A product can stay in the same place while everything around it changes. Move the light. Switch the surface. Turn the label a few degrees. Pull the camera back so the brand has room for text. That is how one small product can create a full set of useful images.
This is what goes into a product photography shoot at Jordan Brittley Studio in Bolivar, MO. The Pixie Cup shoot gives the post its visual example, but the planning applies to food, drinks, packaged goods, beauty products, gifts, and other small products across the 417.
Start with where the photos will be used
The first question is simple: where are these photos going?
A website needs clean product photos and wide banner crops. Instagram needs vertical images and space for a caption or graphic. A product page needs clear details. Pinterest needs tall images. Print may need more room around the product.
The final use changes the shot list before the product reaches the table.
Build the product photography shot list
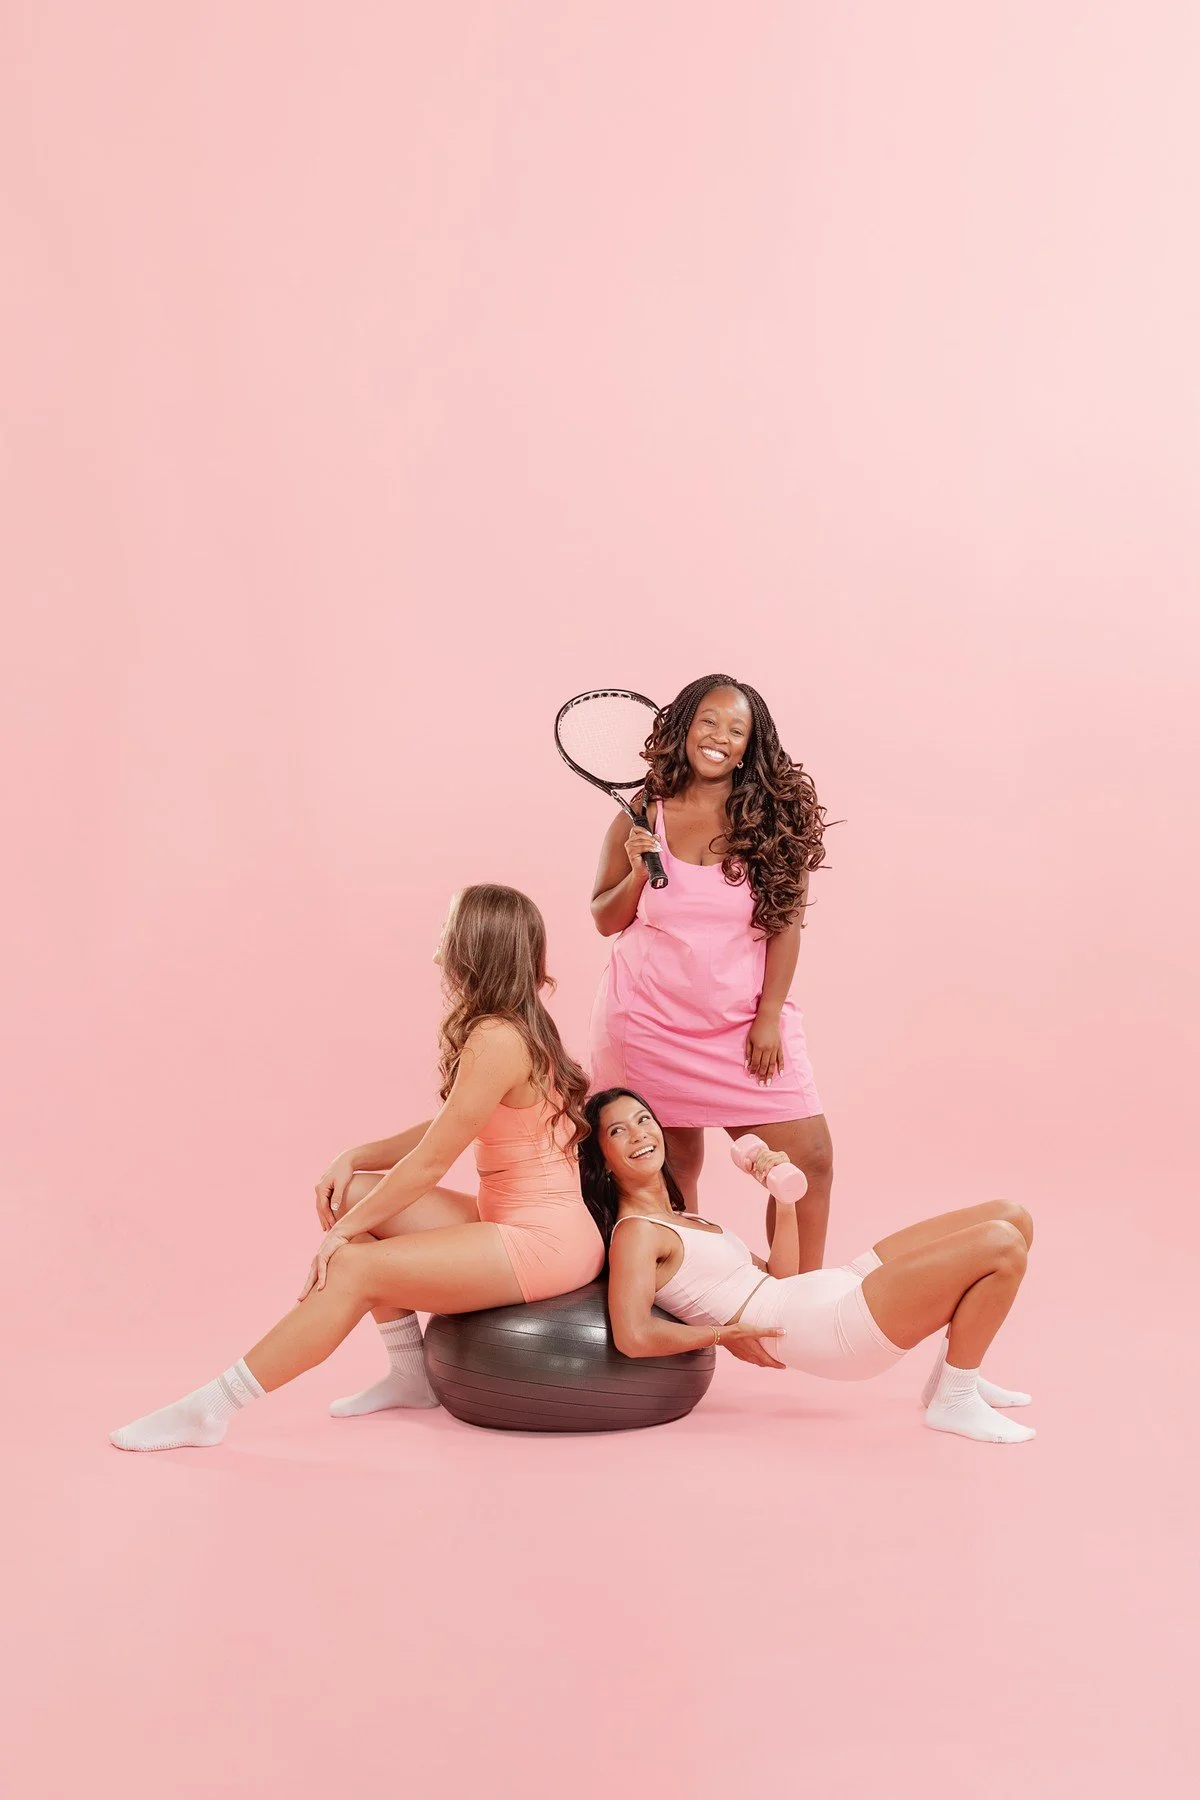
A shot list names the product, angle, background, crop, and final use for each image. Adobe’s guide to building a shot list explains how a list keeps the full set of needed frames in view while the shoot is moving.
For a small product shoot, the list may include a straight-on hero, a side angle, a top-down frame, one close detail, one grouped setup, and one wide image with room for text.
That list keeps the shoot focused. It also shows which props, surfaces, and tools need to be ready.
Choose surfaces and props
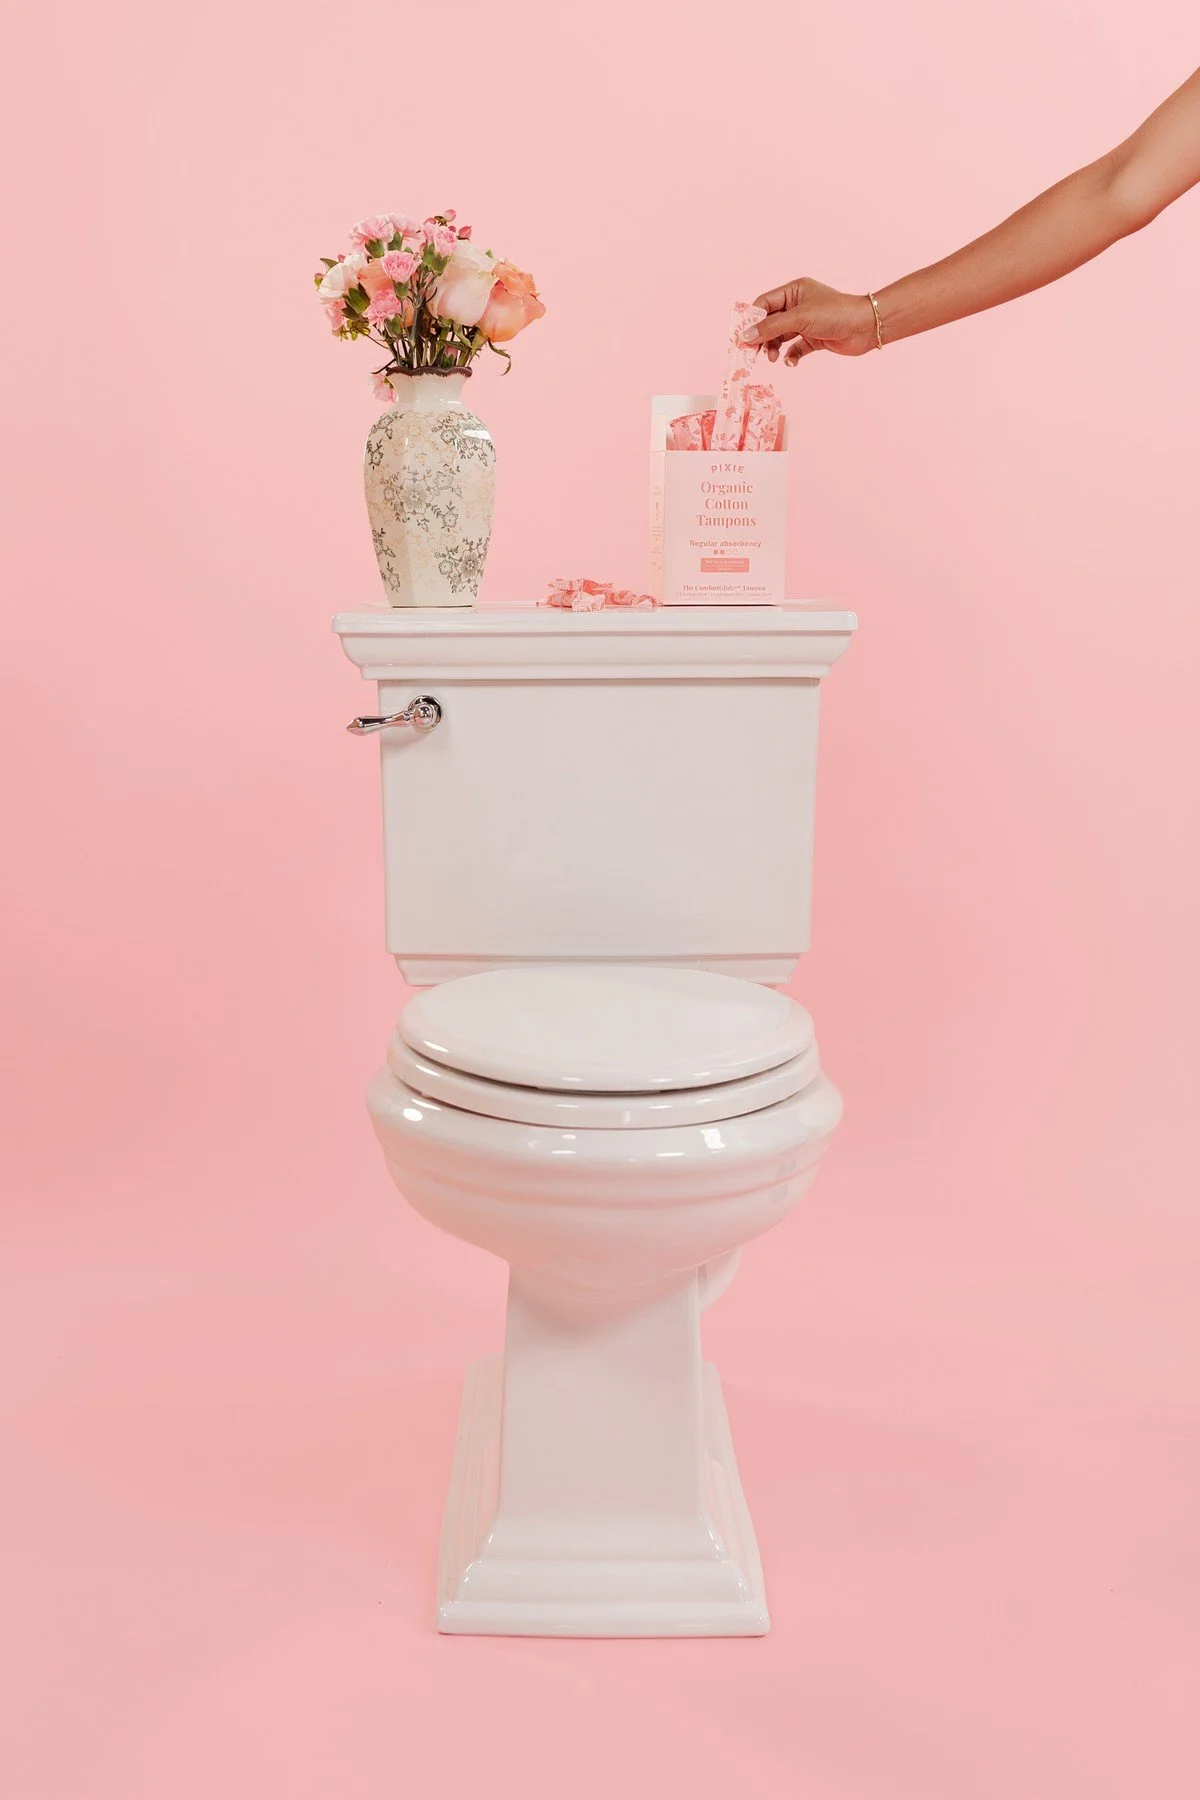
The product is the subject. Everything else supports what the customer needs to see.
Start with one surface. Paper, tile, wood, fabric, acrylic, or a painted board can change the setting without building a full room. Then add a few props that fit the product’s use.
A drink may need a glass, ice, fruit, or a napkin. A beauty product may need a mirror, water, or one ingredient from the label. A cup may need a lid, straw, hand, or bag that shows its size.
Check the product before the camera comes out
Labels need to face the right direction. Fingerprints show up on glass, metal, and glossy packaging. Paper edges bend. Lids collect dust.
Clean the product, bring backups, and check each side before the shoot. If the item comes in several colors or sizes, label the boxes so the right version reaches the set.
Adobe’s product photography guide also recommends planning around the client’s goal before choosing the setup.
Light the product for its surface
Glossy products reflect the room. Clear products show what sits behind them. Matte paper handles light in another way.
The light may need to move higher, lower, closer, or farther away. White cards can bounce light into a dark side. Black cards can shape the edge of a clear package. Small changes show up fast when the product fills most of the frame.
The setup is checked on the back of the camera before the full shot list begins.
Photograph the wide, medium, and close views
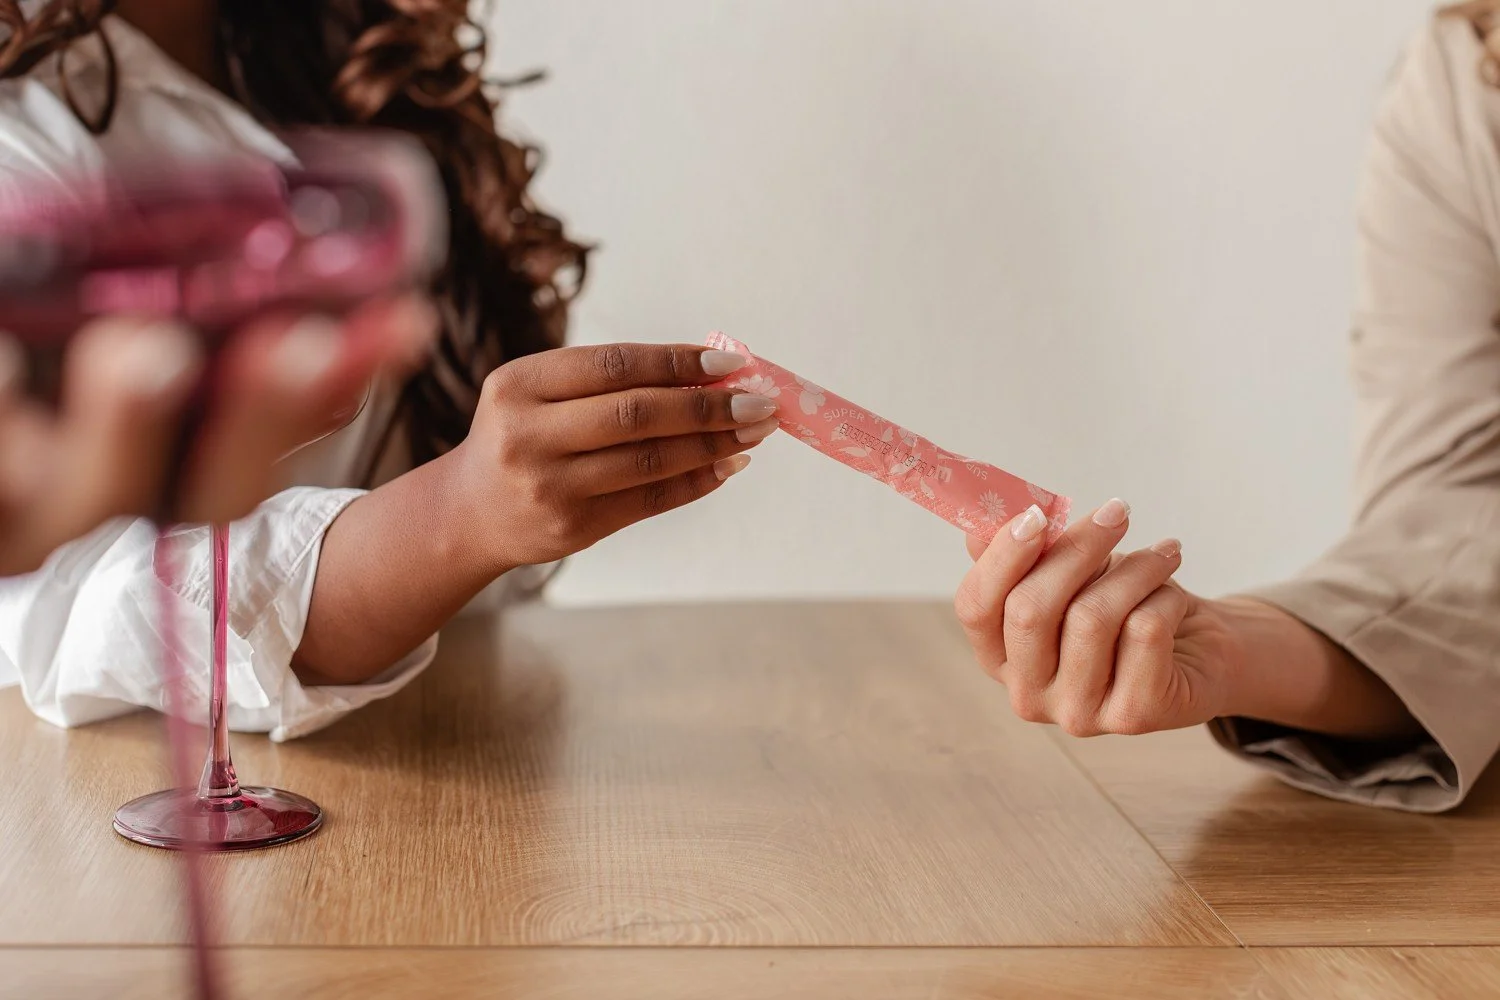
One setup can give a brand several kinds of content.
The wide frame shows the full scene and leaves room for words. The medium frame keeps the product clear while showing a few props. The close frame catches the label, texture, lid, stitching, ingredient, or finish.
Shoot the crops while the set is still built. Rebuilding it later takes longer than moving the camera now.
Leave room for design
Some images need open space on the left. Others need it at the top for a Pinterest title or website banner. A product centered in every frame gives the designer fewer choices.
Make a few versions with the product off-center. Turn the final crop vertical and horizontal. Check that the label stays readable on a phone screen.
Keep color and product details accurate
The customer needs to recognize the item when it arrives. Packaging color, label text, shape, and finish need to stay clear.
That is why the team checks reflections, glare, bent edges, and blocked words during the shoot. The final set should give the brand useful choices while keeping the product easy to understand.
What to bring to a product photography shoot
Bring the full product list, two clean versions of key items, packaging, accessories, brand colors, and the shot list. Add any tool needed to open, pour, clean, cut, or style the product.
If the brand has a content calendar, bring that too. It shows which launches, seasons, or campaigns need photos first.
Product photography at Jordan Brittley Studio
Jordan Brittley Studio is at 112 South Springfield Ave, Bolivar, MO 65613, serving businesses across the 417. Product sessions can include clean photos, styled scenes, close details, and crops for websites and social media.
For a look at a larger brand session, see the Happyologie studying brand shoot in Bolivar, MO. The JBS blog also includes local business and product examples from across the 417.
You might also like
Brand photography for a Bolivar business