

A best friend scrapbook brings your photos, handwritten memories, and little paper keepsakes into one gift. Start with one part of your friendship, then use the six-spread plan below to give each memory room.
Maybe you want to save this year together. Maybe it's the summer you spent at the lake, your last season on the same team, or all the regular afternoons that somehow became your favorite plans. Pick the part you want your friend to open first.
I like a scrapbook with space for the details only you would think to add. The photo tells you where you were. Your note can explain why you were both laughing before anyone took it.
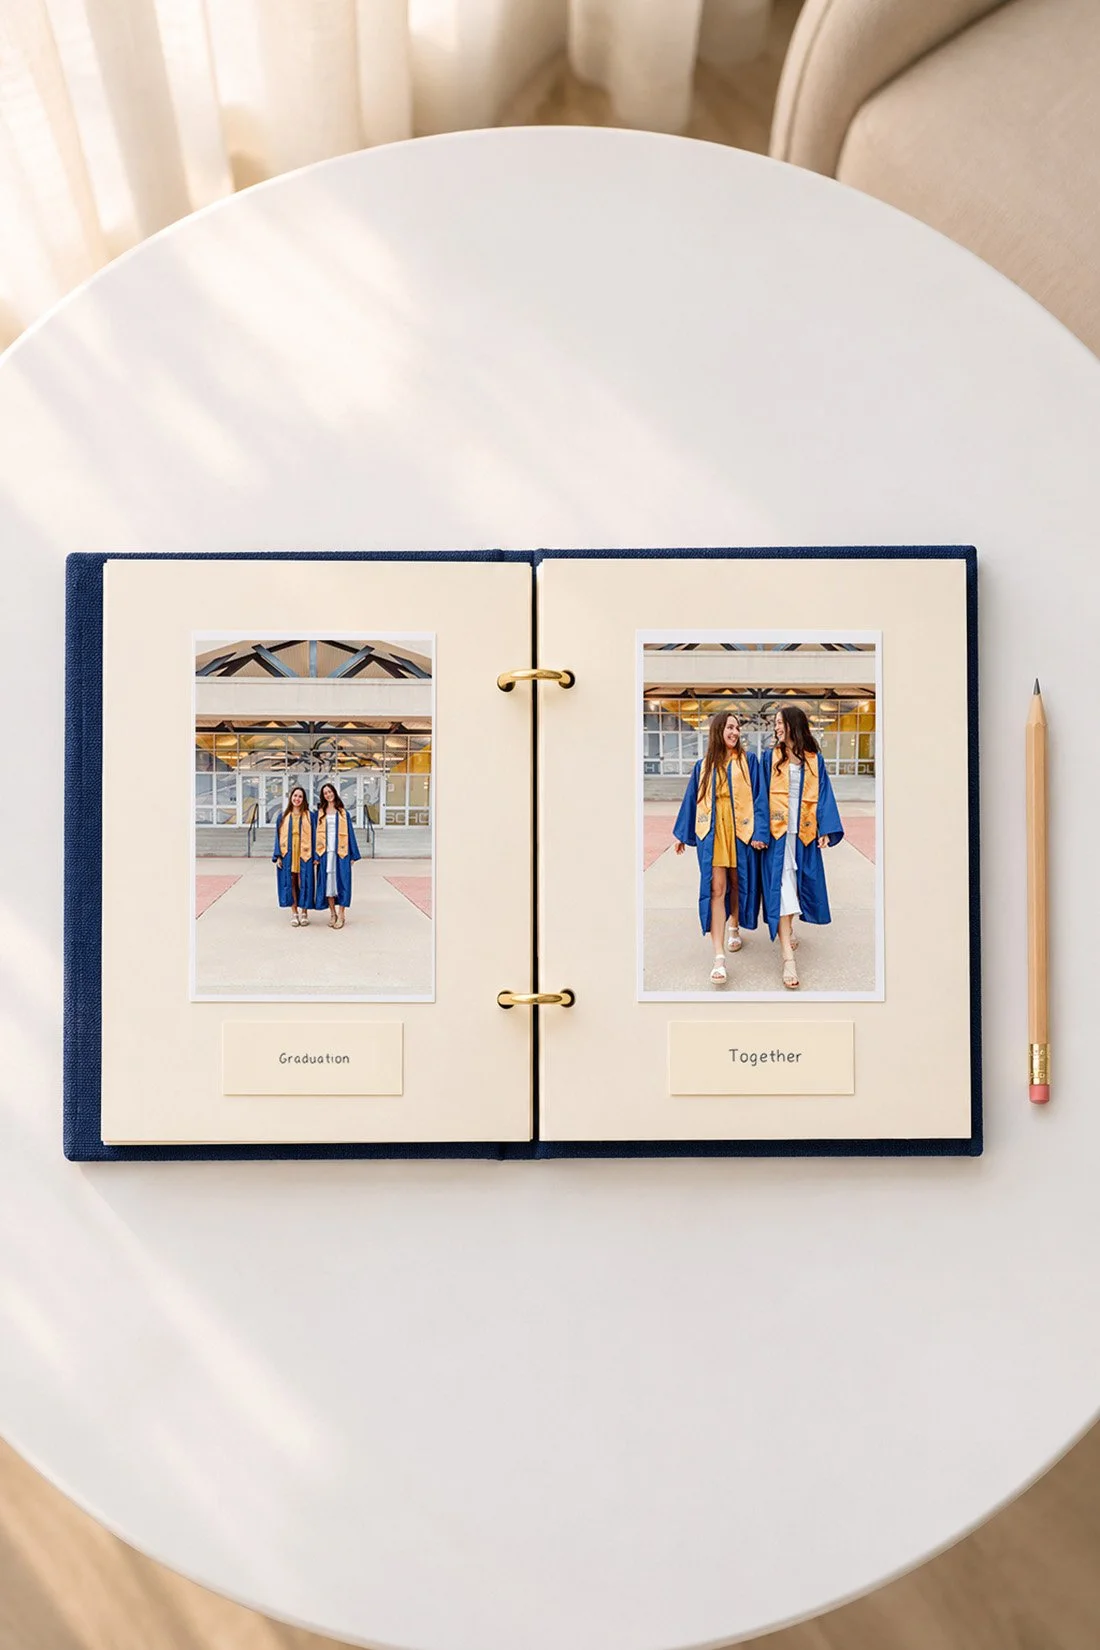
Choose one story for your best friend scrapbook
Give the book a clear starting point. “Our senior year” gives you a stretch of time. “Places we always end up” gives you a theme. “The trip we still talk about” gives you one event with a beginning and an end.
Choose a theme that fits the pictures you already have. If most of your photos come from one weekend, that weekend can fill the book. If you have years of photos, choose a few turning points rather than trying to fit every year on a page.
Write a working title on scrap paper before you buy supplies. Try “Our kind of year,” “A few things I want to remember,” or the name of a place you both know. These are title ideas to change in your own words.
For a holiday gift, choose where the story ends. You could stop with your most recent day together, then leave the last spread for plans you hope to make. That gives you a finish line while leaving your friend something to add.
Set a size and a finish line
For a manageable first book, plan six spreads with about 12 to 18 photos. A spread is the two facing pages you see when the book is open. This is a starting plan you can change to fit your album.
Before choosing a page size, lay out a few paper rectangles the size of your prints. On each page, leave space for a short note and clear margins. A 4-by-6 print needs more room once you add mounting corners, a caption, and space near the binding.
Check how the album closes with a sample page inside. Rings, posts, and other bindings have different limits. Follow the album maker's directions for its page size and capacity. A book that closes without pressure gives the pages and keepsakes room.
If the gift needs to be ready soon, use fewer spreads. You could make four: how it started, a day you loved, your everyday favorites, and a note for what's next. Choose the version you can finish with care.
Gather supplies for one book
Set out the album and a few supplies before you start:
- Copies of your chosen photos.
- Suitable photo corners or sleeves that fit the album.
- Separate paper for captions, notes, and keepsake copies.
- A pencil for planning and a pen that suits your paper.
- A ruler, plus scissors if you need to trim separate paper.
- Suitable pockets for flat paper keepsakes, if your layout uses them.
Check the album and mounting materials together before buying a large set. Use the photo-safe guidance below for the parts that touch your prints. You can choose one paper color and one pen color for the whole book.
Pick photos with different jobs
Make one folder for the photos you might print. Keep your original files saved, then work with copies while choosing sizes and crops.
Look for a mix that helps the story move:
- A setting photo: a place, building, or wide view that shows where the day happened.
- A together photo: a picture where you can see the people in the story.
- An action photo: something you did, such as walking, playing, making, or dancing.
- A small detail: the shoes, decorations, team shirts, or other part you want to remember.
- A closing photo: a picture that feels like a good place to end that section.
You can use phone photos alongside portraits. Check each file at the print size you plan to use. Keep faces away from the crop edge, and ask the printer for its file guidance if the preview looks soft or shows a warning.
A photo from a regular afternoon can earn a full page. If you want ideas for future pictures, these tips for taking phone photos of your friends give you a few things to try next time you're together.
Before printing someone else's pictures, ask to use them. For screenshots, check names, phone numbers, private messages, and anything another person shared in confidence. A note in your own words can hold the memory without including a private conversation.
Put the photos in an order you can follow
Lay the prints or paper stand-ins out before mounting them. Move through the book from the first spread to the last. Notice where you need a date, a name, or a short line to connect two moments.
Date order works well for a trip or school year. For a theme-based book, group photos by place or activity. You could give one spread to the lake, another to school events, and another to your usual after-school stop.
Keep photos from the same moment near each other. If three pictures show almost the same thing, choose the one that best tells that part of the story. Save the others for a different page or a later book.
Number your layout on separate scrap paper. Take a quick photo of the arrangement so you can return to it after clearing the table. Keep the notes off the print faces.
Use this six-spread scrapbook plan
Start with these page jobs, then change any that don't fit your friendship. You can repeat a layout while changing the photos and words.
Spread 1: How this chapter starts
Use one together photo and a short opening note. Add the year or date range. If you remember how this part of your friendship began, write a few lines about it.
If the exact date is unclear, use the season or year you know. You can also write, “Around the time we started…” and finish with a detail you remember. Keep uncertain facts out of a firm caption.
Spread 2: A regular day together
Choose two or three everyday photos. Add the name of your usual place, a routine you shared, or what you always ended up doing after the original plan.
A tiny list can work here. Think of your usual order, the game you kept playing, or what you put on while getting ready. Choose the details your friend would recognize.
Spread 3: One day with a full story
Give a trip, game, concert, or celebration its own spread. Put the photos in order from arriving to heading home. Add a copy of a ticket or program if it helps explain the day.
Keep the note close to the photo it belongs with. A few lines beside the middle picture can explain the part that happened between the first and last shots.
Spread 4: The jokes and little things
Use a photo that connects to an inside joke. Add enough context that you'll both understand it later. You can write the phrase you say, then one line about where it started.
Check whether the joke will still feel kind when your friend opens the book. If it includes another person's private moment, choose a different detail. A gift can stay personal without sharing everything.
Spread 5: What I notice about you
Choose a photo you think your friend would enjoy keeping. Write about something you appreciate: how they include people, show up for a plan, or make an ordinary afternoon fun.
Use a real example you know. If you're stuck, finish “I still remember when you…” on separate paper first. Then choose the part you want to put in the book.
Spread 6: What's next
End with a recent photo, a short letter, or a small list of things you'd like to do together. Leave some room if you want your friend to add a note.
Sign your name and add the date you finish the gift. You can leave a flat paper pocket for a future photo or note, as long as the album has room to close.
Write notes that sound like you
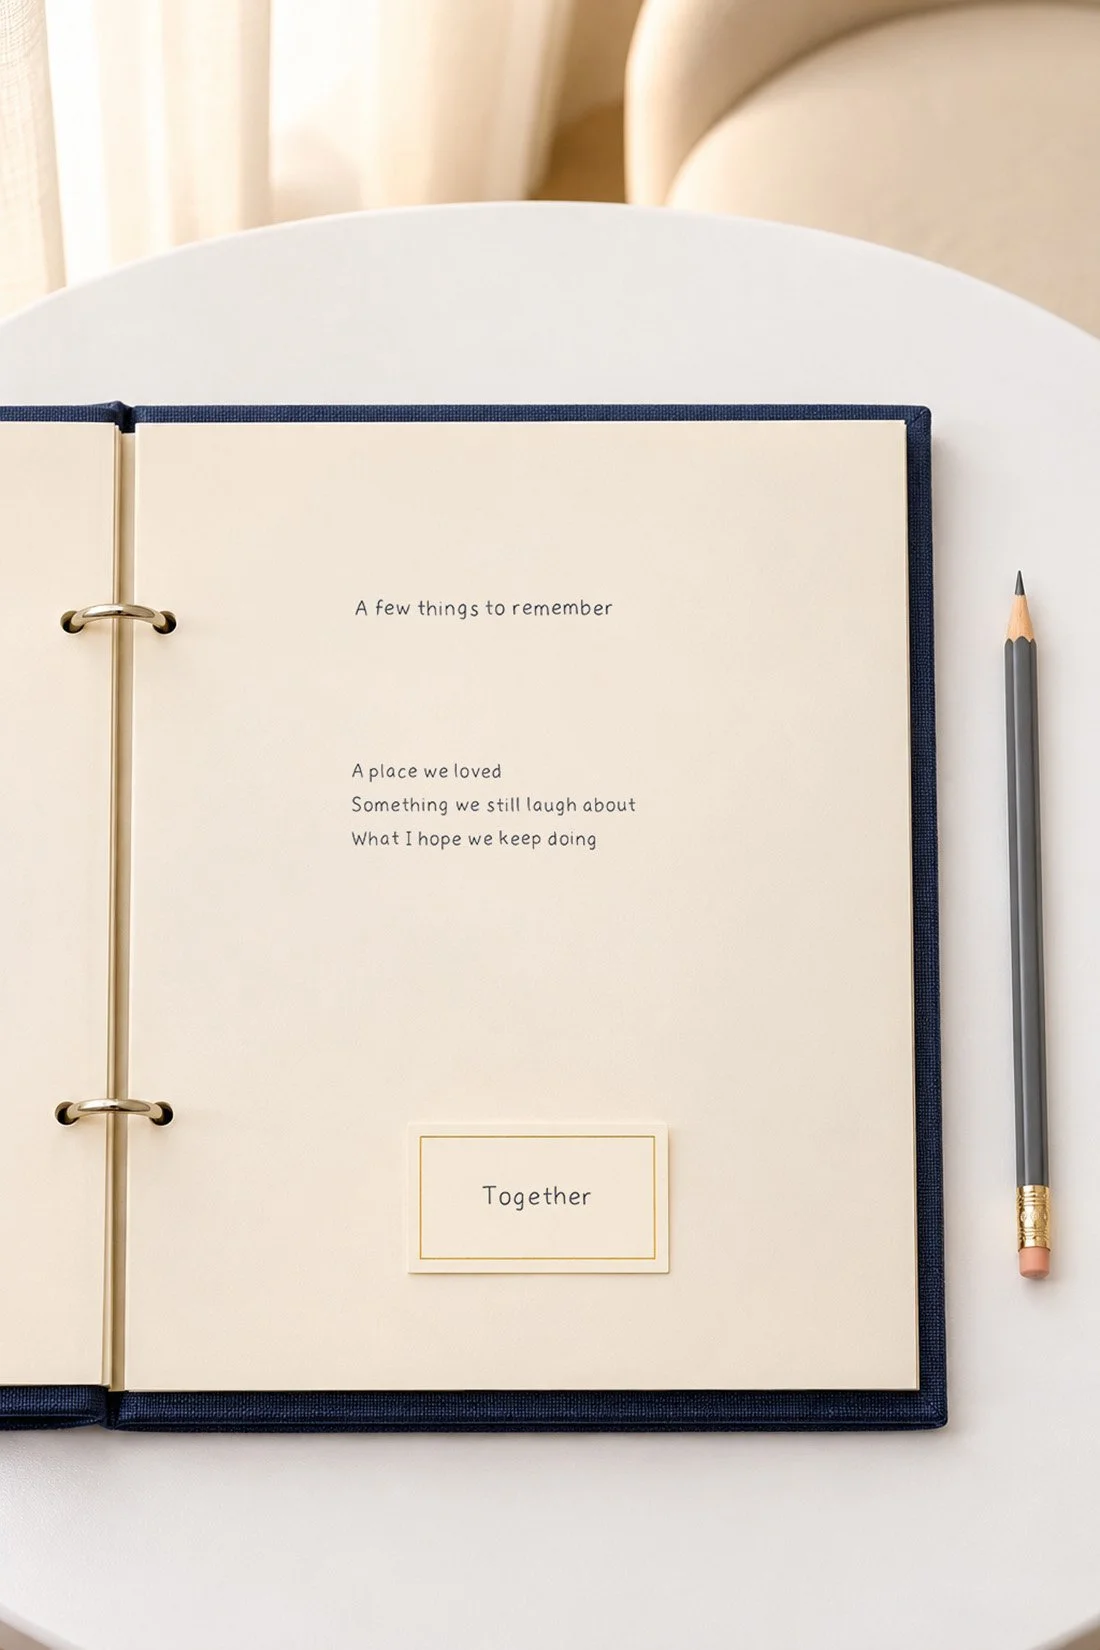
Write your captions on separate paper before adding them to the page. Read each one aloud. If you would say it to your friend, it probably belongs in the book.
A useful caption answers a small question: who is here, where are we, what happened, or why did I choose this picture? You can give a date in one line and a memory in another.
Try these prompts when a blank page needs a starting point:
- I remember this day because…
- Right before this photo, we…
- The part you can't see in this picture is…
- I hope we keep doing…
- One thing I appreciate about you is…
- If we go back here, let's…
Use your own words to finish them. Some pages may need a paragraph. Others may need a date and one line. Let the amount of writing follow the memory.
For words that are hard to put on a label, fold a short letter and place it in a suitable paper pocket. Make sure it can come out without pulling on the page.
Choose photo-safe mounting materials
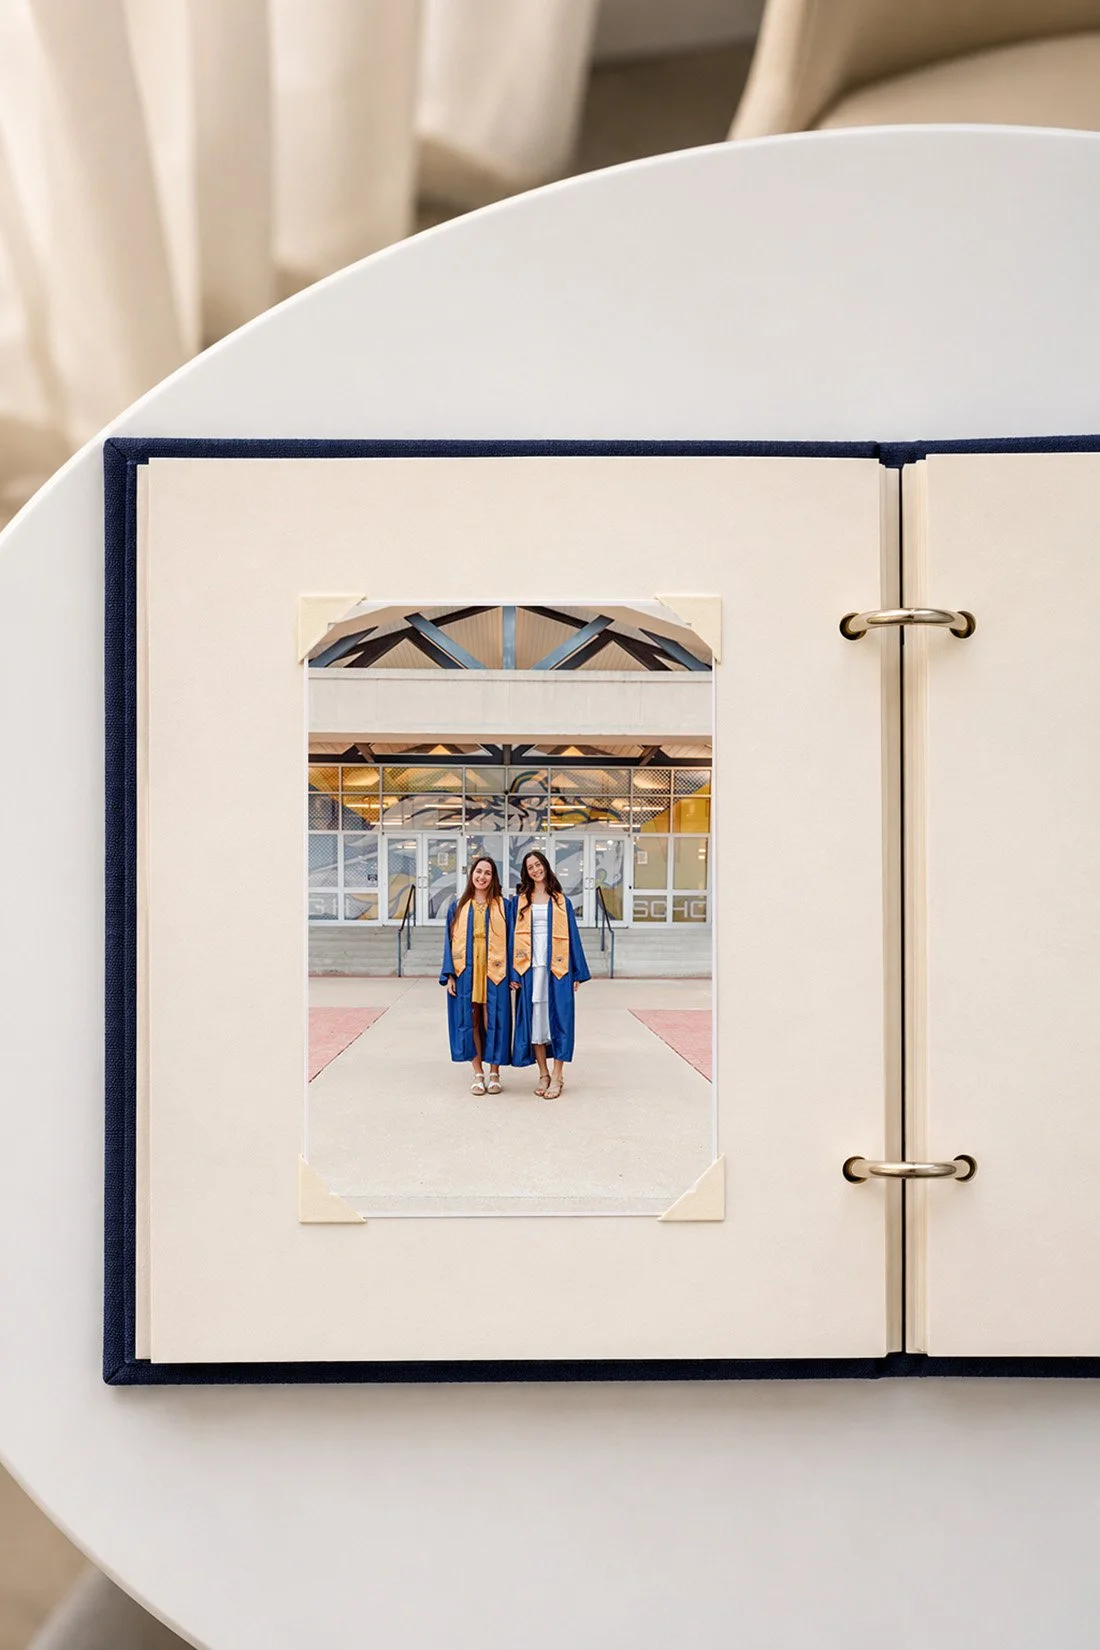
For paper pages, use suitable photo corners that hold the print without adhesive on the photograph. Another option is an album with suitable photo sleeves. The Library of Congress photo storage guide recommends corners or polyethylene or polypropylene sleeves and advises that photo-storage products pass the Photographic Activity Test, called PAT.
PAT checks how a storage material interacts with photographs. When you shop, look for the maker's statement for the exact product. A broad “archival” label alone doesn't answer every question about the materials in your album.
Keep glue, self-stick tape, and sticky decorations off the photographs. Put your writing on the page or on separate caption cards. Check the pen and paper maker's directions, and let the writing dry before it faces another page.
Before mounting the whole book, make one sample page. Check that the print stays in its corners, the page turns, and the album closes. This checks fit and handling. It doesn't prove how the supplies will age.
Give tickets and paper keepsakes their own space
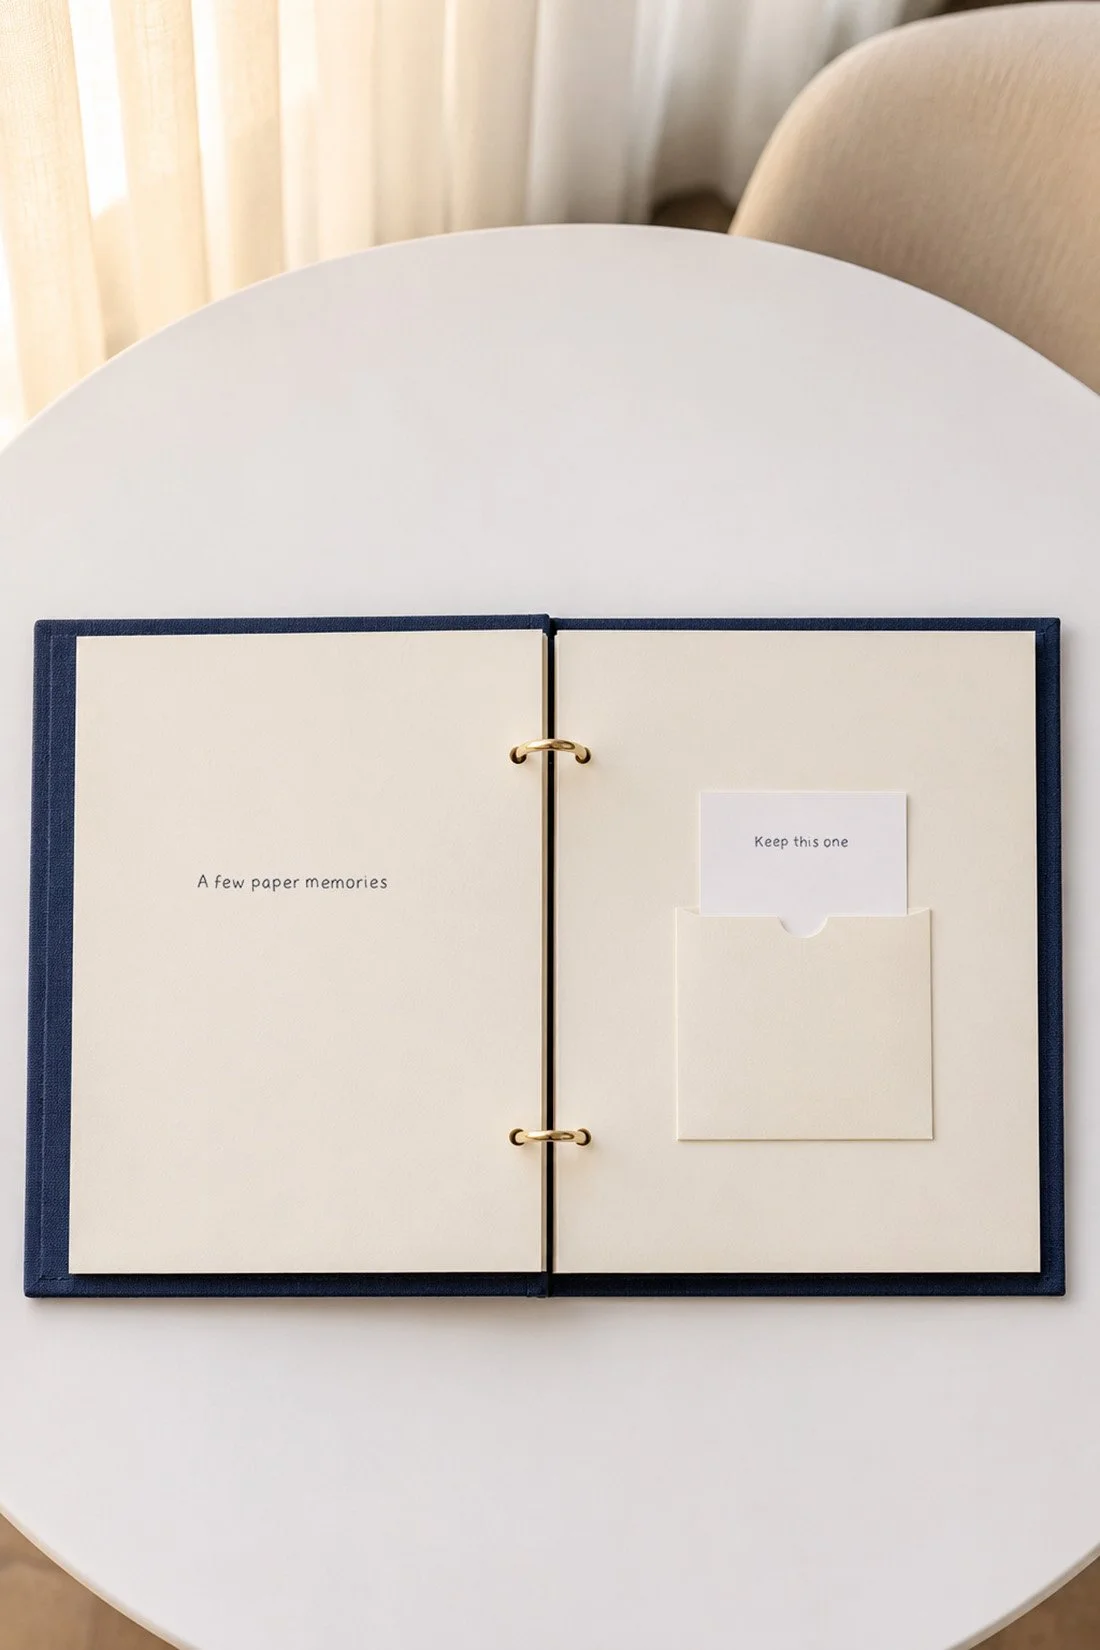
For fragile or one-of-a-kind papers, use a copy in the gift. Keep the original stored apart. A copied ticket, part of a program, or a photo of a larger object can tell the story while keeping the page thin.
The Library of Congress scrapbook preservation guide explains how added bulk can strain a binding. Keep thick objects, clips, and bulky decorations out of the page stack. If something makes the book bulge, take a photo of it for the page instead.
Keep copies of keepsakes in their own suitable pockets or corners, with space from nearby prints. If a receipt or ticket is fading, save a readable digital copy while you can still see the details.
Add a short note about why you kept it. “The ticket from our first game together” gives a paper scrap context, if that is your actual memory. Check the date before writing it in.
Finish the pages and pack the gift
Work through one spread at a time. Mount the photos, add the labels, and check that every corner stays clear of the binding. Close the book gently after each few pages so you can catch extra bulk as you go.
For the last check, turn every page as your friend will. Read the names and dates. Look for loose pieces, wet ink, sharp edges, and anything sticking beyond the album. Check that pockets hold their papers when you turn the pages.
Photograph each finished spread from above without pressing the book flat beyond its comfortable opening. Save those pictures with copies of the photos you used.
For wrapping, protect the corners and give the book enough support for the trip. Keep ribbon loose around the outside. If you're mailing it, use a rigid outer package with padding that keeps the album from sliding or bending.
Add a care note with the gift. The National Archives guide to preserving scrapbooks recommends flat storage, careful page turning, and a cool, dry place away from direct sun. A fitted preservation-quality box can help protect it after the wrapping comes off.
Questions about making a friendship scrapbook
How many photos should I put in a best-friend scrapbook?
For the six-spread plan, start with about 12 to 18 photos. Adjust that number to your page size, writing, and album capacity. Leave room to turn pages and close the book without pressure.
What if I don't have many photos together?
Use photos of places and things you shared, then explain the link in your own words. A smaller book can hold the pictures you have. Leave a page for the next time you're together if you want to keep adding to it.
Can I make a scrapbook without putting glue on the photos?
Yes. Use suitable photo corners or photo-safe sleeves. Check the exact product's material guidance. Keep your captions and decorations on separate paper, with adhesive away from the photographs.
How do I add tickets without making the book bulky?
Use flat copies in suitable pockets or corners. Choose a few that help tell the story, then check how the album closes. For thick keepsakes, put a photo of the object on the page and store the object apart.
What should I write on the first page?
Write who the book is for, what part of your friendship it holds, and the year or date range. Add a short note about why you wanted your friend to have it. Your own voice gives you a good place to start.
If you want to keep a different set of senior-year memories together, a senior year time capsule gives you another project to make with friends. For this book, tuck in your last note, check the closure, and write your friend's name on the wrapping.
