

A recipe card can leave out the very thing you need: how much flour, which pan, or what “until done” looks like. A family recipe book with photos gives you room to save the card, check those details, and put a clear version beside it.
Start with a small set of dishes your family wants to cook. Add photos you have permission to use, then build one page you can read from across the counter. You can make a binder that grows each year or a printed book with a fixed set of pages.
The nicest part might be the handwriting. Keep that crossed-out word or short note in a copy of the original. Give the cooking steps their own space so someone can follow them without squinting at the card.
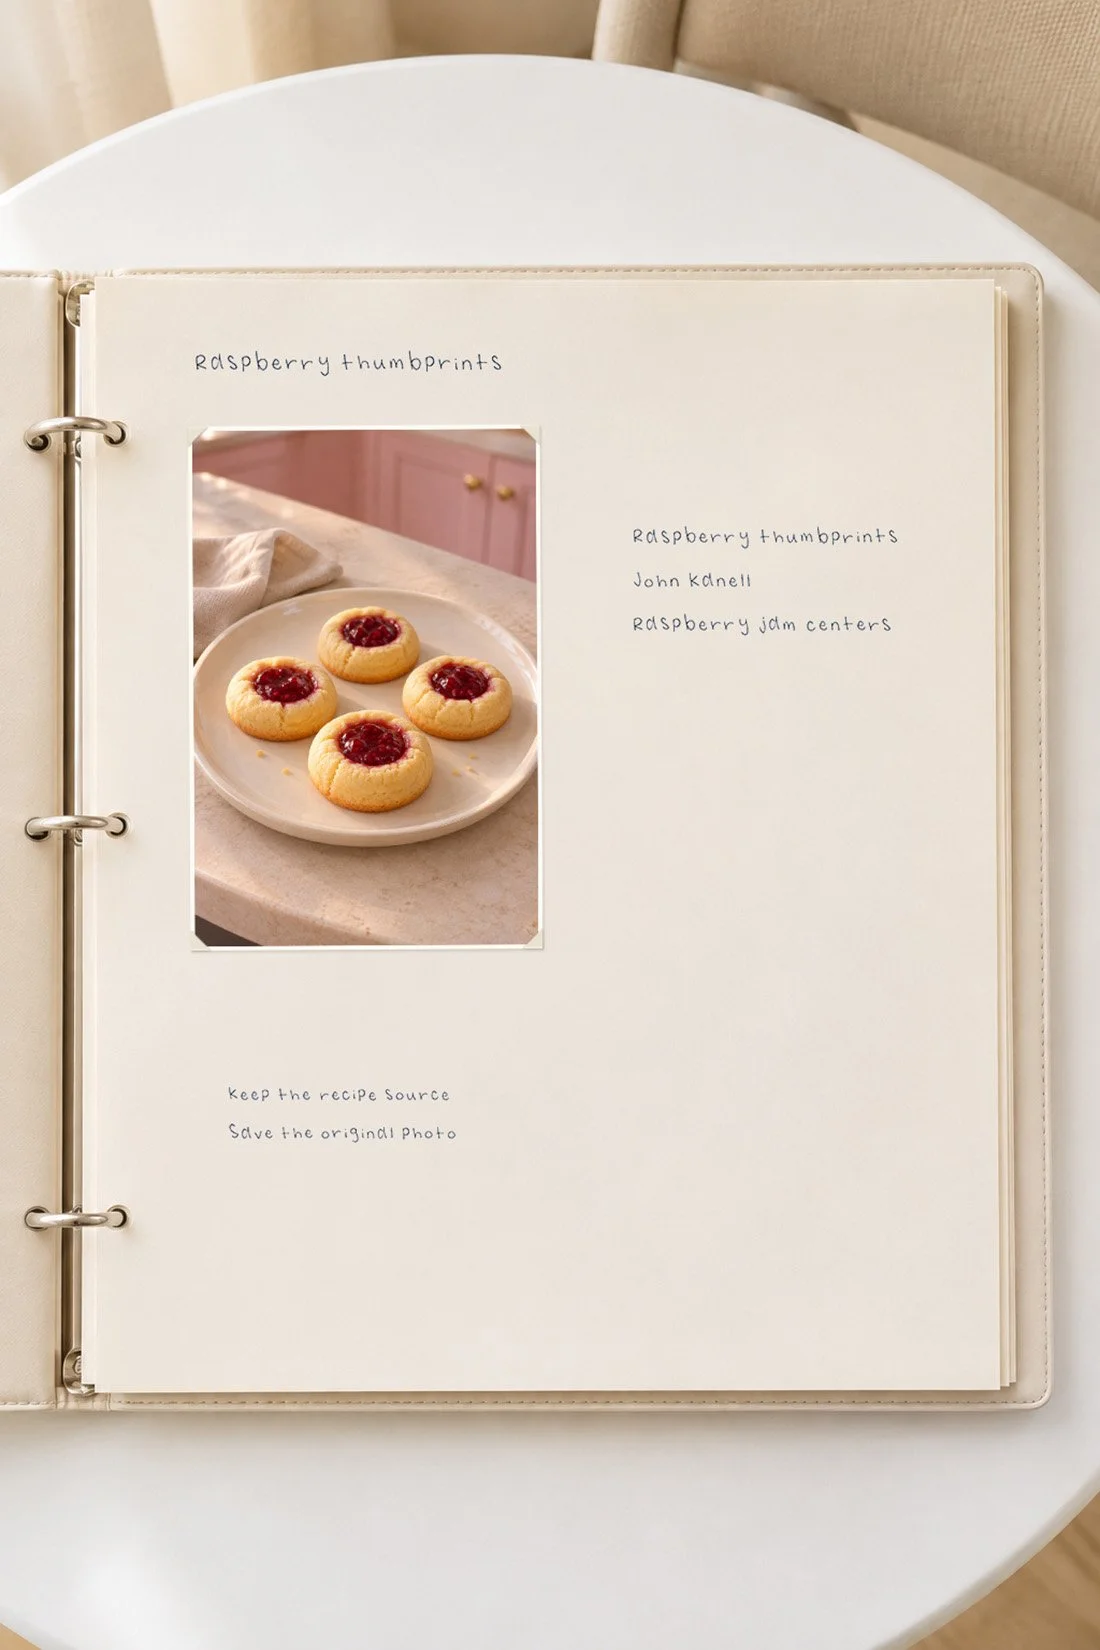
Choose the kind of family recipe book you want to make
Before you collect files, decide who the book is for and how they will use it. A student moving into an apartment may want a few meals they know from home. A relative who loves baking may want a book focused on cookies and cakes. Ask what they want to cook before you build the list.
A binder lets you replace a corrected page or add a new dish. Check its page size, ring spacing, and room for turning pages before you buy paper. A printed book gives you a fixed page order. Choose that route once the recipes, photo choices, and spelling are settled.
A shared digital copy gives relatives a way to read the book away from home. Keep an editable file too. A saved PDF is useful for reading and printing; the working file is where you change a heading or fix a line later.
Adobe’s guide to making a recipe book covers collecting files, page order, and format choices. Decide on your own format before you spend time making every page match it.
Start with a list you can finish and check
For a first book, you might choose eight to twelve recipes. That is a planning choice, so change it to fit your time and the recipes you have. A short set gives you room to check each dish and print a page proof before making copies.
Write down the recipe title, who sent it, where it came from, and whether you have permission to share it. Add a column for open questions. Keep the list with the book files so a missing pan size does not disappear in a text thread.
Choose one way to group the book. Breakfast, main dishes, sides, and desserts work for a mixed set. A baking-only book may need cookies, breads, and cakes. Use section names your reader would look for when choosing what to make.
If two people send versions of the same dish, ask how they want them named. You can keep both with clear titles. Keep each person’s own amounts and method attached to the right version.
Ask for the recipe, its source, and permission together
Send one clear request to each person. Ask for a photo of both sides of the card, any typed directions, and a photo they want included. Ask how they want their name shown and who may receive the finished book.
You can use this request: “I’m making a recipe book for our family. Can you send the recipe and any notes you use when you cook it? Let me know if I may include your name and photo, and share copies with the family.” Adjust the last line to name the actual group.
Keep the reply beside the files. A photo sent for a private gift may have a different sharing limit from one approved for a public post. Ask again before putting a family book or its pages online.
For a dish that came from a cookbook or website, save the source title and link. Ask about permission before copying someone else’s published words or photos. When permission is unclear, keep the source link in your planning notes and choose another entry for the gift.
Save the original card before you type a new version
Work on a clean, dry table away from food and drinks. Photograph or scan the front and back of each card. Keep the whole edge in frame. Check that a pencil note near the corner is visible before you put the card away.
The Library of Congress recommends clean handling, flat storage, and keeping adhesives off original papers in its care guide for works on paper. Make copies for the book, then return the originals to suitable storage. Keep fragile cards out of the kitchen work area.
Save the scan as an unchanged source file. Type into a separate document. If you use a tool that reads text from a scan, compare every line with the card. Check fractions, units, and temperatures closely. A small mark can change an amount.
Use file names that keep the pieces together. For example, `recipe-01-card-front`, `recipe-01-typed`, and `recipe-01-photo` belong to the same entry. Keep a separate source list that matches each number to its title and contributor.
Check missing amounts and steps with the cook
Read the recipe as if you have never made it. Is the butter melted or soft? Is the oven temperature listed? Does the pan size appear anywhere? Put each question on the source list and ask the person who cooks the dish.
If someone can show you the method, write down what they actually do. Ask before recording them. Note the order of the steps, the tools they use, and the cues they watch for. Keep their explanation tied to the right recipe version.
Preserve the original wording in the card copy. Put any confirmed detail in the typed version or in a clearly labeled note. If a detail remains unknown, leave that recipe in the working folder while you finish the others. Avoid guessing an amount to fill the space.
Cooking from the typed page can reveal a missing step. Have the cook review your changes before you call the page finished. This book project records recipes; it does not test food-safety claims. Keep canning methods, medical diet advice, and allergy claims out of your own added notes unless you have the right verified guidance.
Choose photos that help someone use the book
One clear photo can carry a page. A finished-dish photo helps identify the recipe. A process photo can show a step that needs a visual cue. A portrait or a photo of a shared table can sit at the start of a section when you have permission and know who is pictured.
Keep captions factual. Use a name, place, or date only when someone can confirm it. Ask before calling a dish a person’s own recipe. Making it often and creating it are different facts, and the source notes should keep that clear.
You can also use a copy of the handwritten card as the main image. Leave enough space around it to see all the writing. If the scan is hard to read, pair it with the typed version rather than making the whole page smaller.
For original prints, the Library of Congress advises handling photos by their edges and keeping tape and glue off them in its photograph care guide. Use copies in the gift book. Keep the source files and original prints in their own homes.
Build one readable page before making the rest
Choose the final page size first. Then make one sample page using your longest checked recipe. If that page has room for its ingredients and steps, shorter entries can use the same layout.
Put the title at the top. Follow it with the confirmed source name, yield, and other checked details. Give ingredients their own block. Number the steps so the reader can find their place after looking away to stir a bowl.
Use dark type on a pale background. Keep decorative handwriting for a short heading or note. For the cooking directions, choose a plain font with clear numbers. Start with a size you can read in a printed proof, then adjust for the person who will use the book.
Keep words away from ring holes, the center fold, and the outside trim. Follow the printer’s actual safe-area and page-size instructions. A screen preview cannot show how much of a line disappears near a binding.
If a recipe runs long, give it two pages. Keep the ingredients together and mark where the method continues. Move a large photo to the facing page before shrinking the cooking text. Let each part have the space it needs.
Use a page plan you can edit later
For a two-page spread, try a photo or card copy on the left and the checked recipe on the right. A short note can go below the photo if the contributor supplied it. Keep the main directions in the same place throughout the book.
For a single-page entry, place a modest photo near the top. Put the ingredients below it, followed by the numbered method. Use a second page when the text needs more room. This gives you a clear pattern without forcing every recipe into the same length.
Save the layout with editable text, photo boxes, and page numbers. Give the working file a clear version name. Export a fresh reading copy after a correction so the file you share matches the one you print.
If you are making a book with a teen, split the work around what each person enjoys. One person can ask about the recipes while another sorts photos or checks page order. Our ideas for spending time with your teens include more ways to plan time around a shared interest.
Print a proof and read it away from the screen
Print one full-size recipe page before you print the whole book. Set it where the reader would use it, away from heat and spills. Can you read the amounts while standing? Can you tell a fraction from a whole number? Check the page in ordinary room light.
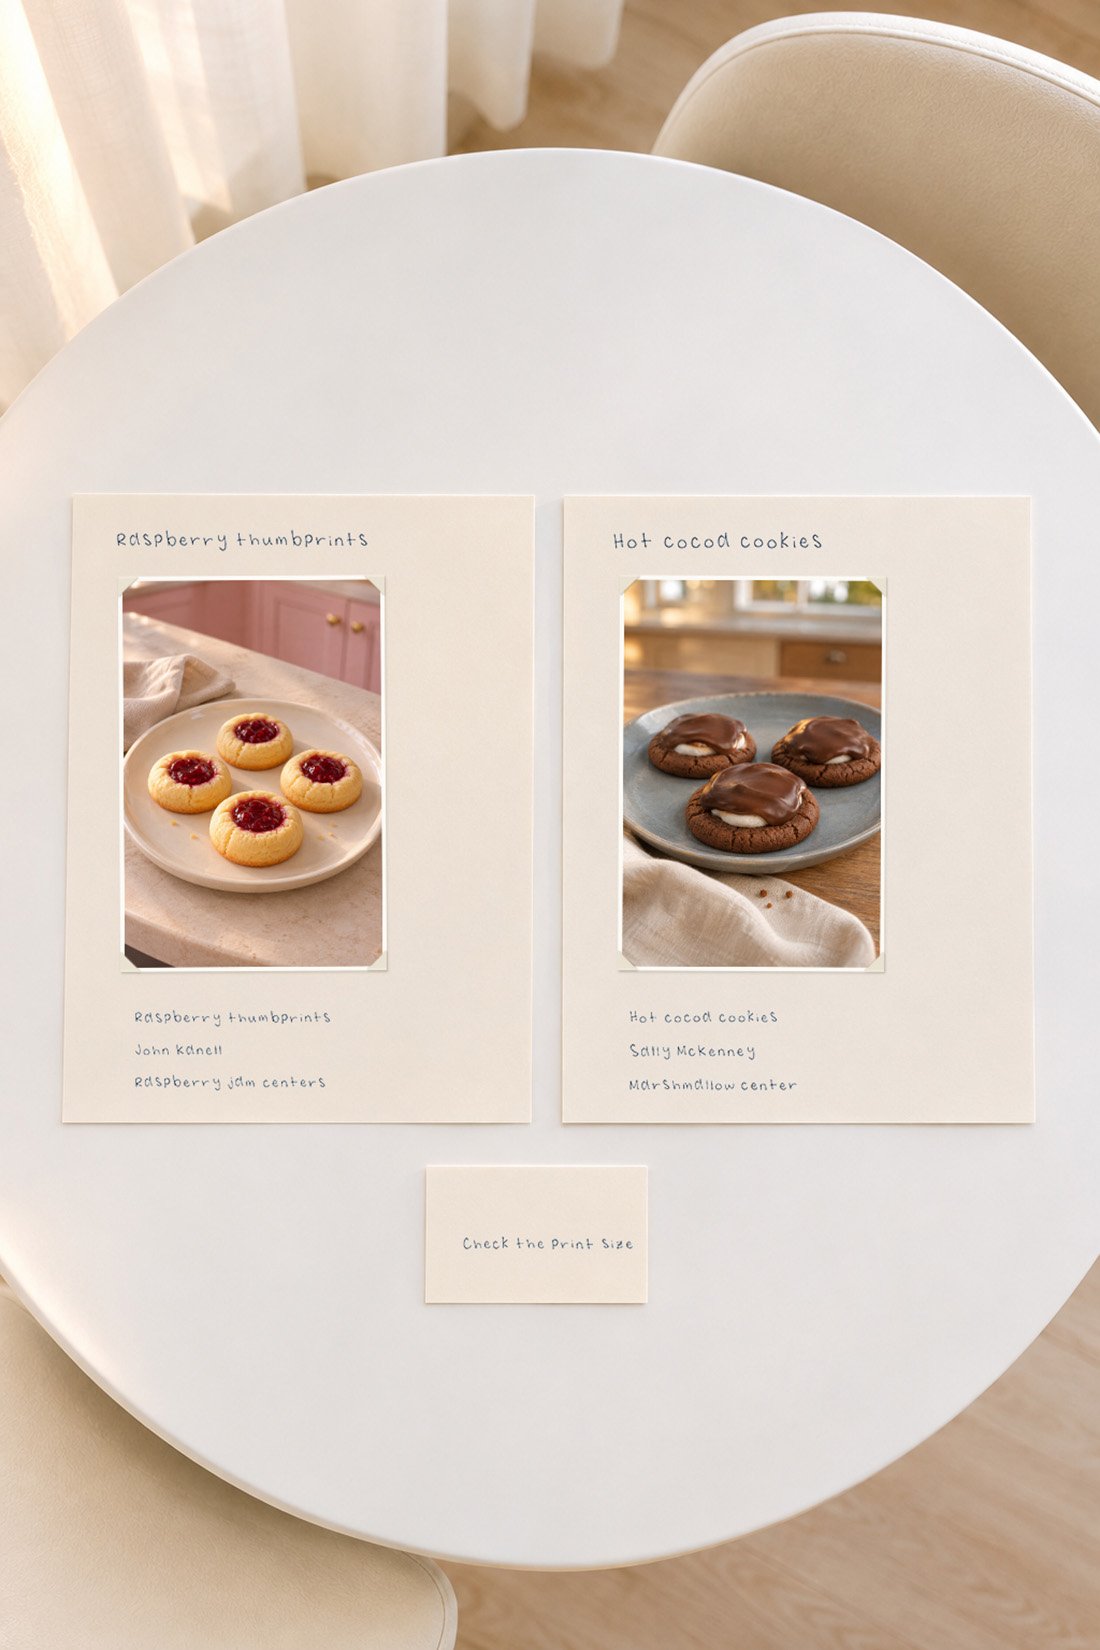
Ask someone to follow the page from top to bottom. They can check whether each ingredient appears in a step and whether the steps follow a clear order. Ask the contributor to confirm any question about the recipe itself.
After the text is settled, add page numbers and the contents list. Check each number against the finished file. Print a two-sided test if that is your plan, then turn it as a reader would. Make sure the back of the page faces the right way.
For a bound order, review the provider’s current proof, file rules, and delivery estimate before paying. Holiday delivery depends on the actual order. Keep time for corrections between the first proof and the gift date.
Give the book with a way to add the next recipe
For a binder, leave room for new pages and include a few matching blank sheets. For a printed book, keep the editable file so you can make a later edition. Share a reading copy only with the people covered by the contributors’ permission.
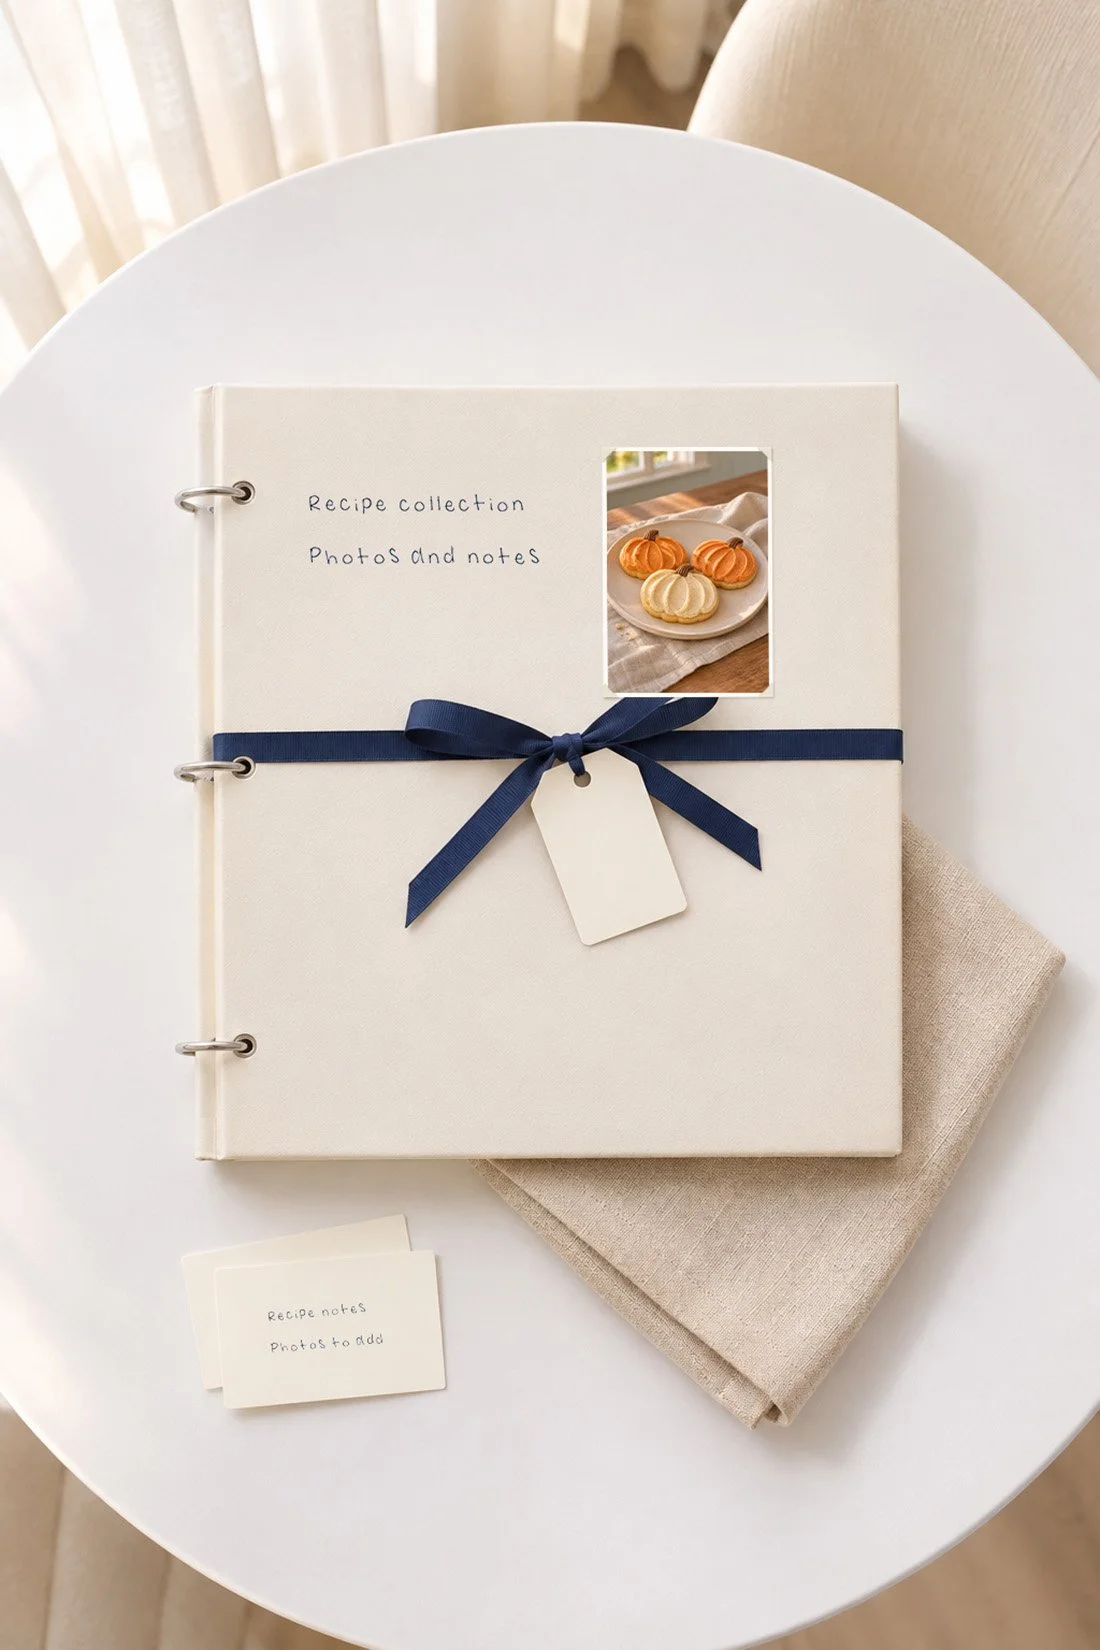
Add a short note that tells the recipient where the digital copy lives and how to send a correction. Keep that link private if the recipes or photos have a family-only sharing limit. Save a backup of the working file and its source folder.
You can pair the book with a planned afternoon of cooking one checked recipe together. If baking is the shared interest, our hands-on hobby ideas for senior year offer more things to try alongside it.
Before wrapping, open the book to the contents page and follow one entry all the way through. Check the title, photo, source name, and page number. Then tuck the correction note inside the cover.
