

Photo ornaments give a favorite picture a spot on the Christmas tree. For family, friends, or your own tree, start with one photo you want to see each year and choose a shape that gives it room.
That might be the kids in their fall sweaters, your dog on the couch, or a photo with your best friend before graduation. These photo ornament ideas cover who to make them for, how to crop the picture, and what to check before you make or order one.
Choose who the photo ornament is for
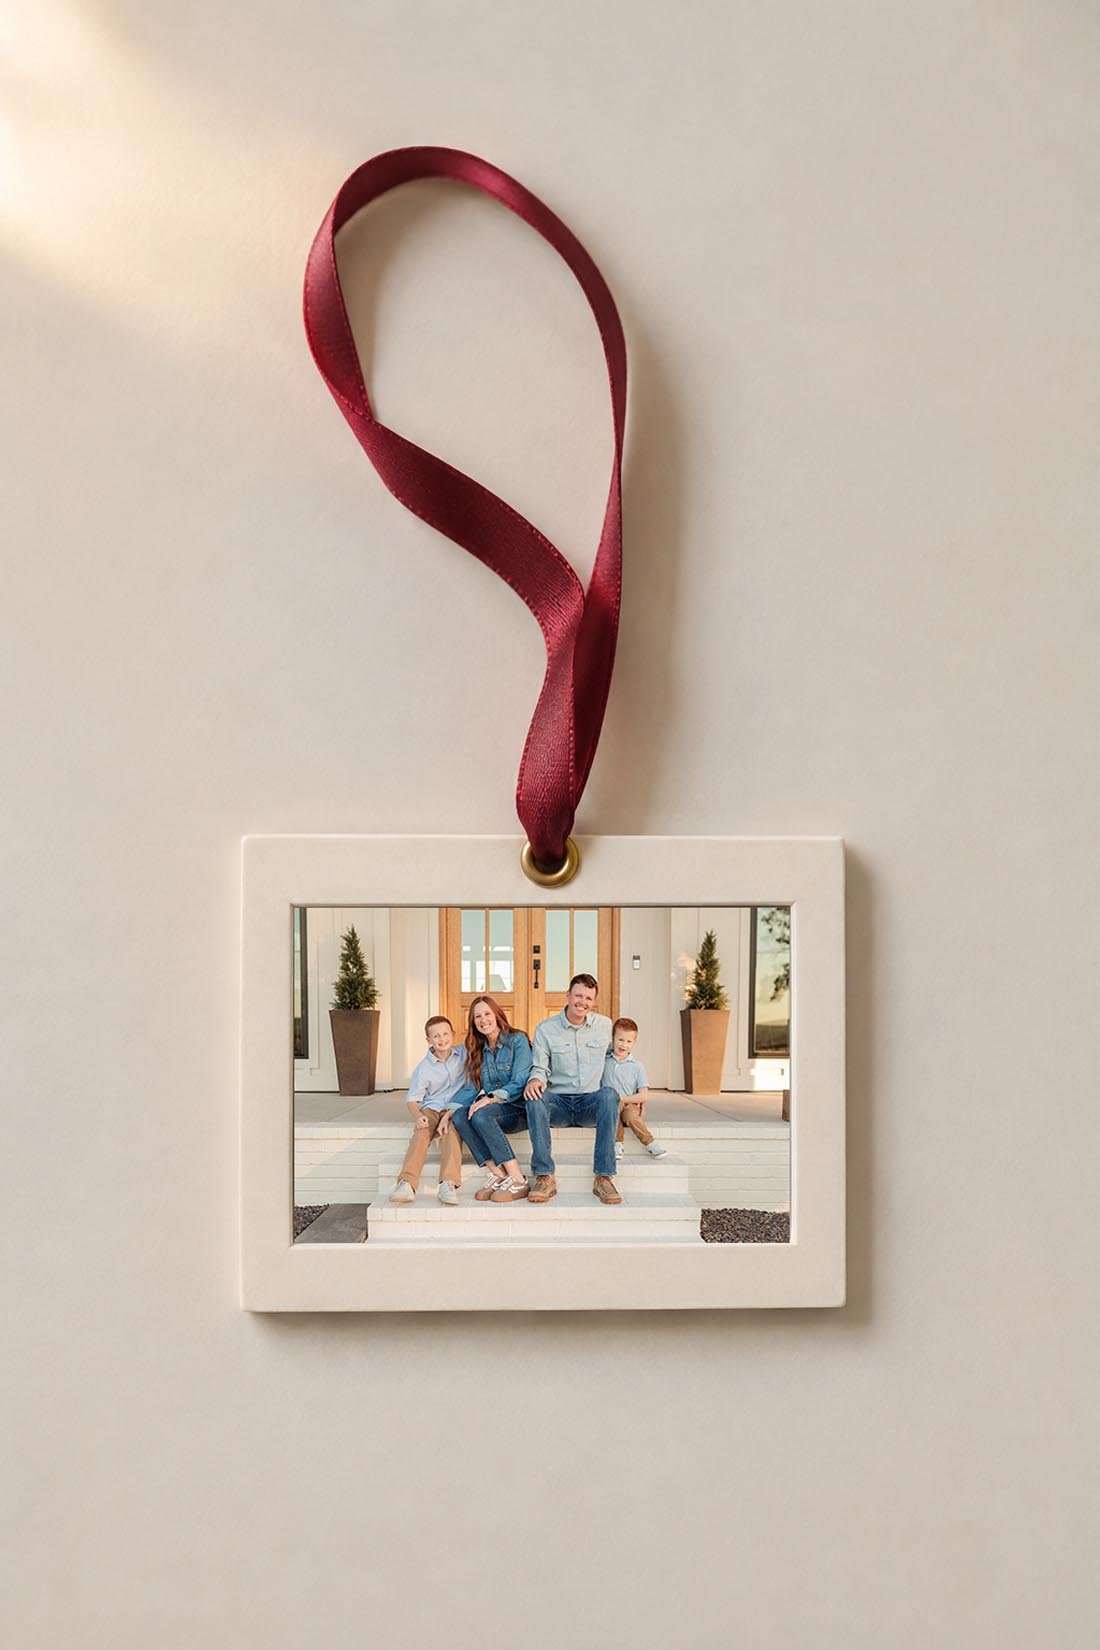
Think about the person opening the gift before you choose a photo. For grandparents, you could use a picture of all the grandkids or one of them together during a visit. If the group is large, a wide frame may give everyone more room.
For a friend, look through pictures from something you did together. A school event, a weekend trip, or an afternoon making cookies could give you a few choices. Send your friend two photos if you'd like help picking one. You can keep the ornament itself a surprise.
For parents, a photo from this year can start an annual set. You could choose the same kind of picture each year, such as the kids together, or let each year have its own subject. Keep a copy of the file with the year in its name so you can find it later.
A pet photo works, too. Look for one where you can see the face at a small size. If you're making an ornament in memory of someone or a pet, ask the person receiving it whether they'd like that gift and which picture they'd want.
Pick a photo that reads well at a small size
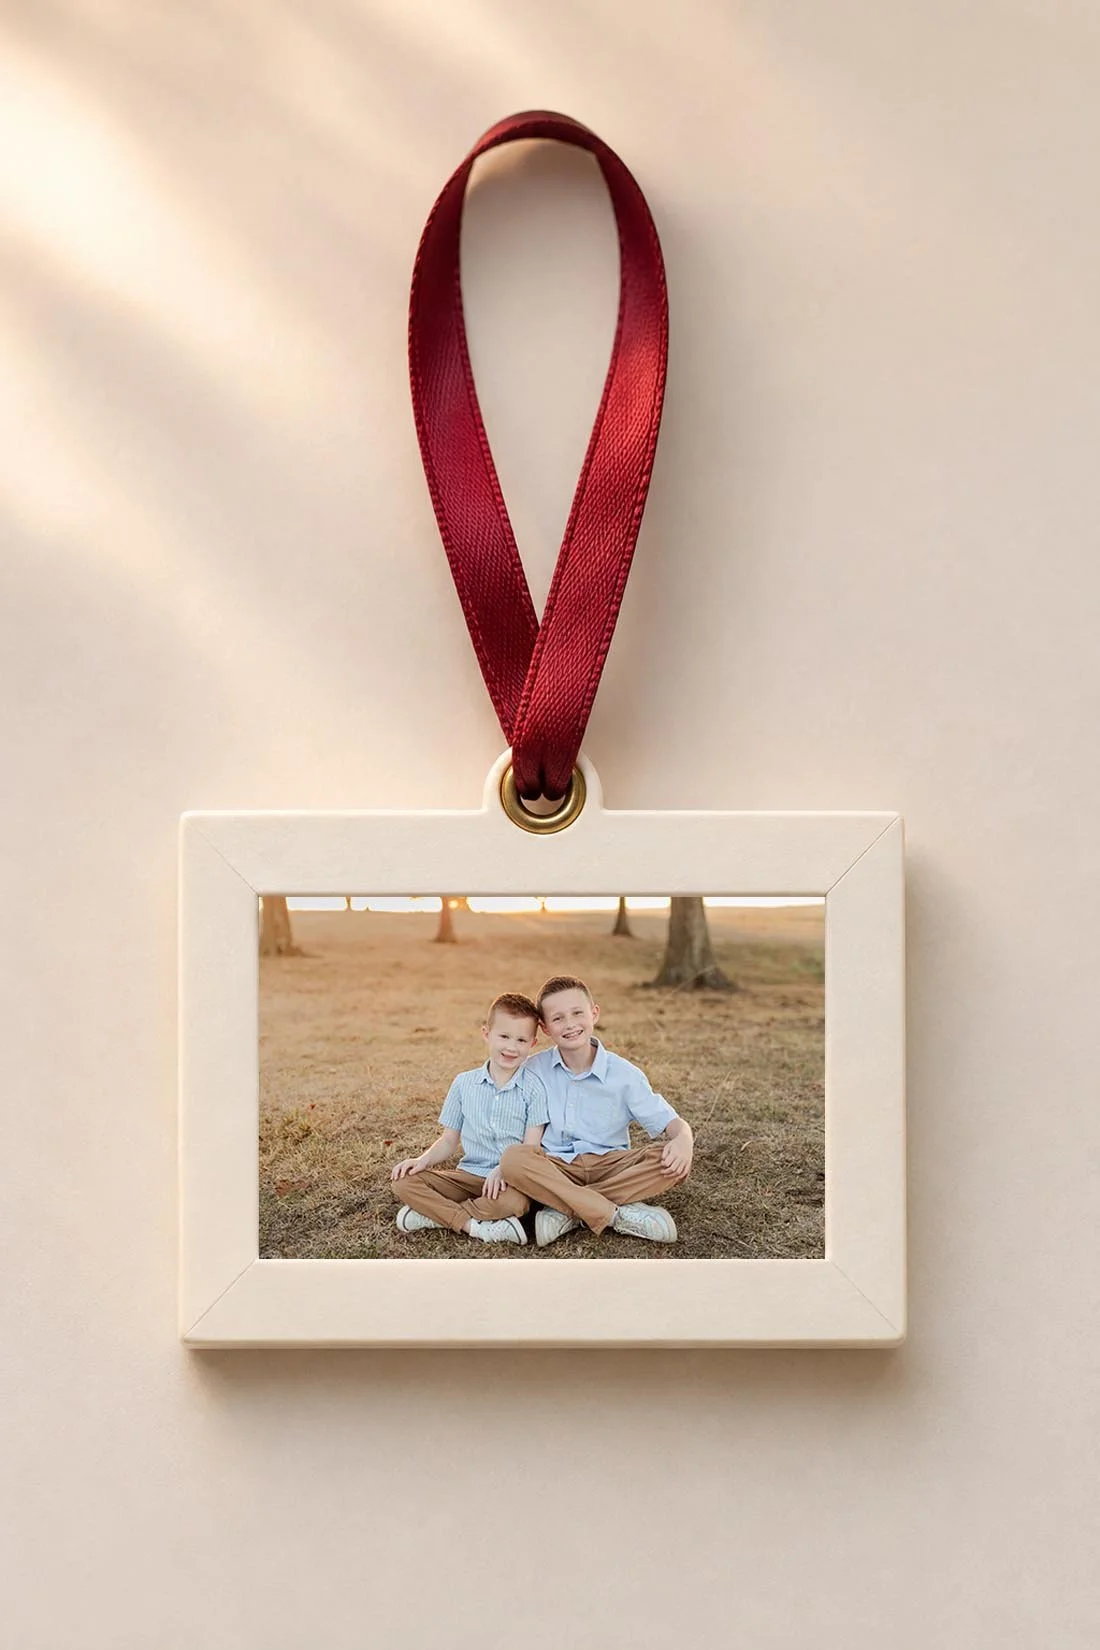
Choose two or three photos to try in the ornament preview. A close picture of one or two people gives their faces room. A wider family picture may fit a larger rectangular opening. The number of people you can fit depends on both the picture and the ornament.
Before buying supplies, look at each photo about as small as it will appear on the tree. Can you still see the expression you like? Does a hand, hat, or pet's ear need space near the edge? Try another frame shape when a crop cuts into those details.
Phone photos can work when the file has enough detail for the chosen size. Use the original photo from your phone or the full-resolution gallery download. A screenshot or a copy saved from a text may have fewer pixels. For a professional photo, check the print-use terms that came with it.
Keep the photo's own colors and edit when you upload it. If the order tool offers filters or extra sharpening, check the preview before applying anything. Mpix's file and crop help explains that increasing a file's pixel count alone won't make the picture print more clearly. If you see a low-resolution warning, try the original file or ask the printer about the exact size.
Match the ornament shape to the photo
A rectangular opening gives you a clear place to start with a wide family photo. A tall opening can suit a portrait of one person. Round ornaments can work with either, as long as the circle leaves room around the people.
For a round design, check the top, bottom, and both sides of the crop. The corners of a rectangular photo disappear inside a circle. If a child sits near a corner, move the photo in the preview and see whether everyone still fits.
Check the hanging hole, ribbon, border, and any text area. A face near the top may sit too close to a hole or get covered by the design. Shutterfly's ornament photo guide points out how the photo layout and hanging loop work together. Use the preview for the exact style you choose.
For a handmade frame ornament, measure the visible opening and the space behind it. Those sizes may differ. The photo often needs to extend behind the frame's edge so the backing can hold it in place.
Make a photo ornament with a small frame
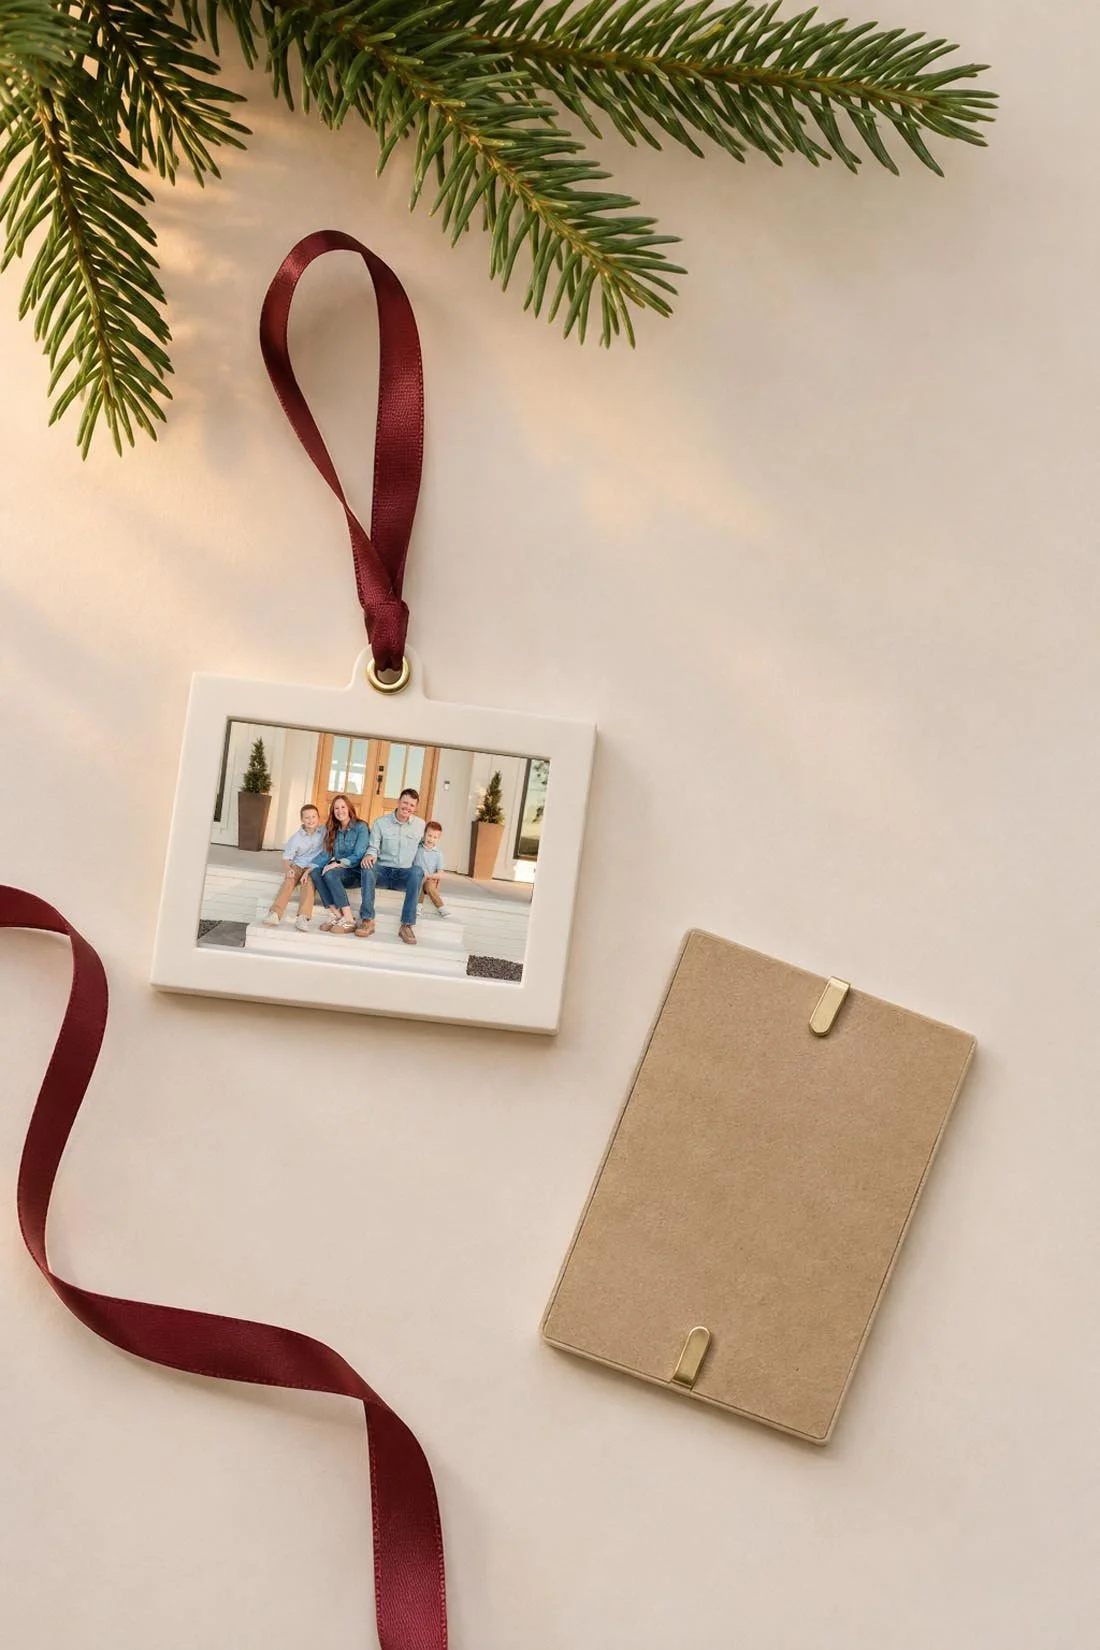
A ready-made frame ornament gives you a project with a defined photo opening and hanging point. Choose a frame made to hang as an ornament, then check how it opens and what size print it takes.
You'll need:
- A photo-frame ornament with its backing and hanging loop.
- A fresh print copy sized for that frame.
- Scrap paper for a test fit.
- A ruler, pencil, and scissors if the print needs trimming.
- Ribbon, only if the frame needs a new loop and supports one.
Use a copy for crafting and keep the original print or file stored separately. If the ornament has a glass cover, follow its handling directions while you work.
Test the size with scrap paper
Open the frame using the maker's instructions. If it includes a paper insert, check whether that insert shows the full print size. Otherwise, measure the space where the photo will sit.
Cut a scrap-paper version first. Fit it inside, close the backing, and check the visible opening. The paper should lie flat without being forced or folded. Use that test piece to plan your print.
Print and trim the photo
Set the print dimensions in the print tool and check whether it adds a border or uses a “fit to page” setting. For the first ornament, print one test copy before making a whole batch.
Hold the frame opening over the test print before cutting. Check heads, hands, and the edges of the scene. If the photo fits, mark the trim on the back where you can, then cut a little at a time.
Fit the photo and check the loop
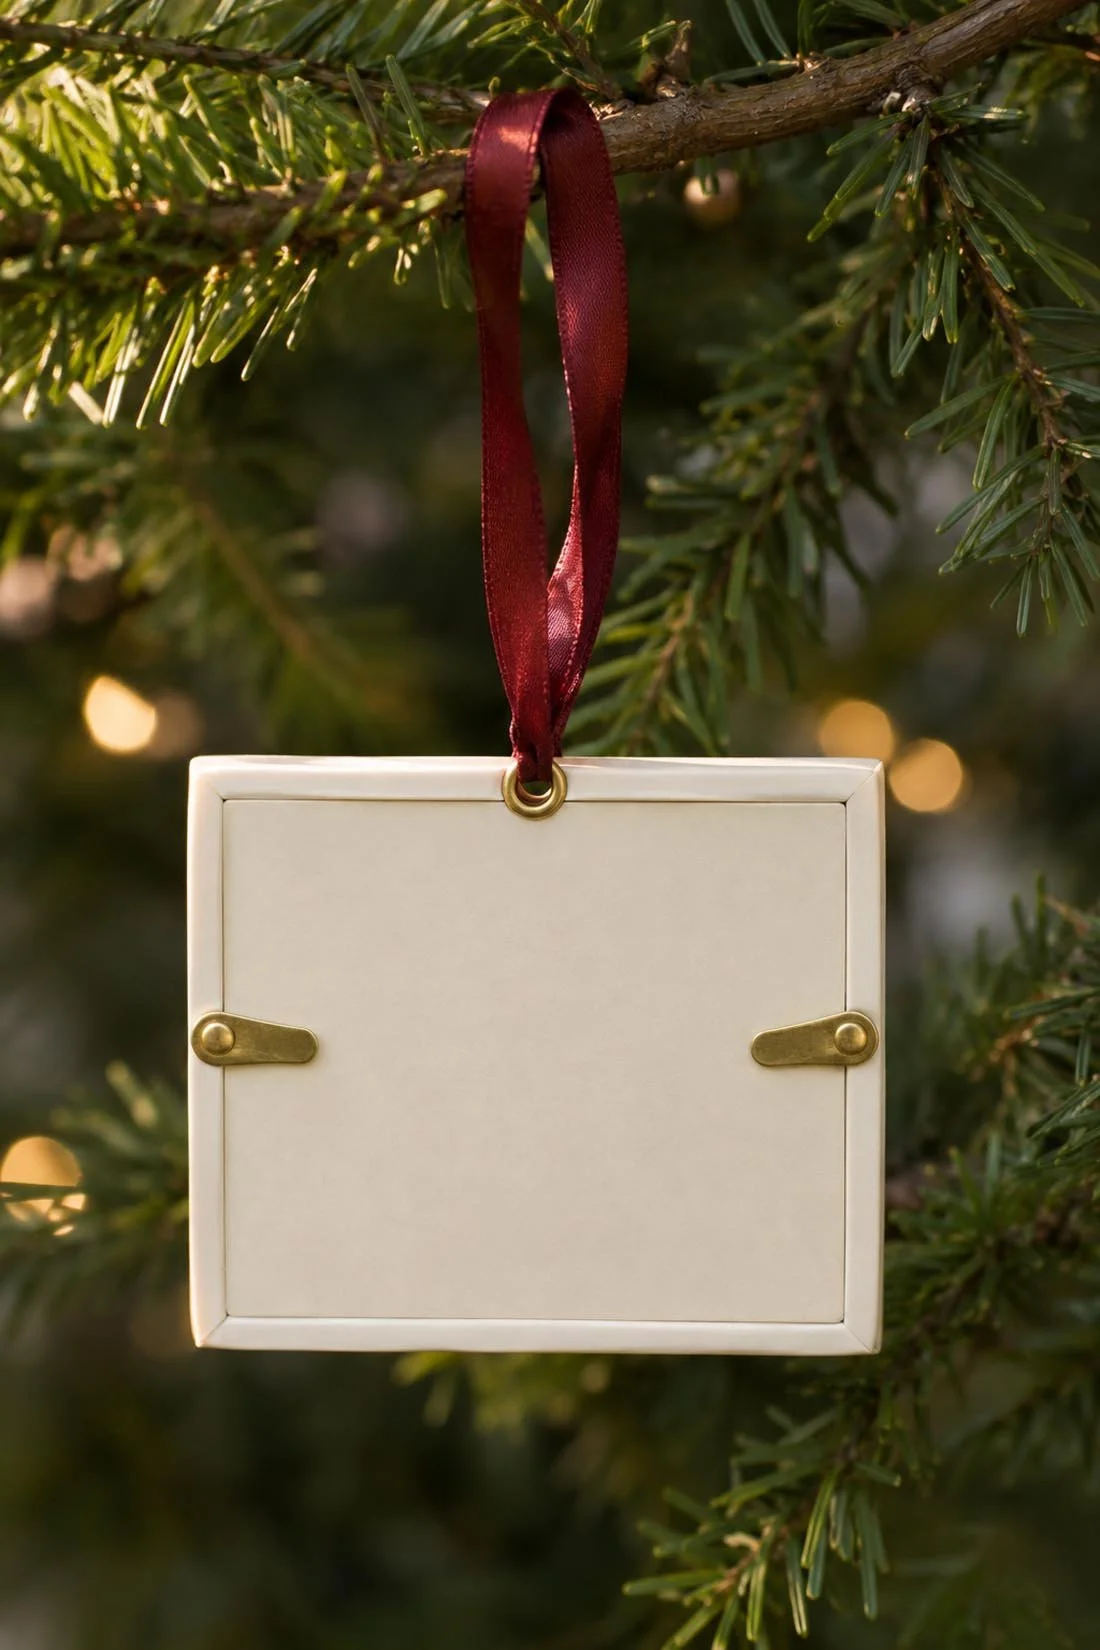
Place the print inside and close the backing as directed. Check that the photo stays flat and that the backing sits securely. If the frame holds the print in place, follow that design when you assemble it.
If you add ribbon, thread it through the frame's existing hanging point. Check the knot and loop before lifting the ornament. Hang it briefly in a place where you can support it from below while checking how it sits.
For several gifts, finish the first ornament before cutting the rest of the photos. Keep each person's photo beside their frame and box so the sets stay together.
Try a paper photo ornament
For an afternoon craft, you can make a flat ornament with a photo copy and firm paper. Cut a paper shape large enough to leave a border around the picture. A rectangle can hold a wide photo; a circle needs its own crop check.
Arrange the print on the backing before attaching it. If you're using adhesive, follow the label for the paper and print type. Try a small scrap first if you're unsure how the materials will react.
Leave room above the photo for a punched hole. Keep that hole far enough from the edge to hold the ribbon, then check the finished loop. If children join in, they can choose photos, decorate the paper border, or pick the ribbon while an adult handles the parts that need help.
Let any glue or other finish dry for the full time on its label before hanging or packing the ornament. Keep the craft copy separate from any old family print you want to preserve.
Check these details before ordering photo ornaments
If you prefer to order a finished ornament, compare the photo area as well as the outside size. A thick border can leave a smaller picture opening than you expect.
For example, the current Mpix framed ornament details list a 3-by-4-inch rectangle with a 2.5-by-3.5-inch image area. That example shows why the outside measurements alone won't tell you how the photo will fit. Other products have their own sizes and layouts.
Before checkout, check:
- Photo area: the shape and size where the picture appears.
- Material: the listed material, finish, weight, and care directions.
- Sides: whether the back is plain, printed, or available for another photo.
- Hanger: whether a ribbon or hook is included.
- Proof: every face, name, year, and edge of the crop.
- Quantity: which photo belongs to each ornament.
- Timing: production time, shipping time, and the current arrival estimate.
Use the shop's current estimate for your address and order. A production estimate covers making the item; check shipping separately. If you're giving the gift at a family visit before Christmas, plan around that visit.
For gifts you'll hand over around Bolivar or elsewhere in the 417, leave time to open the order and check it first. If you're shipping straight to someone, review the address, gift-message options, and package details before paying.
Pack the ornament with a note
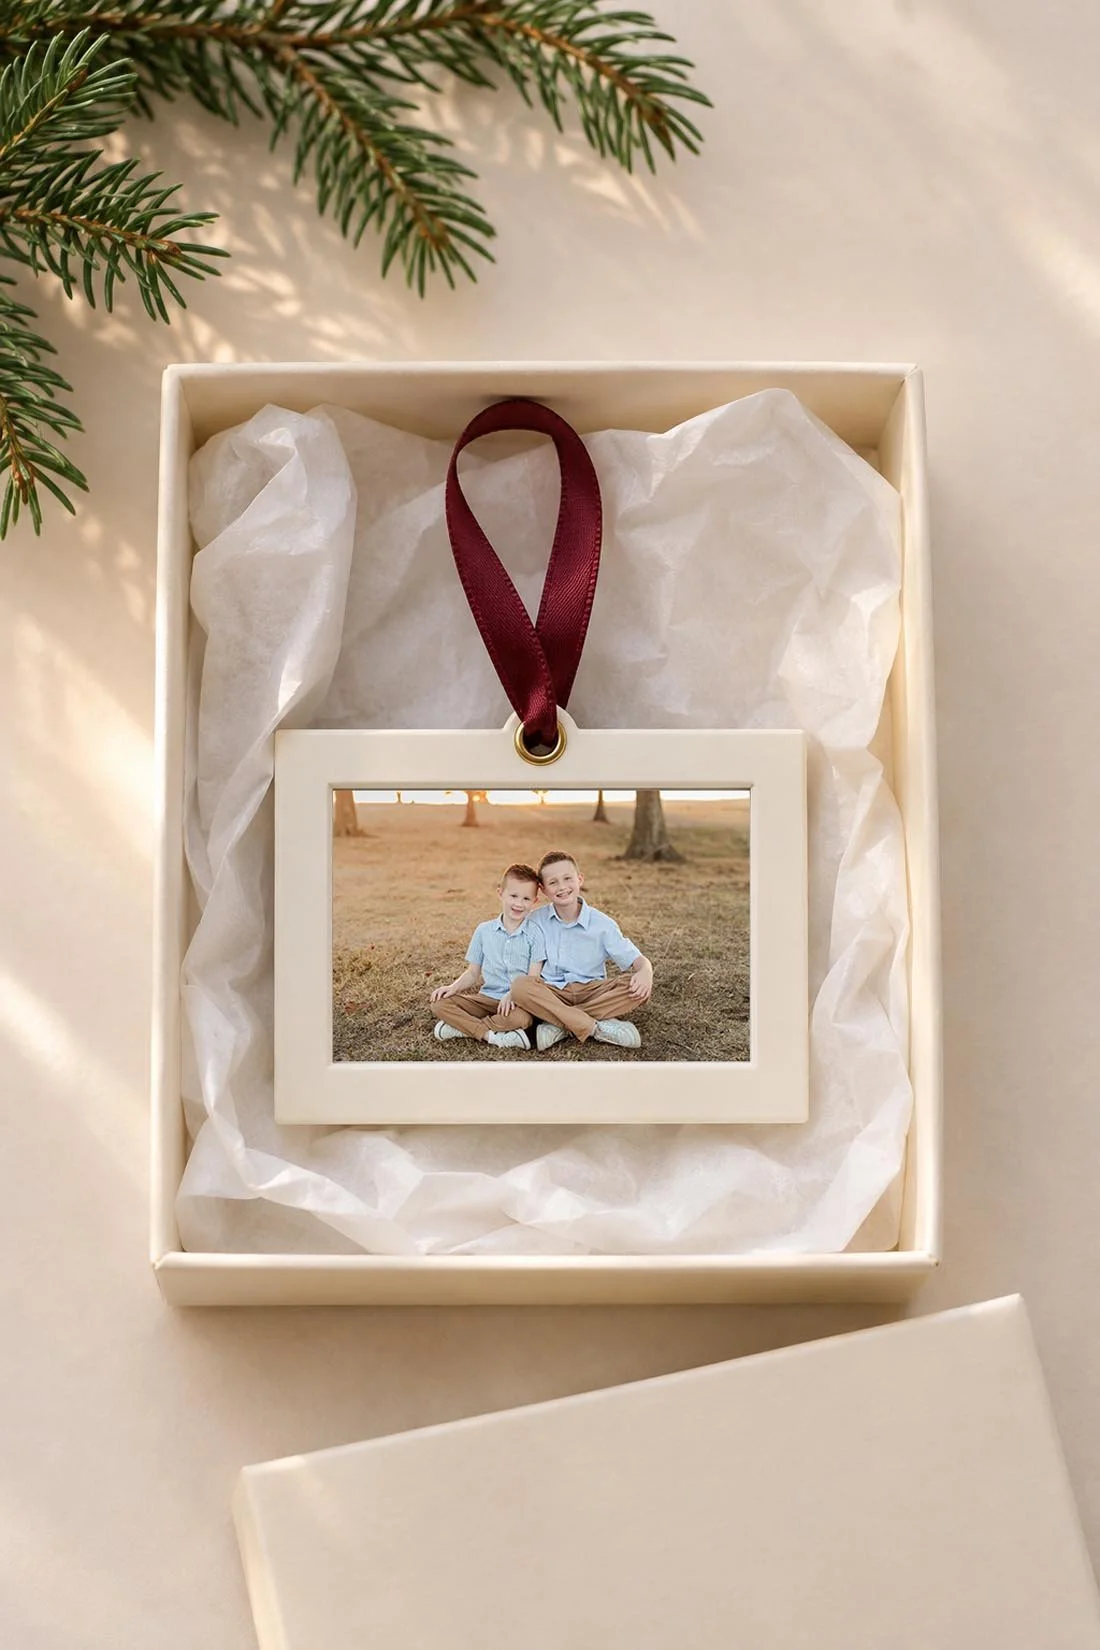
Choose a box that fits the ornament with room for the protection its material needs. Keep the ribbon from pressing across the photo face. Follow the maker's packing and care directions for a fragile ornament.
On a separate card, write who's in the picture and when it was taken, if you know. You could add one line about why you chose it: “This was right after we finished your birthday cake” or “For your first tree in the new apartment.” Use your own detail.
For an annual set, write the year on the card or use the ornament's text option when it has one. Keep names and dates in your saved order, too. That gives you a record when you want to make another next year.
