Framed photo gifts start with a picture the person loves and a spot where they can enjoy it. For Christmas, choose the photo, print size, mat, and frame together so the gift arrives ready for their shelf or wall.
A picture of the grandkids can go beside Grandma's reading chair. A photo from your friend's graduation can join the books on her desk. These steps help you make that one framed print, from the first photo choice to the last piece of wrapping paper.
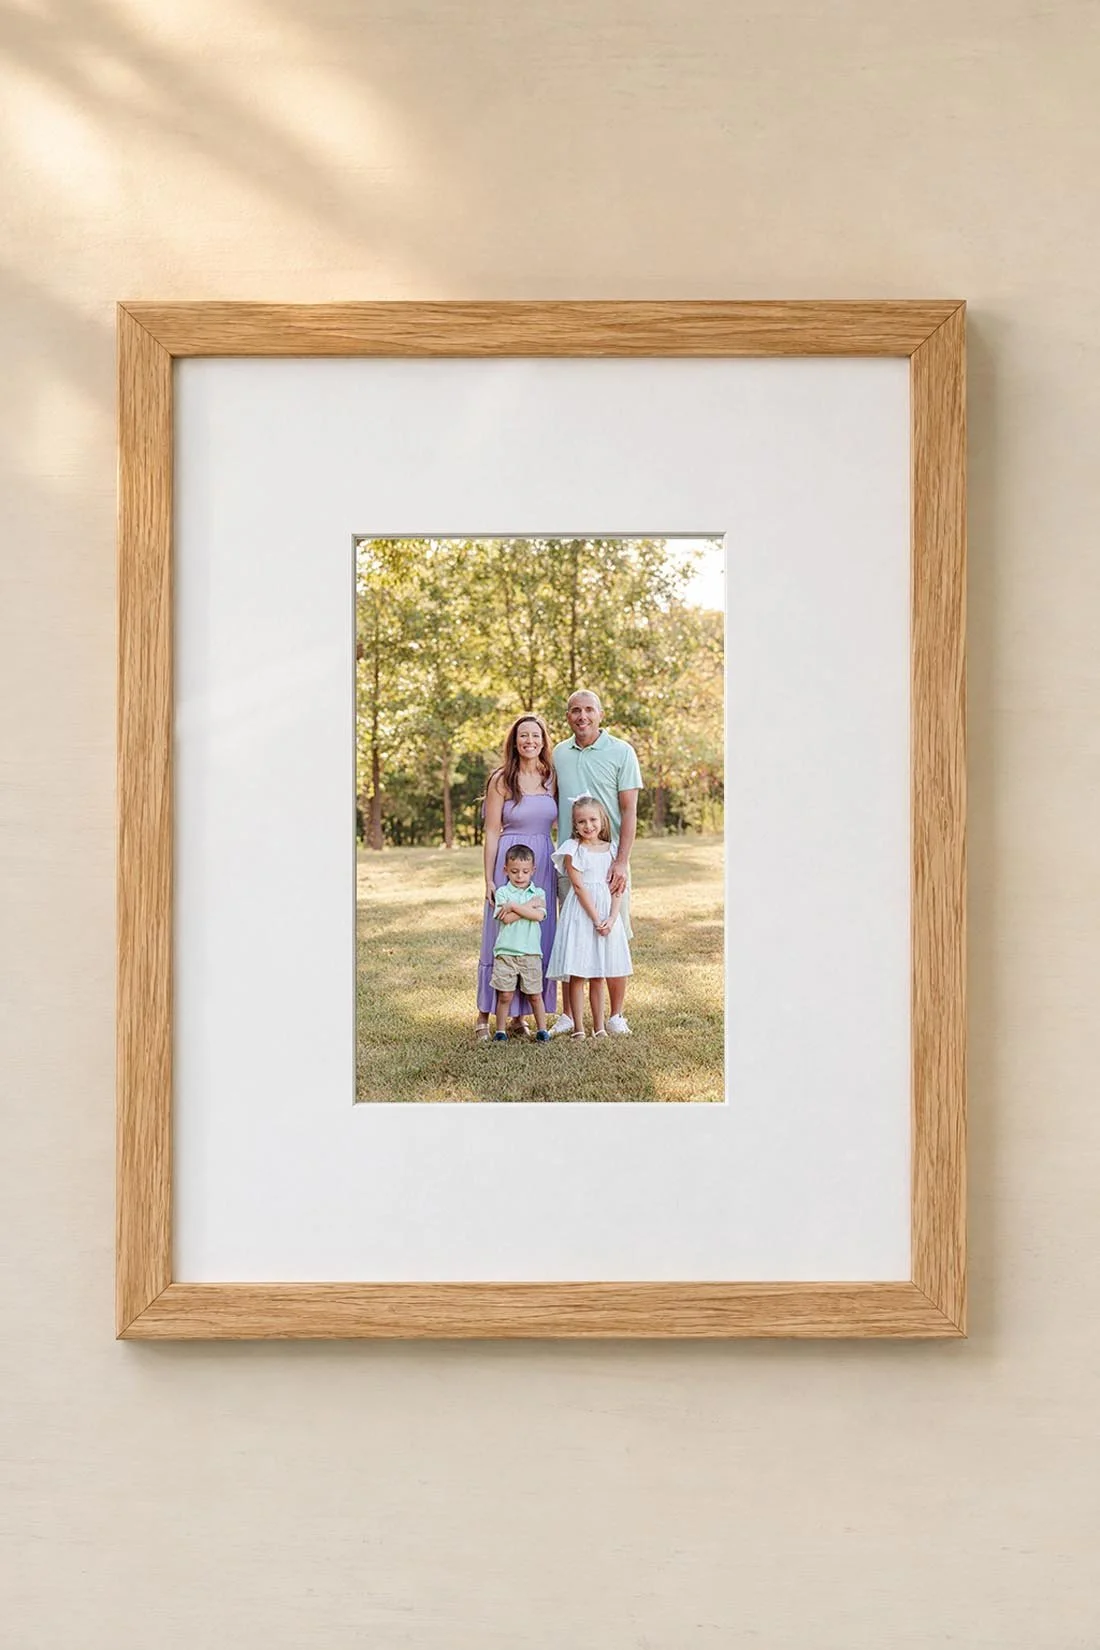
Start with the person and a place for the frame
Think about how the person already displays photos. Do they have a row of small frames on a dresser? A shelf with room for one more? A wall where they have asked for a family picture?
For a surprise, choose a size that leaves them some choice about where it goes. A small frame with an easel back can move between a desk, shelf, and bedside table. Check that the stand works in the direction of your photo. Some frames stand upright only.
For a larger wall gift, ask about the space first. You can keep the picture a surprise while asking, “What size frame fits above that cabinet?” Measure the frame's outside edges, plus any room needed around it.
A photo of the person with someone they love gives you a clear starting point. For grandparents, that might be a grandchild holding their hand. For your best friend, it could be the two of you in your caps and gowns. For a parent, consider a picture from an ordinary day they were part of.
If several people are giving the gift, choose one person to approve the final photo and size. Keep everyone's name on the card. That saves a group message from becoming a vote on seven almost-matching frames.
Choose a photo that works at the final size
Save two or three options before buying the frame. Look for a clear subject, enough space around the people, and a shape that fits the way you want to display it.
For a small desk print, a close portrait keeps faces visible from a few feet away. A wide family photo needs enough print space for each person. Open both options at roughly the planned display size on your screen and step back. This helps you compare the layout, though it cannot show the final paper color or sharpness.
Choose the picture the recipient likes, too. If they have already asked for a copy of one photo, start there. The picture they keep showing everyone has given you a useful clue.
Use the full-size download from the photographer or the original camera file when you have it. A screenshot or a photo saved from a group message may have fewer pixels. Check the lab's size warning before ordering. Ask the photographer or printer about the exact file if you are unsure.
For an older family picture, make a display copy and keep the original safe. The Library of Congress photo care guide recommends handling photos by their edges and keeping the work area clean and dry.
Match the print size, mat, and frame
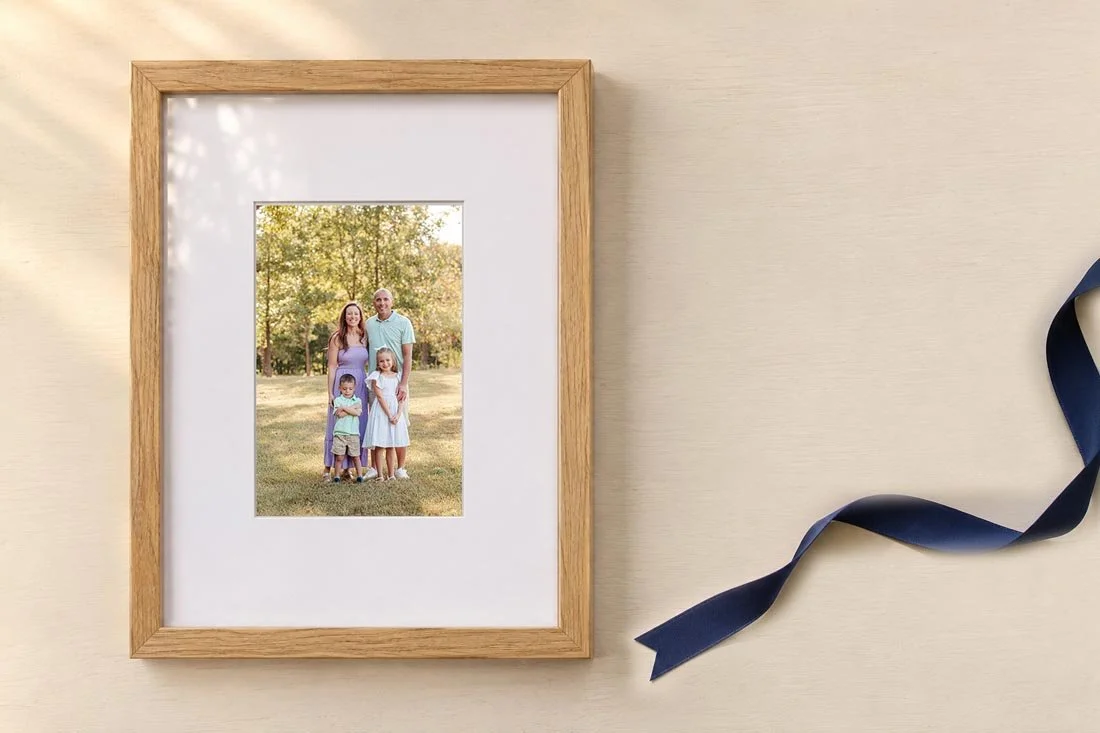
A print size describes the paper. A mat is the board around the photo, with a cut opening that shows the picture. The frame holds the mat and print. Its outer edges take up more room than the insert size on the label.
Read all the sizes listed on the frame before you order. “8 by 10” might describe the print it holds without a mat. With the included mat, the same frame may hold a smaller print. Check both the frame size and mat opening.
These are possible starting points. Buy a frame and mat that list your chosen print size:
| Gift location | Print to consider | Frame and mat to check |
|---|---|---|
| A small desk or bedside table | 4 by 6 inches | A frame for a 4 by 6 print, or a larger frame with a mat made for it |
| A dresser or shelf | 5 by 7 inches | An 8 by 10 insert with a mat made for a 5 by 7 print |
| A wider shelf or small wall space | 8 by 10 inches | An 11 by 14 insert with a mat made for an 8 by 10 print |
The mat usually covers a small strip of the print's edges to hold it behind the opening. Leave room around heads, hands, and anything else you want to show. Check the actual opening when a detail sits near an edge.
For a photo with an unusual shape, a custom mat can help. You can keep the print's shape and use a frame that fits the space. Ask the framer for the finished outside size before placing the order.
Let the recipient's home guide the finish
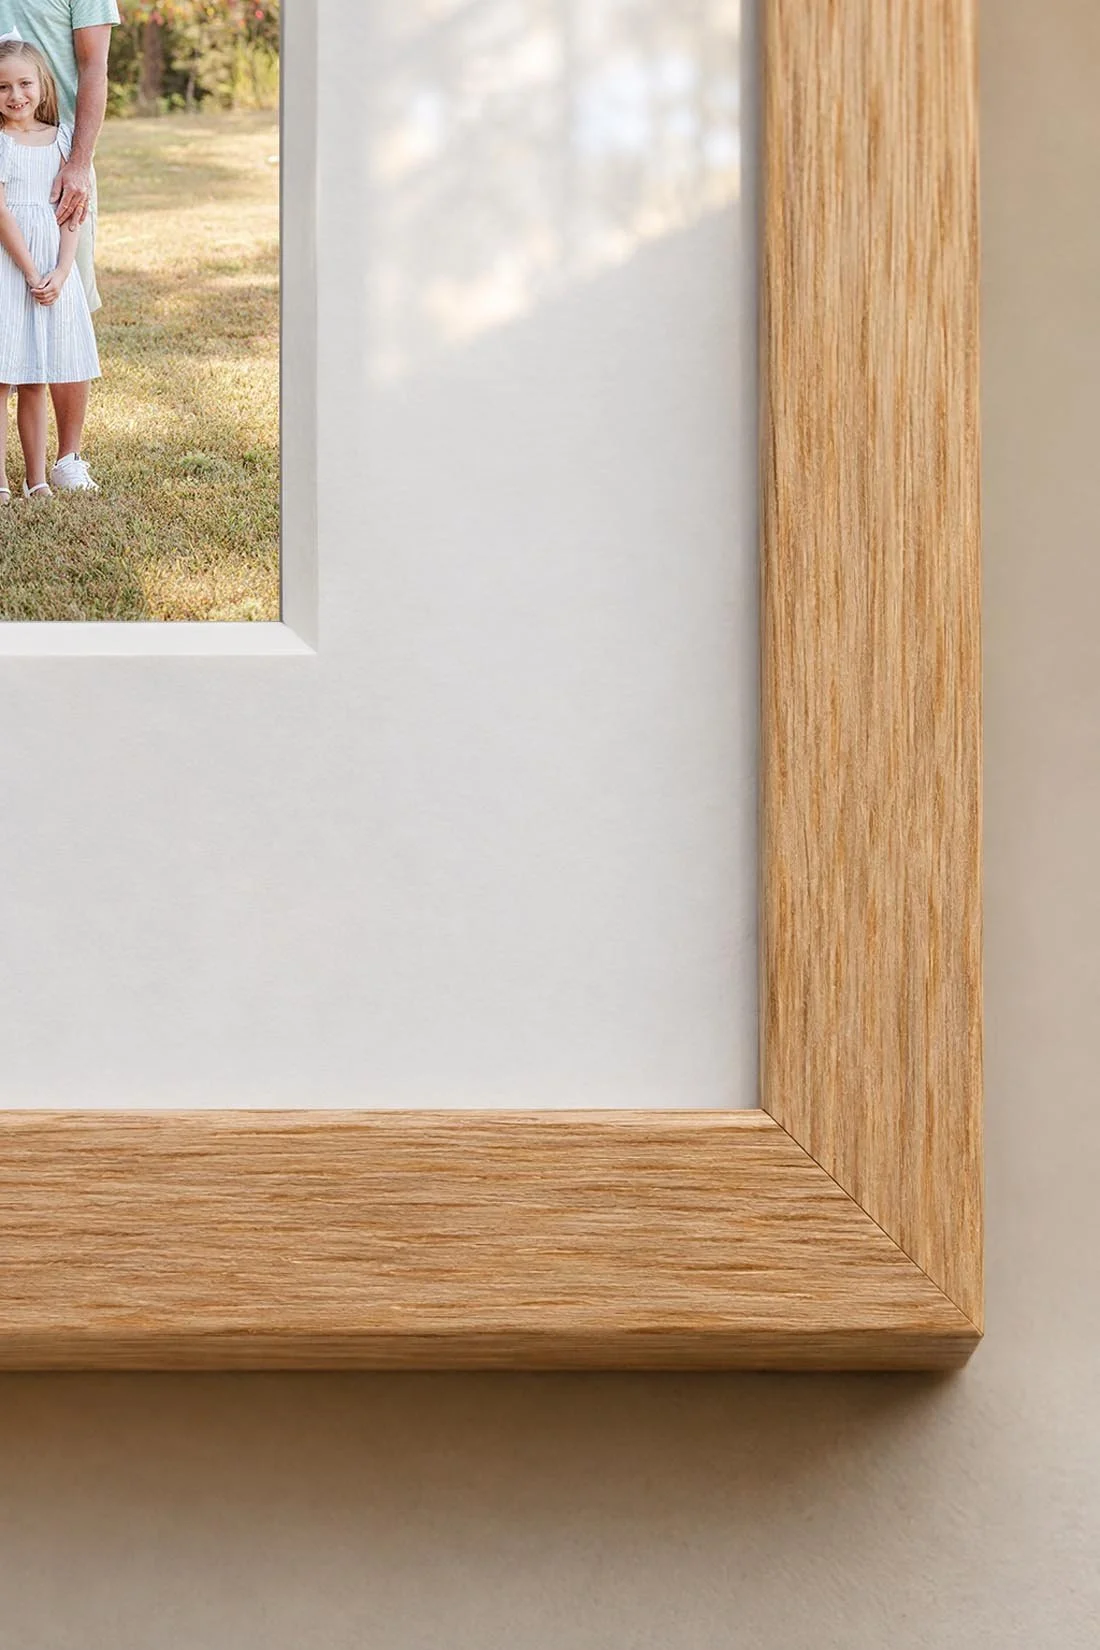
Look at frames the person already uses. Black, white, wood, and metal each give you a different place to start. Repeat a finish they have chosen, or ask which one they want for the room.
A white mat adds space around the photo. A warm cream mat can suit a room with warm paint and wood. Hold a mat sample beside the actual print when possible. A cream border and a bright white border can look quite different beside the same photo.
If the frame goes near a window, think about reflections. A matte paper finish can reduce shine from the print itself, but the glass or acrylic in front can reflect the room. Try the frame in the planned spot during daylight.
For a shelf gift, check its depth with the stand open. A frame that fits across the shelf still needs room behind it. Keep space in front of the frame so someone can reach it without knocking into nearby things.
Check the crop and print preview before ordering
The crop is the part of the photo that stays in the print. Different print sizes have different shapes. A 4 by 6 print has the same proportions as an 8 by 12. An 8 by 10 has a shorter long side compared with its width, so it may trim the top and bottom of a portrait.
Mpix explains in its photo preparation guide that a file with a different shape from the print size needs cropping to fill that print. Check the preview for the size you are ordering, even if you have printed the same photo before.
Before adding the print to your cart:
- Choose the print size and orientation.
- Move the crop box to keep the details you want.
- Check every face, the top of each head, hands, and the edges of clothing.
- Allow for the strip hidden by the mat or frame lip.
- Read any low-resolution warning and resolve it before checkout.
If the crop cuts through something you want to keep, try another print shape or a custom mat. Keep a copy of the full original file so you can return to it.
For a large order or a color choice you want to check, order a small test print first. Your phone's brightness does not show exactly how the paper looks. View the test in daylight and in the room where it will go.
For a print-and-frame service, review the whole finished design. Framebridge's ordering FAQ explains that delivery estimates depend on the item and shipping address. Check the current estimate for your order and leave time to inspect it before giving it away.
Assemble the frame on a clean table
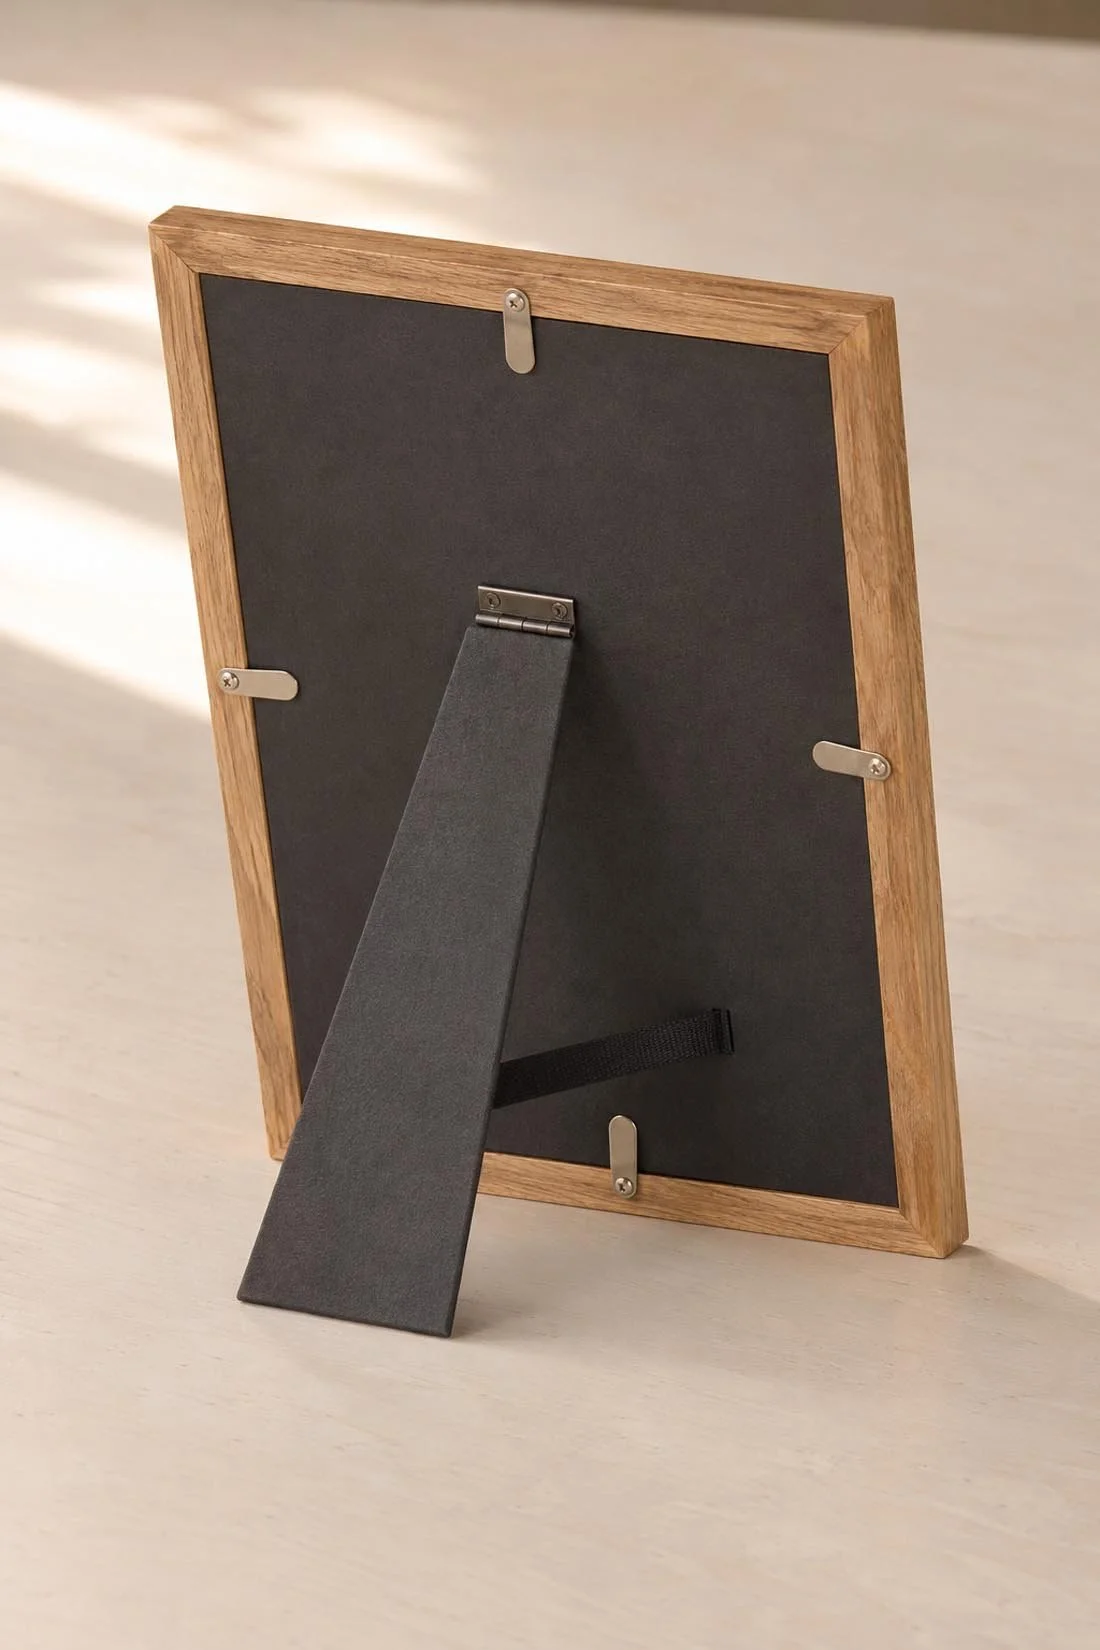
Before opening the frame, set out the print, mat, and the frame's instructions. Clear away food and drinks. Place a clean soft cloth under the frame to protect its front while you work.
Follow the instructions for removing the backing. If a tab resists, check how it opens before forcing it. Keep the glass or acrylic supported and handle it by the edges.
Clean the glazing as its maker directs, then let it dry fully. Check both sides for dust and marks before adding the print. Keep cleaner off the photo and mat.
Lay the photo behind the mat and check it from the front. When the frame provides photo corners or a mounting system, use those as directed. For prints you want to preserve, the Library of Congress advises against putting self-adhesive tape or glue on the photo. Ask a framer about a suitable mount if the frame leaves the print loose.
Close the backing, then look through the front once more. Check for a tilted photo, dust, a loose corner, and a head hidden under the mat. Stand the frame on its easel to make sure it sits securely. For a wall frame, include its instructions and any hardware the maker supplies.
Add a note and wrap the finished gift
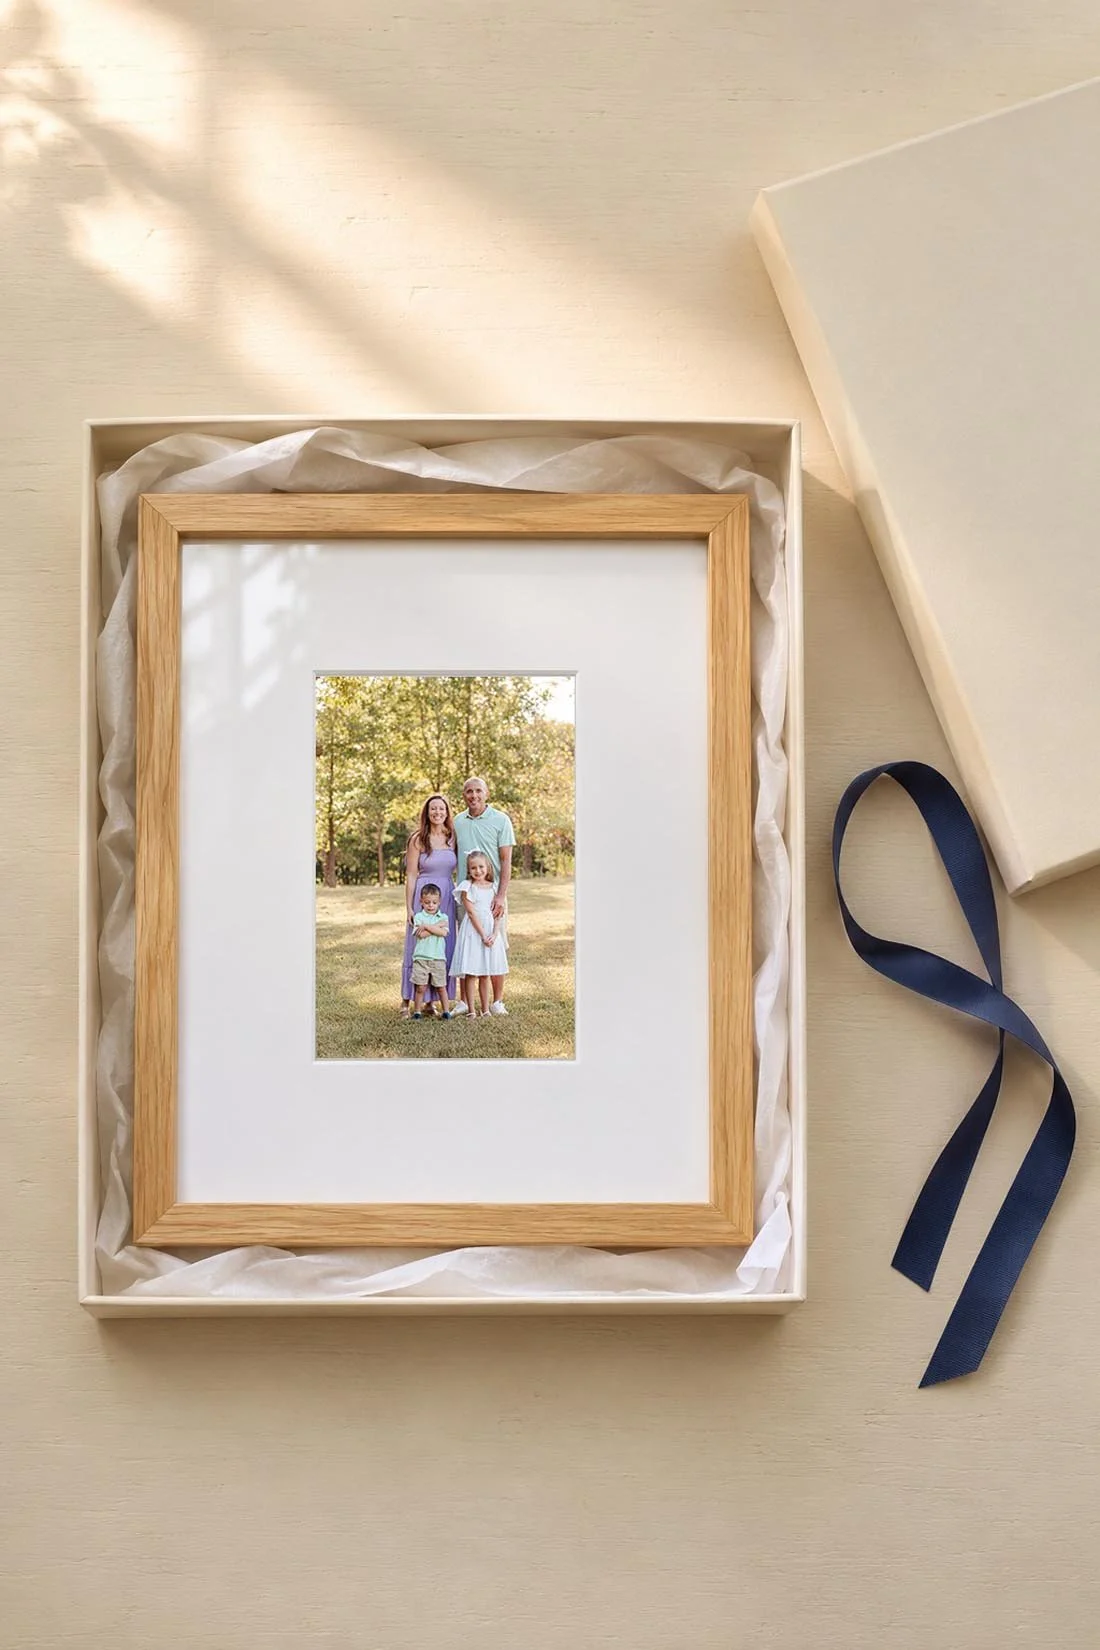
Write the names, place, and year on a separate card or a label for the frame's backing. A short note can name what you remember: “The day we both graduated” or “Your first fall with the grandkids.” Use the words that belong to your own picture.
For a senior photo, these Senior Sunday captions can help you find a line for the card. Leave the photo itself clear.
For a hand-delivered gift, protect the corners and put the frame in a box with padding around it. Keep ribbon and tape away from the glass. Add the card where it will be seen when the box opens.
For a gift traveling beyond Bolivar, MO, or the 417 area, use packaging made for shipping a glazed frame. A gift box alone may leave the glass and corners exposed to bumps. Follow the frame maker's packing advice or have a shipping service pack it.
Before sealing the box, take a final look at the front. Check the photo, remove any packaging film as directed, and tuck the gift receipt behind the card.