
How to Take Better Photos with Your iPhone This Summer
I love a good phone photo and while I also love the set of DSLRs in the studio, I think the best camera is the one you have in your hand. If you’re going to have your phone on your this summer, here are some must-know tips for taking better photos with your phone.
They are about light, timing, and a few settings most people never touch. Whether you are photographing friends at Dunnegan Park, documenting senior year at Bolivar High, or just want better photos in general, this is what actually makes the difference.
Clean Your Lens First
It is the most boring tip and the most effective one. The iPhone lens lives in a pocket all day and picks up fingerprint oil constantly. A smudged lens softens every photo you take, and you will not notice it until you compare a clean-lens shot side by side. Wipe it with a soft cloth before any shoot where the photos actually matter.
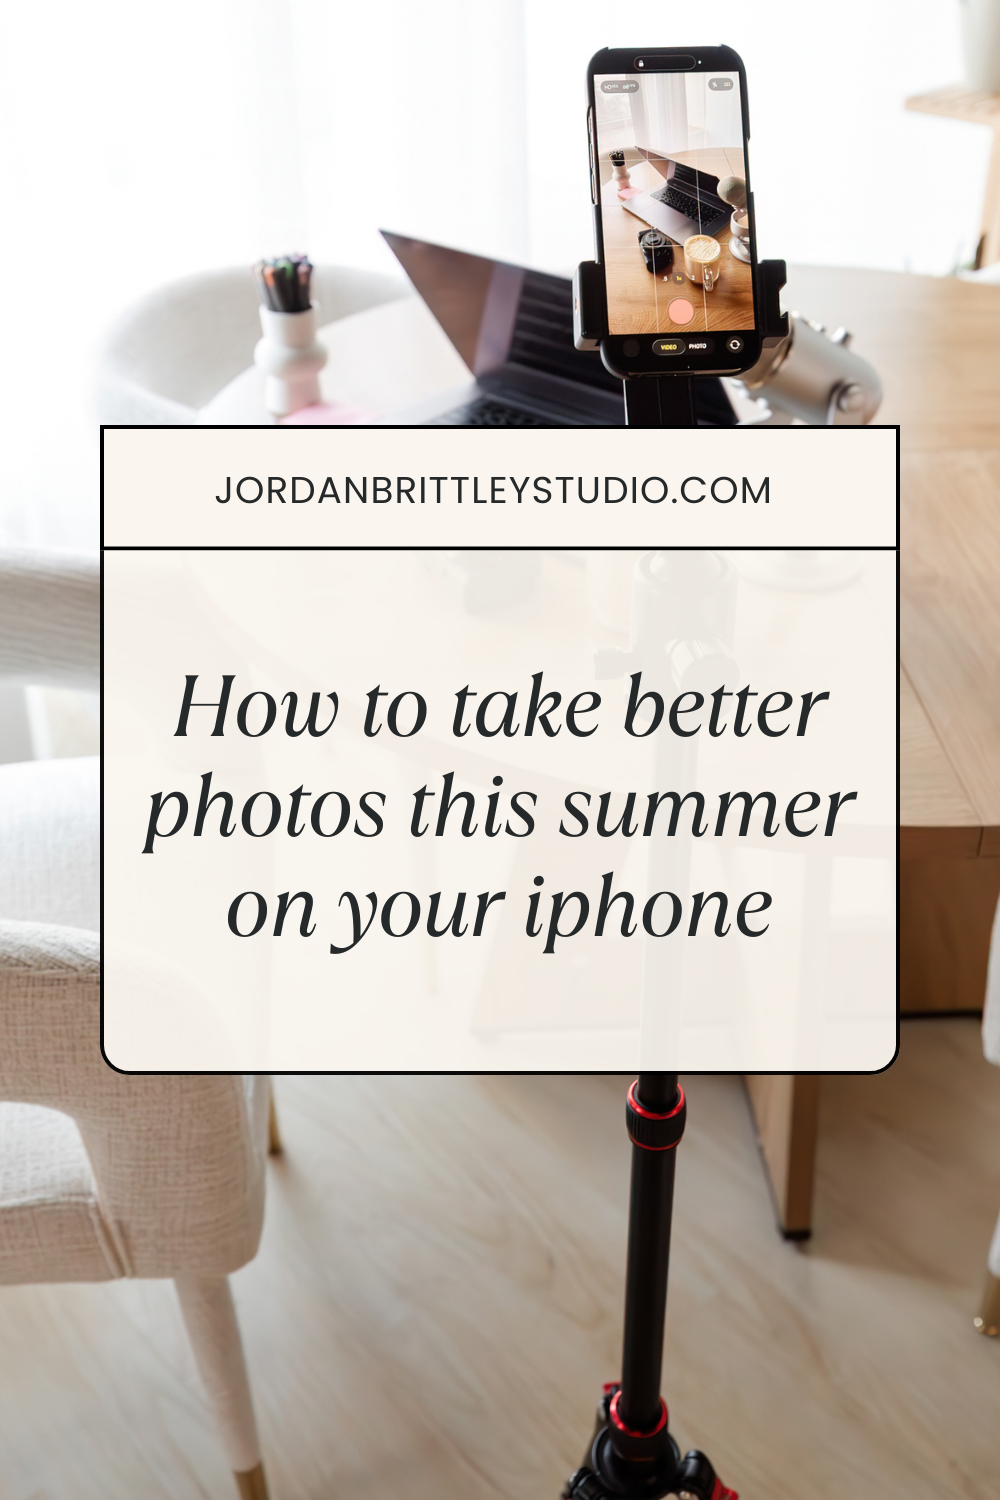
The Two iPhone Camera Settings Worth Changing
Most iPhone camera settings are fine at their defaults. Two are worth adjusting:
Turn on the grid
Go to Settings, then Camera, then toggle Grid on. The grid displays two horizontal and two vertical lines dividing your screen into nine sections. Where those lines intersect is where strong subjects sit. This is the Rule of Thirds, and turning the grid on makes it automatic to apply without thinking about it. Your photos will be better composed immediately.
Lock your focus and exposure together
When you tap the screen to focus, a yellow box appears. Tap and hold that box until you see AE/AF Lock appear at the top of the screen. This locks both the focus point and the brightness together so they do not shift while you are shooting. Without this, the iPhone re-adjusts constantly when something moves in frame. With it, you control the result.
How to Take Better iPhone Photos in Bright Light
Bright midday sun is one of the hardest conditions to shoot in. The light comes from directly overhead and creates harsh shadows under eyes, noses, and chins. Two fixes:
Find shade. Open shade next to a building or under trees produces even, flattering light with no harsh shadows. The light is still bright enough to get a clean exposure without the contrast problems that direct sun creates.
Embrace the sun. This is kind of a trendy look right now anyway and as long as you don’t overexpose the photo, it can be a nostalgic look.
Golden Hour: The Best Time for iPhone Photos in the 417
Golden hour is the hour before sunset and the hour after sunrise. The sun sits low on the horizon and produces warm, soft, directional light that makes almost any subject look better. Harsh shadows disappear. Skin tones go warm and even. Colors deepen.
In Bolivar and the 417, this timing maps directly onto the locations worth shooting at. Dunnegan Memorial Park at golden hour: the open grass, the tree line, the lake catching the light. It is a completely different location than Dunnegan at noon. The Bolivar Square at golden hour is what makes sessions like Ellaina’s look the way they do. The location is the same; the light is the variable.
For iPhone specifically, golden hour is forgiving. The soft light means the camera’s automatic settings produce a good exposure with less effort. If you have any flexibility in when you take photos outdoors, plan around this window.
Low Light: How to Take Better iPhone Photos After Dark
In low light, the iPhone slows its shutter speed to gather more light. A slower shutter means any movement, including your hands, produces blur. Two ways to fix this:
Stabilize your phone. Brace your elbows against your body instead of holding your arms out. Lean against a wall or rest the phone on a surface. Even small reductions in movement matter at slow shutter speeds.
Use Night Mode if it activates. On iPhone XS and later, Night Mode turns on automatically in low light; you will see a moon icon in the top corner. The mode takes a slightly longer exposure and combines it with software processing to reduce noise and recover detail. Hold the phone steady while it fires and the results are noticeably better than a standard shot in the same conditions.
How to Use Portrait Mode on iPhone
Portrait Mode blurs the background while keeping your subject sharp, the same effect professional cameras produce with a wide-open aperture. It’s technically a digital effect and not something happening with the lens which is why there can be a bit of distortion to it. But it’s a fun way to add an artisitic element to your photo.
On iPhone XR and later you can access it by swiping to Portrait in the camera app, or on newer models by tapping the portrait icon in Photo mode.
A few things that make Portrait Mode work better:
Distance matters. Portrait Mode needs the subject between two and eight feet away to engage properly. Too close or too far and the depth effect will not apply or will look off.
Light the subject’s face. Portrait Mode works best when the face is well lit. Near a window, facing soft outdoor light, or during golden hour all work well. Low-contrast light on the face produces cleaner depth separation than harsh directional light from one side.
Try the lighting options. After taking a portrait, tap Edit and then the Portrait button to see the lighting options. Studio Light brightens the face. Contour Light adds shadow definition. Stage Light blacks out the background entirely. These can be adjusted after the fact, so you are not locked into your choice at the time of shooting.
You can also apply Portrait Mode to photos you already took. In Photos, open any image and tap Edit; if the iPhone captured depth data when you took it, the Portrait option will appear.
iPhone Photography Accessories That Actually Help
Most iPhone photography accessories are optional. Two are worth having:
A small tripod
Any tripod with a phone mount works. It eliminates camera shake entirely, which matters in low light, for self-portraits, and any time you want to be in the frame yourself. A basic mini tripod costs under twenty dollars and fits in a bag without adding real weight.
A clip-on lens
The iPhone’s native wide angle is good, but clip-on lens attachments let you get more into the frame for group shots or landscape photos without stepping back further than the space allows. Moment and Sandmarc both make quality options for around fifty dollars.
A ring light helps for indoor portraits and selfies when window light is not available. It provides soft, even front light that reduces shadows on the face. If you are taking a lot of photos indoors, this is the fastest way to improve them.
What This Has to Do With Your Senior Session
Understanding how light works on an iPhone is directly useful when it comes to planning a senior photo session in Bolivar, MO. Golden hour timing, outdoor locations, and knowing what direction the light comes from are the same variables that make a professional session work. The camera is different but the principles are the same.
If you are planning your session and thinking through what to wear or what to bring, the senior picture outfit ideas post is worth reading before you book. When you are ready, book your senior session at Jordan Brittley Studio in Bolivar, MO here.
Jordan Brittley Studio | 112 South Springfield Ave | Bolivar, MO | Serving the 417
You Might Also Like
senior session on the Bolivar Square at golden hour in the 417
senior picture outfit ideas for your session in Bolivar MO
senior sports photos in Bolivar MO that feel like you
book your senior session at Jordan Brittley Studio in Bolivar, MO