Photo bookmarks pair a picture you love with a book someone wants to read. You can make one with a single photo, a short photo strip, or a photo on the front and a few words on a separate card.
For the friend with a stack of library books, the mom halfway through a novel, or the grandparent who reads before bed, this gift has a place to go. Pick the book first if you know what they want. Then choose the picture and make a bookmark that fits inside it.
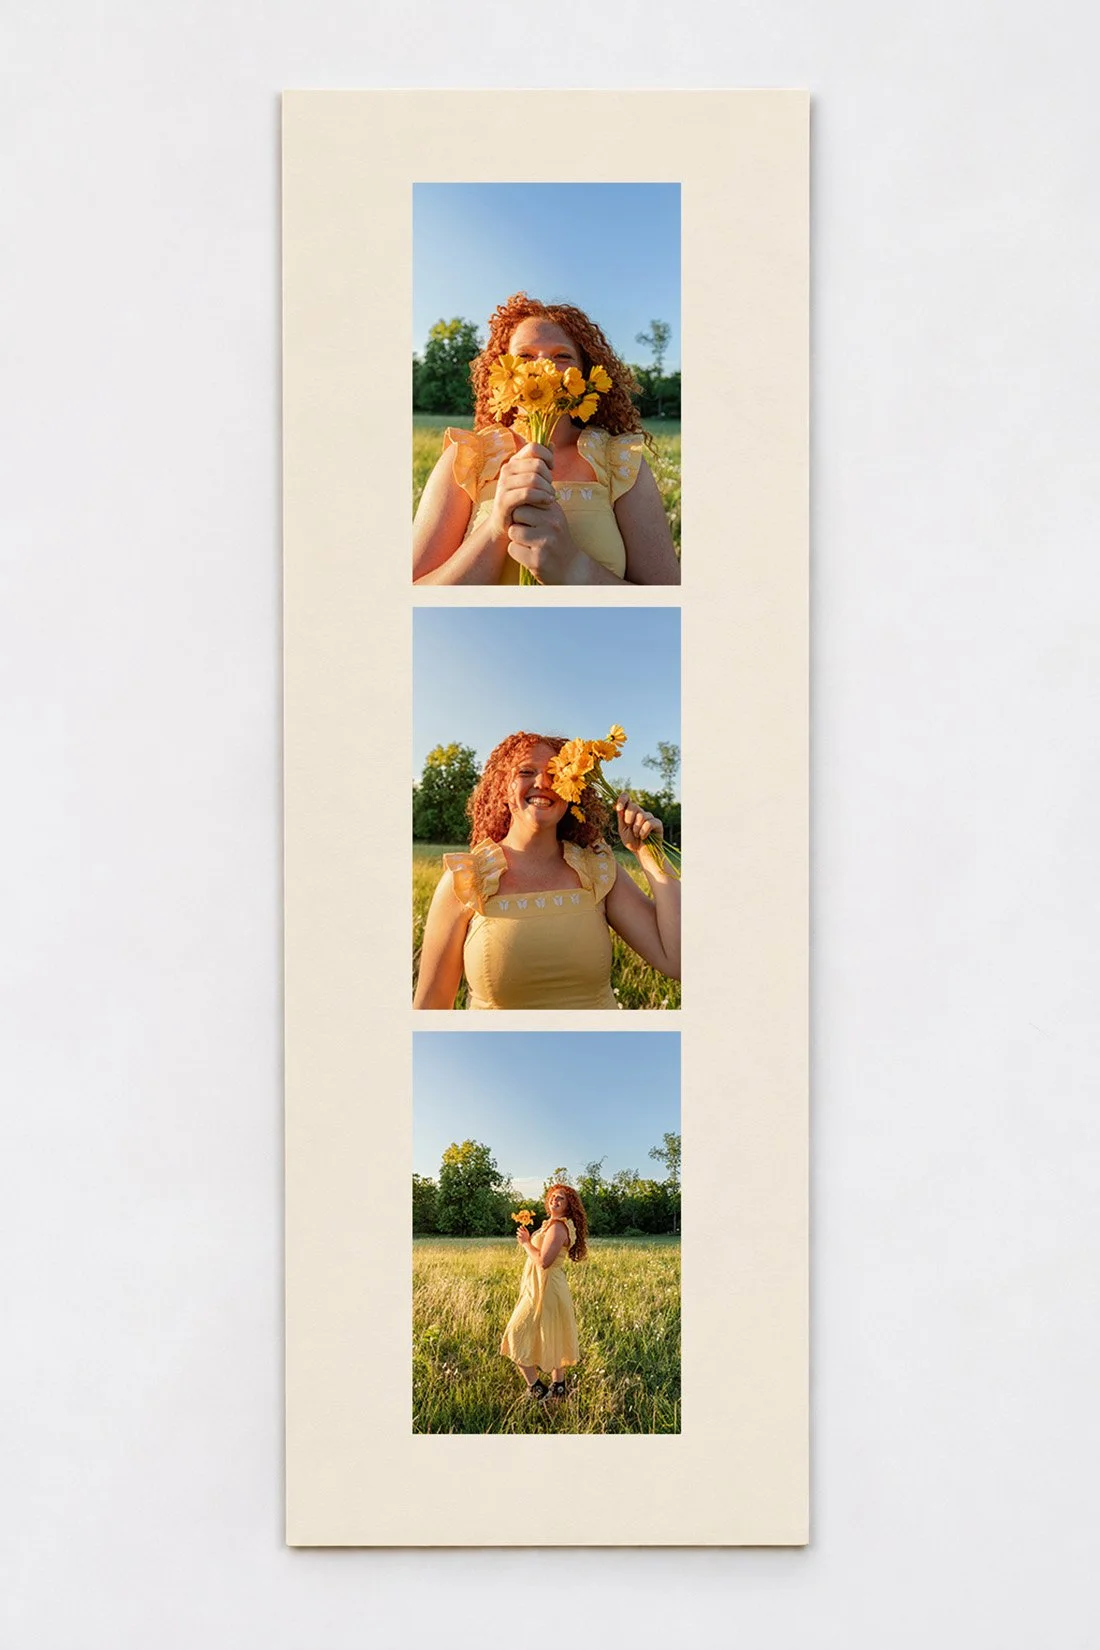
Choose a layout for photo bookmarks before you print
Start with the shape of the finished bookmark. A narrow strip gives you a different space to work with than a regular photo print. In its bookmark size and paper guide, Smartpress lists 2 by 6 inches and 2 by 8 inches as common sizes. Treat those as starting points. Check your book and the template you plan to use before you choose.
Cut a scrap of plain paper to your planned size. Set it beside the book, then tuck it between the pages. Look at the length that sticks out and how much paper sits inside. For a small paperback, a shorter bookmark may feel right. A larger book gives you more room.
For one photo, leave a border around a small print. A portrait can sit in the middle of the strip with open space above and below. This gives the whole photo room, including the edges you want to keep.
For a photo strip, stack two or three pictures down the front. Keep even gaps between them. Pick one border color and use it for the whole strip. Cream with a navy back is a starting idea. You can also pull a color from the photos, such as a blue shirt or yellow flowers.
Pick pictures that read well at a small size
A face near the camera, two people sitting together, or a pet on the couch can work at bookmark size. Before you settle on a photo, shrink it to the size you plan to print. You should still be able to see the part you chose it for.
A wide group picture needs more care. If the people turn into tiny dots, use that photo for a larger print. For the bookmark, try a closer picture or one with fewer people. Keep every person you mean to include inside the frame.
For a three-photo strip, choose a short set that feels connected. You might use three photos from one outing, one close picture with two wider ones, or a few pictures of the same pet. You can use a silly photo if you know the person likes it. Check with anyone pictured before sharing a photo they may want to keep private.
These everyday photos to take during senior year can help you think beyond the big events. A photo from your usual lunch spot may be the one your friend wants in her next book.
Use a copy of the photo file for your layout. Keep the full file saved on its own. If the only print you have is an older family photo, keep that print whole. Make a copy for the project before you reach for the scissors.
Keep each photo in proportion
When you resize a picture, keep its width and height linked. This means the whole photo grows or shrinks together. A face should keep the same shape as it has in the original.
A 4-by-6 photo has a different shape than a 2-by-6 bookmark. Shrinking the whole photo keeps its shape, but it leaves space on the bookmark. Filling the whole strip needs a crop, which cuts away part of the picture. Look at both choices before you print.
For a single portrait, try placing the full picture inside the narrow strip. For three portrait photos, use smaller boxes stacked down the page. Make each box fit the photo's shape. The faces may be smaller than on a full-size print, so check the paper proof.
If you crop, move the crop box until the details you want stay inside it. Check hair, hands, faces, and any person near an edge. Leave room around the photos for the final cut. If you plan a hole for ribbon, leave a clear band above the top photo, too.
Before you export the file, turn off any stretch-to-fill setting. If your app has a lock for photo shape, keep it on. The blank border can be part of the design. You can make the outer bookmark long and narrow while keeping every photo whole.
Try this three-photo paper layout
For a 2-by-6-inch test bookmark, try three photos that each measure 1 inch wide and 1.5 inches tall. Those photo boxes keep a full 2-by-3 shape. Put a half-inch border on each side so the photos sit in the middle of the strip.
The three pictures use 4.5 inches of the bookmark’s height. Two quarter-inch gaps use another half inch. That leaves 1 inch for the top and bottom borders. You could leave seven-tenths of an inch at the top and three-tenths at the bottom. Draw those boxes on scrap paper first. If you want a ribbon hole, check the hole size and edge clearance in the top border before printing.
This is a layout example you can change. The photo file still needs to suit each box. For a wide photo, keep the whole image inside the box with extra space or choose a crop you like. Keep width and height linked through every change. If a face looks too small on the paper test, try two photos instead of three. Let the finished print help you choose the count.
Choose paper and make one test print
For a first try, use paper that your printer supports. Check its manual for the paper type and weight it can take. Photo paper and cover stock come in many forms. A label such as matte tells you about the finish; it does not give you the full thickness or printer needs.
For its own printable bookmarks, the Library of Congress printing instructions suggest heavyweight letter-size paper and a test of front-to-back alignment. That is one paper example for that project. Your printer and your chosen photo paper may need a different stock or setting.
If you want a soft surface with less shine, try a matte sample. If you like a shiny print, try a gloss sample. Look at both in the light where the bookmark will be used. Check the skin tones, dark areas, and small faces on the actual paper.
A print shop may offer direct printing on bookmark stock. Ask about its photo file needs, finished size, trim line, and paper samples. If you want to write on the back, ask which stock and pen work together. Get the answer for that exact paper and finish.
Make one bookmark before printing the whole set. Print at the intended size and measure the result. A fit-to-page setting can change the size of your layout. Follow the printer's directions for drying before you cut, stack, or handle the printed face.
Trim a clean, flat bookmark
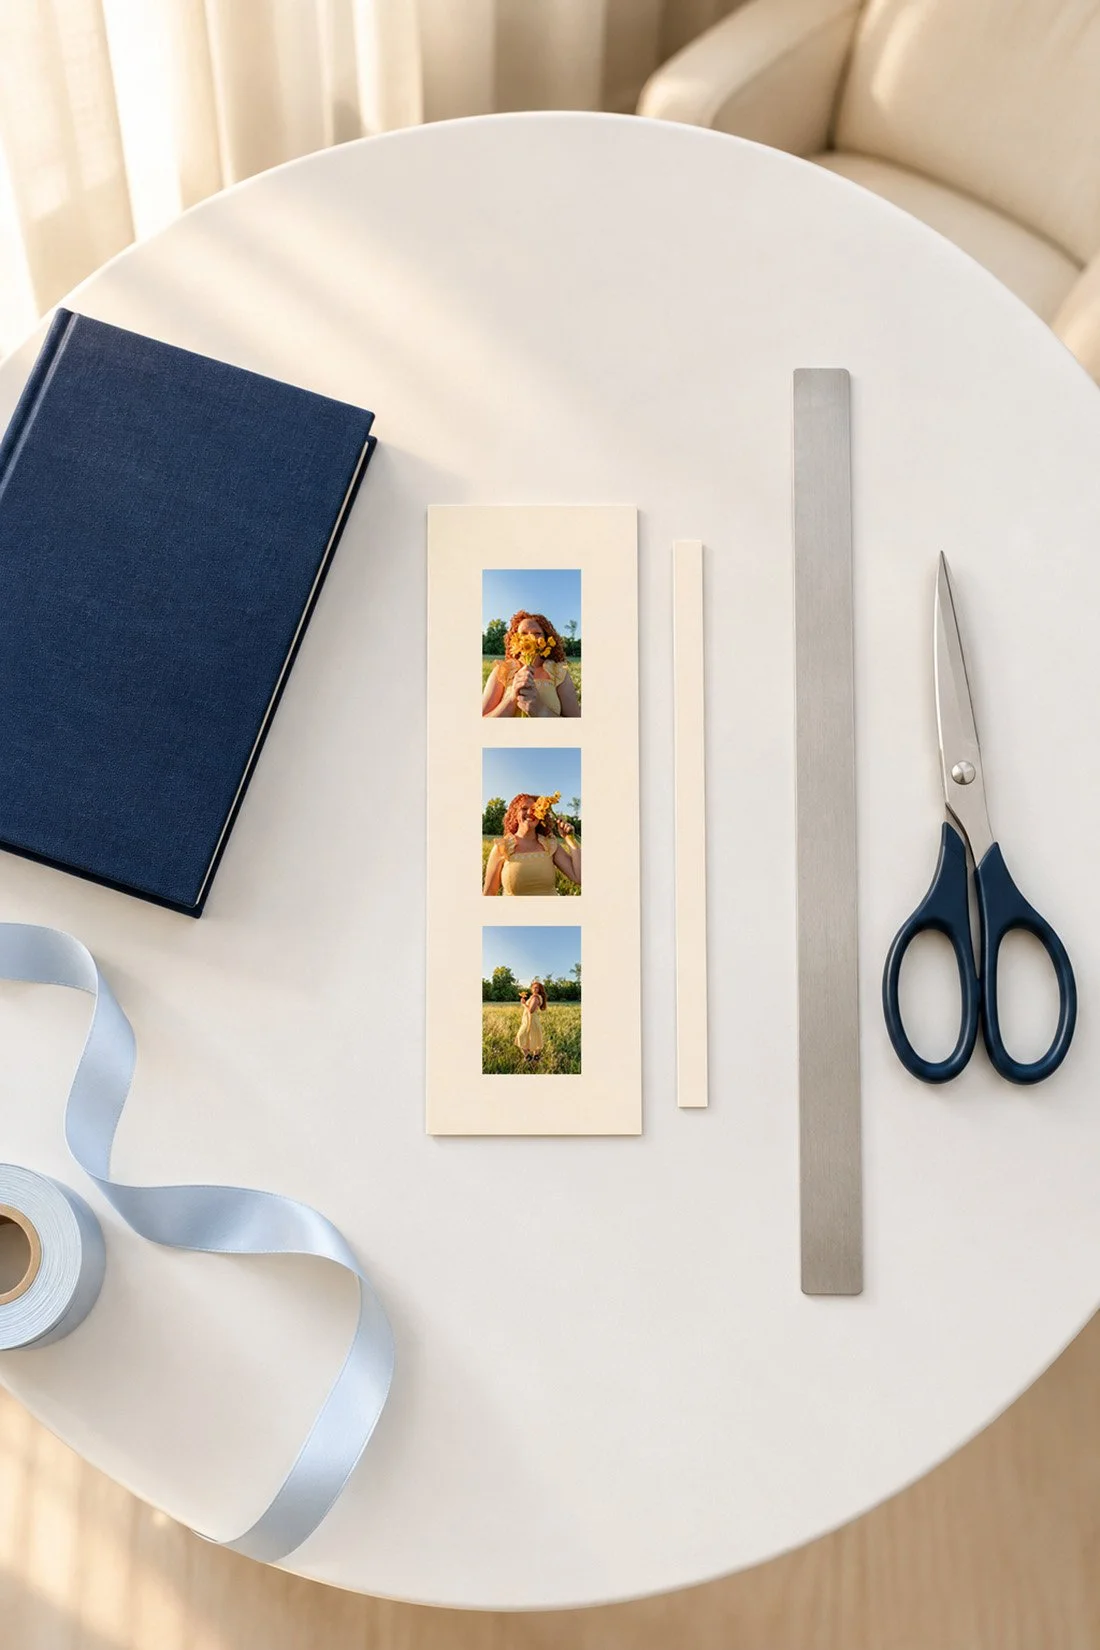
Once the test print is ready, mark the outer cut lines away from the photos. Work on a flat surface. A straightedge can help you check the line before cutting. Use tools that you can control, and let an adult handle sharp cutting tools when children join the project.
Trim a little outside your marked line first if that helps you keep the piece steady. Then finish the edge. Check both long sides against each other. Keep the top and bottom square, or use a corner tool made for paper if you prefer small rounded corners.
For a two-sided design, hold the print up to a light before you trim. Check that the front and back line up. Print another test if they do not. A narrow white edge on one side can become much more clear once the bookmark is cut.
If you mount a photo on a backing strip, use a method suited to those exact materials. Let it set as directed. Check for raised edges, sticky spots, and bends. A second layer adds thickness, so compare the finished piece with your first paper test.
Keep your saved photo layout and note the paper and print settings that worked. If you make a few more later, you can use the same file. These ways to keep your senior-year photos together can help you save the full photos alongside the small gift version.
Keep the bookmark thin and the ribbon clear
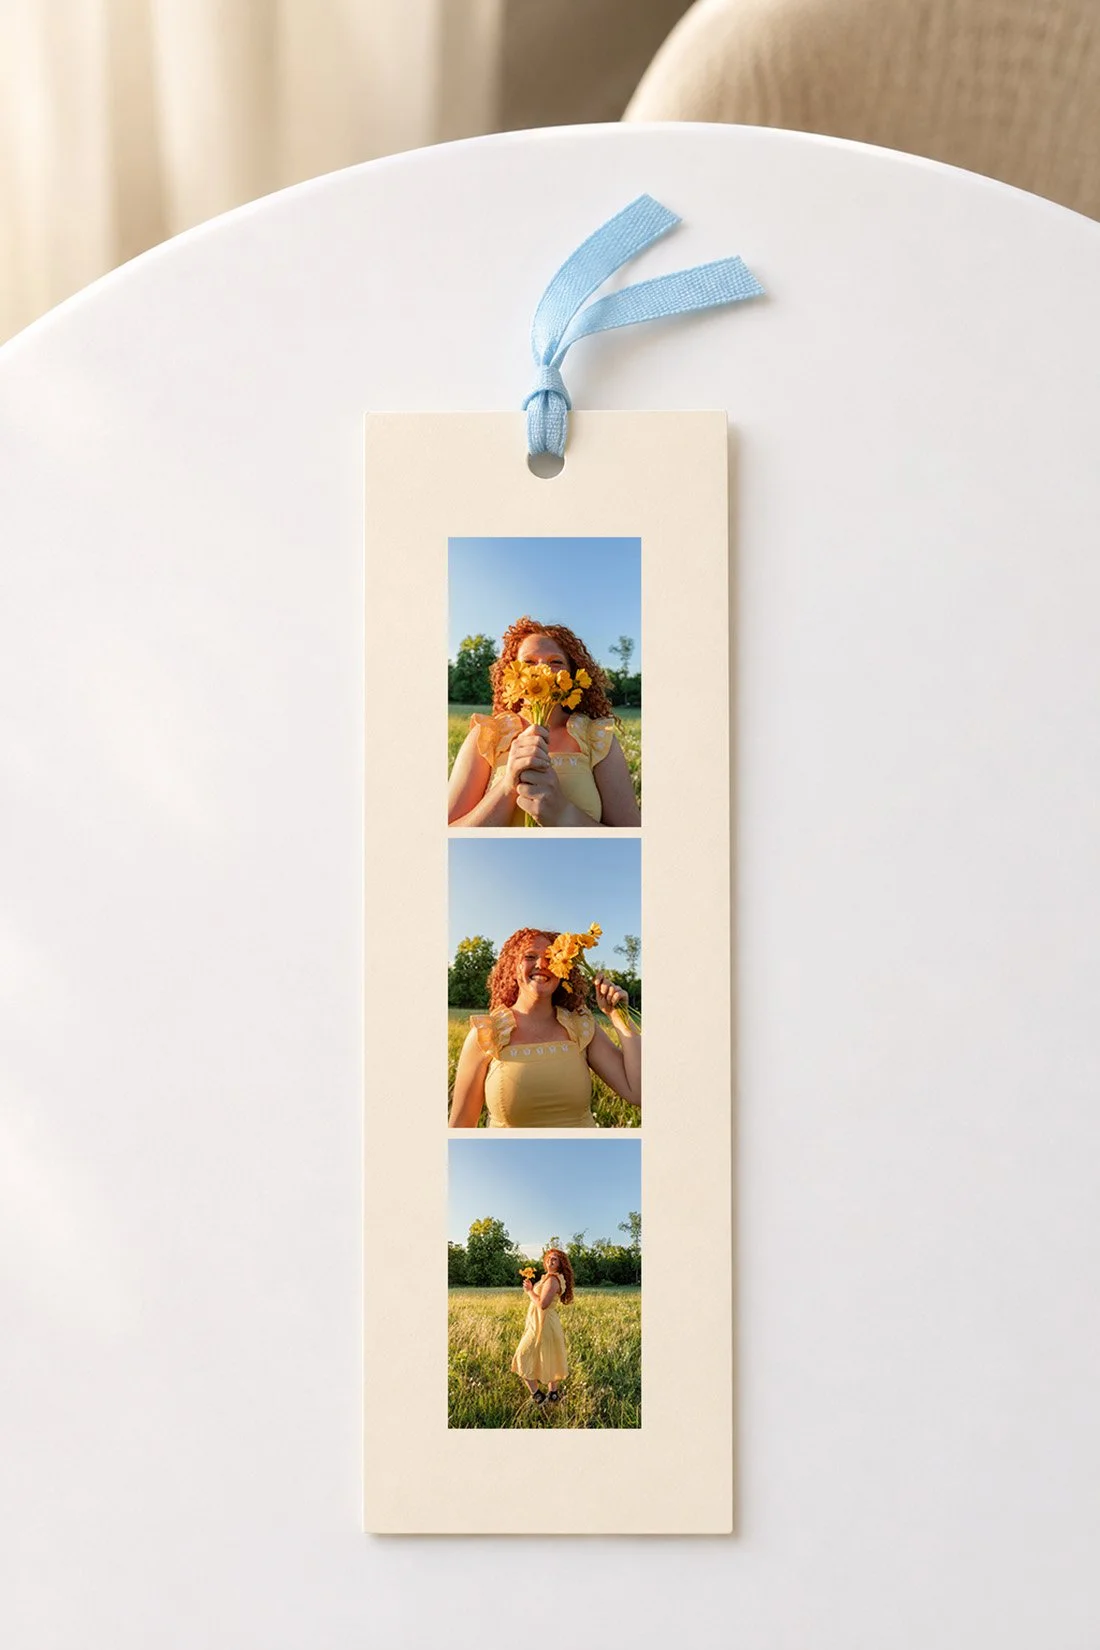
A bookmark needs to sit between paper pages. The National Archives guide to caring for books recommends a thin piece of paper or a length of ribbon to mark your place. It advises against thick objects and metal clips that can distort or tear pages.
Keep that use in mind while you decorate. Flat paper is a useful starting point. Put beads, charms, and a bulky bow on the gift wrap if you want them. Give the bookmark a separate sleeve for the handoff.
If you add ribbon, punch a small hole in the clear top border. Keep it away from the photo and from the cut edge. Try a narrow ribbon with short ends. Leave the knot and ribbon above the page block during use. You can also leave the bookmark without a hole.
Before wrapping, check the finished bookmark in an ordinary book of your own. Close the book gently. If it leaves a lump or makes the covers sit unevenly, reduce the layers or choose a thinner version. Keep a handmade photo bookmark with everyday reading copies. For a valuable old book, follow its care needs and give the photo gift separately.
Add a note on a separate card
A separate note gives you room to say why you picked the book or the photo. You can write a few lines without trying to fit tiny words between the pictures.
Try a note such as, “I picked this book because you said you wanted to read it.” Or tell them which photo you chose: “This is from our walk after dinner.” Use your own true detail. You can also write a short book wish, such as, “For your next read.”
If you want words on the bookmark itself, try a short name or date in the open border. Keep it clear of faces and trim lines. Test the pen on a spare piece of the same paper first. Follow the paper and ink maker's directions before packing it.
Put a longer letter in the envelope. The bookmark can stay focused on the pictures. Your note can explain the gift, name the people in the photos, or suggest reading the same book together.
Pair it with a book they want
For a friend, choose a title she has mentioned or the next book in a series she reads. A photo of the two of you can go on the bookmark if you both like the picture. If you plan to read along, add the plan to the note and let her choose a day to talk about it.
For a parent or grandparent, think about what they pick up on their own. That might be a novel, a book about a hobby, or a collection of recipes. Choose a photo they enjoy and keep the bookmark size in mind. A large cookbook may suit a longer strip than a pocket paperback.
For a teen heading to college, pair the bookmark with a book from a wish list or a reading journal they asked for. Use a photo they want to take with them. Ask before you choose a childhood picture for a gift they may use around friends.
For someone who uses the library, give the bookmark in a sleeve on its own. You could tuck in a note with a book title to try. Keep any library plans flexible and check current local details before making a plan around an event or opening time.
Check the whole gift before wrapping
Lay out the book, bookmark, and note together. Check the photo faces at their printed size. Look for a clean cut, dry ink, loose edges, and a ribbon that stays clear of the image.
Slip the bookmark into a paper sleeve or a small envelope. Place it with the note on top of the closed book. This lets the person find the photo gift before opening to a random page. Keep tape on the wrapping and away from the bookmark and book.
If you plan to order printing, check the current production and delivery estimate before paying. Leave room to see the proof and correct the crop. For a home-printed gift, save time for the test print and drying step. Pack the finished gift when all three pieces are ready.
Photo bookmark questions
Can I make a bookmark from a regular photo print?
Yes. Use a duplicate print and plan the cut first. To keep the full photo, mount a smaller copy inside a longer strip. To fill the whole narrow shape, crop a copy and check what stays in frame.
How many photos fit on a photo strip bookmark?
Two or three are a useful starting point. The final count depends on the bookmark size and each photo's shape. Make a paper proof so you can see the faces at their real printed size.
Does a photo bookmark need ribbon or laminate?
Both are optional. A flat paper version can be the finished gift. If you choose a coating or laminate, check the finished thickness and follow that product's directions. Keep any ribbon knot above the pages.
What can I give with a photo bookmark?
Try a book from the person's wish list, a reading journal they asked for, or a note with a title you think they may enjoy. Choose the book and photo for that person. The gift can stay small enough to fit in an envelope.
You Might Also Like
Hobbies to try during senior year
What to put in a senior year time capsule