Photo keychains and lockets work best with a clear, close photo and a crop made for the actual opening. This guide helps you choose a picture, print a small test, fit it, and wrap the finished gift.
A face can look clear on your phone and turn tiny when you print the whole picture. I’d choose the keepsake first, then give that face enough room. A little smile you can see each day is a good place to start.
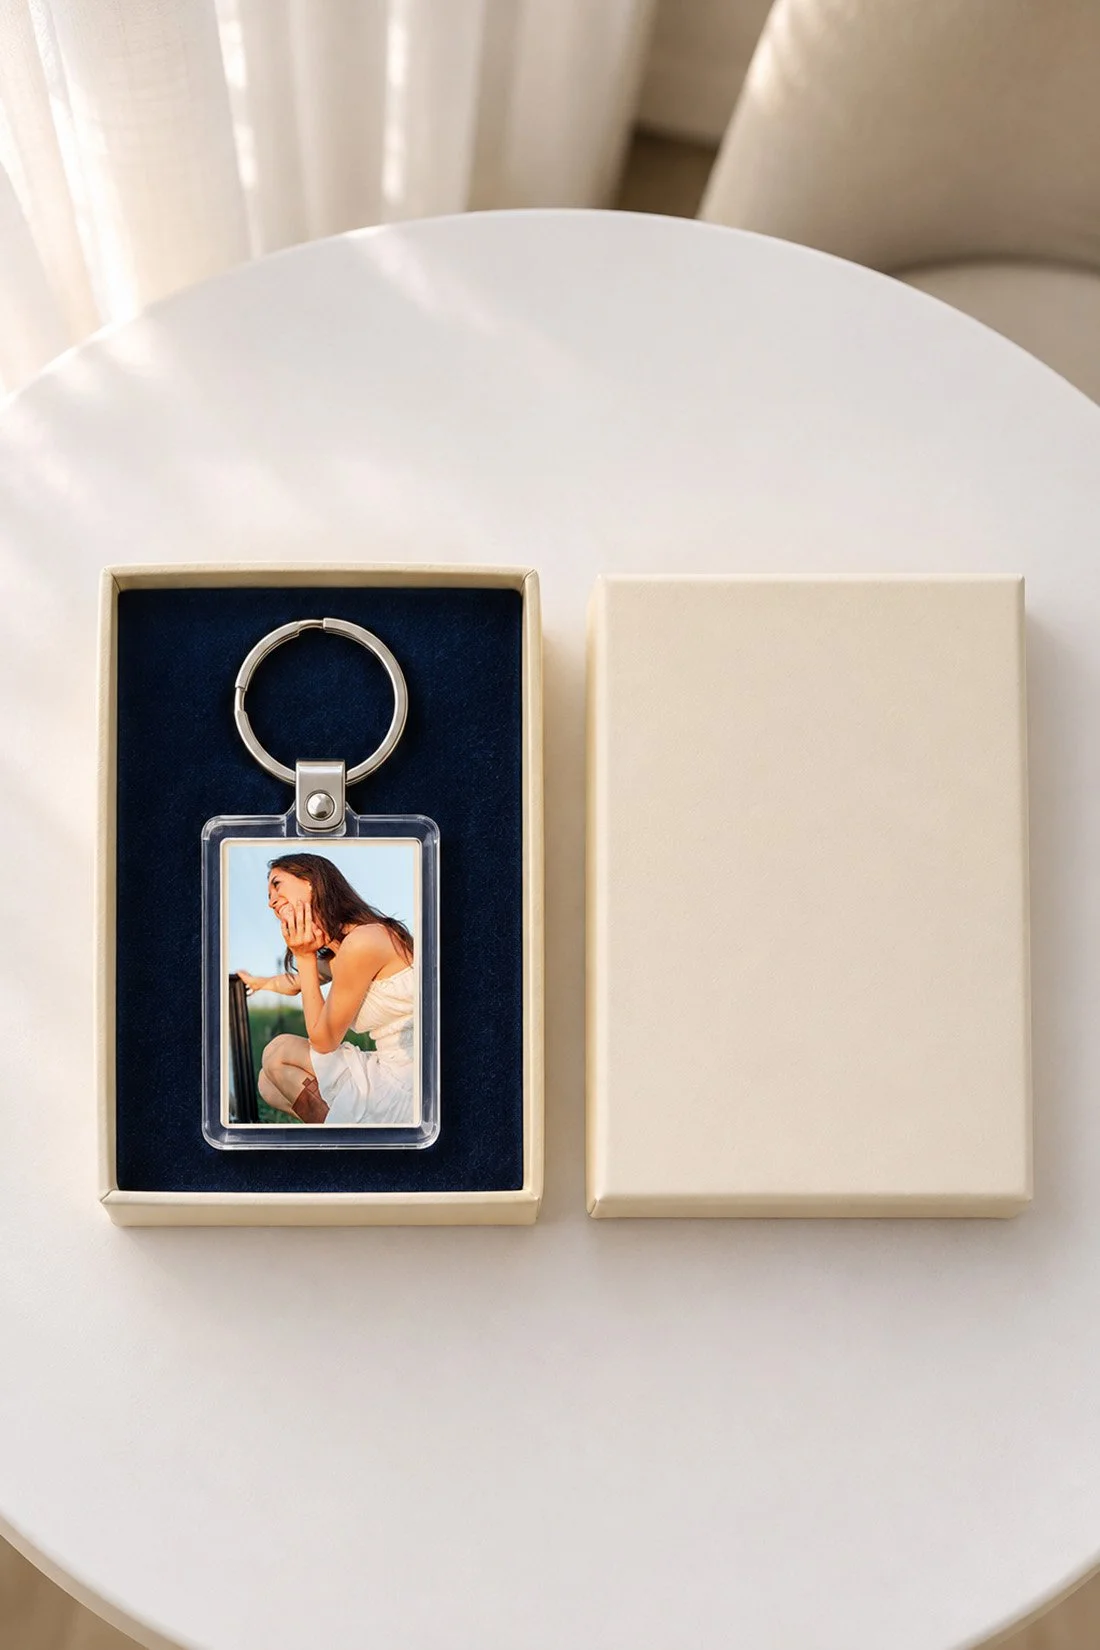
Choose a keychain or a locket for the person
Think about how the person uses photos. A keychain puts a picture with something they carry. A locket gives them a small picture they can open and look at. Start with what they already like to use or wear.
For a senior who wants a photo on a bag, check the bag’s loop and the keychain’s clasp. For a parent who wears small necklaces, look at the size and metal details of the pieces they choose. Ask about the style if you’re unsure. You can keep the photo choice a surprise.
A keychain can also hold a pet portrait, a close picture of two friends, or a small scene from a trip. A locket can hold one close face or two separate pictures if its design has space for both. Check the number of photo spaces before you plan the pair.
For a holiday gift, check the current shop’s making and shipping dates before you order. Add time to choose a crop and check a test print. A custom photo order may need a review step, and each shop sets its own process.
Check the photo opening before you print
The outside size of a keepsake tells you how large it looks. The space inside tells you what to print. A thick rim, hinge, or latch can take up room around the picture.
Read the exact product page and any guide that comes with your item. Look for the insert size, the shape of the photo area, and whether you add the photo yourself. Some sellers fit it for you. Others send an empty keepsake for you to fill.
For example, the Made By Mary locket photo guide lists different photo sizes for its oval locket and mini oval locket. Use the guide for the model you have. A size from another locket can leave a gap or cover part of a face.
If the maker includes a template, keep it with the item until the photo fits. A template is a shape guide for the print. Confirm which part is the guide before removing anything. If the opening or closure is unclear, ask the seller for help before trying tools on it.
For a used or older locket, keep any existing photo and parts safe. Work over a clean tray so a small insert has a place to land. If the piece needs repair, let a jeweler check it before you add a new print.
Pick a photo that reads at a tiny size
Start with three pictures. Look for a face with clear eyes, a pose you like, and enough space around the head for the opening’s shape. A close photo often gives you more room to work than a wide group shot.
A full-body picture can work when the pose is the part you want to keep. Print it small before you choose. See whether you can make out the details you care about when you hold it at a normal distance.
For two people, try a picture with their faces close together. Put the crop around both heads, then check each side. If one face ends up near a rim, try a wider opening or give each person a separate photo space.
For a pet, check the ears as well as the eyes. A tall pair of ears needs room above the head. For a small place or object, choose a clear shape that stays easy to see when reduced.
Use the full photo file you have permission to print. Save a separate copy for this project so you can change the crop without losing your original. If you are taking a new picture, our phone photo tips can help you start with a clear file.
Match the crop to the shape
A rectangular opening gives a photo straight sides. An oval removes the corners. A heart narrows near the bottom and has a dip at the top. Keep those edges in mind as you place the face.
In your photo editor, turn on the crop preview for the needed shape when it is available. Move the picture within that shape. Check the top of the hair, both eyes, and the chin. Leave room between the face and the rim where the file allows it.
To change the fit, enlarge the whole photo at the same rate in both directions. Then move it to choose what stays inside the opening. Keep the person’s face in its original shape.
An oval preview needs more than a check of the middle. Follow its curved sides with your eyes. A cheek, ear, or strand of hair may sit near an edge even when the center looks right. If the crop feels too close, try another photo with more room around the head.
For a rectangular keychain, check how the ring joins the body. A clear tab with a small link and a metal connector can leave different spaces above the picture. Follow the actual printable area rather than centering the photo within the whole keychain.
Make a small print proof
Print one test before you make the final copy. Use the maker’s template and size settings. Check the print at its real size with the keepsake beside it.
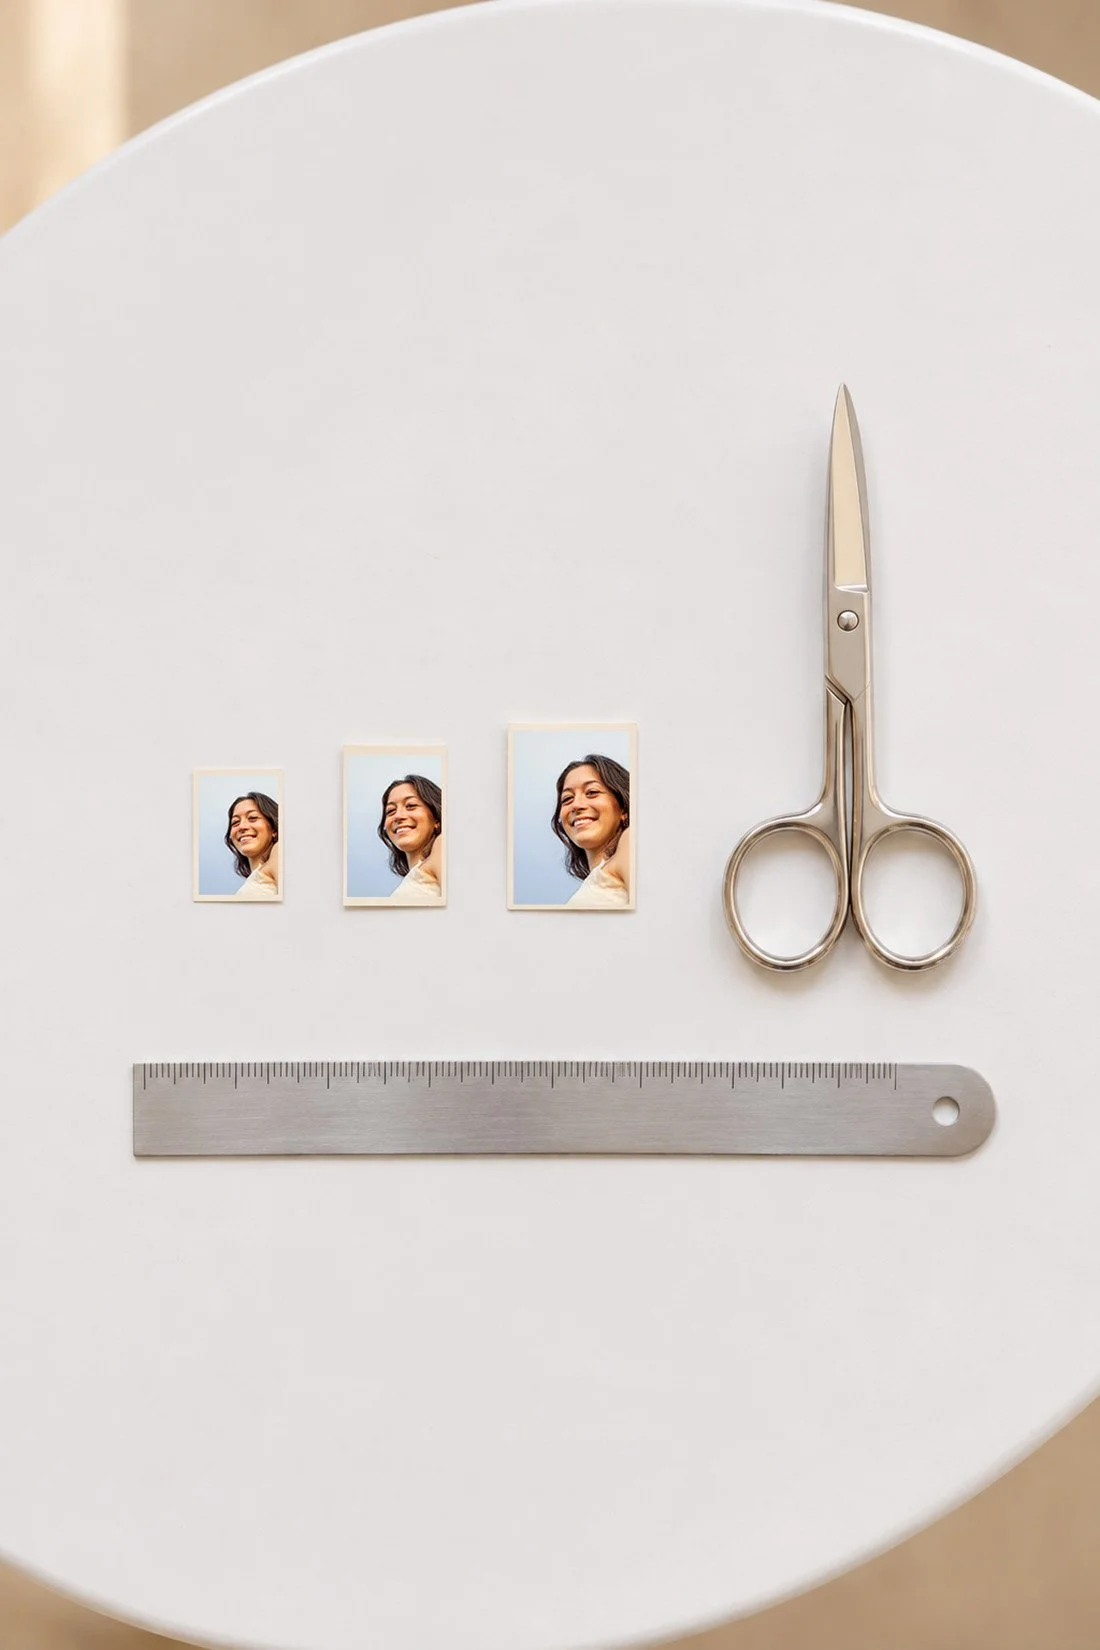
When a template includes a size check, measure that printed check with a ruler. A printer’s fit-to-page setting can change the size of a whole sheet. Choose the setting the template calls for, then confirm the paper result.
You can also print a few crop options on one sheet. Keep track of which crop belongs to which opening. Leave enough space between them to cut without touching the next picture.
Look at the proof in good light. Can you see both eyes? Does the smile read clearly? Is a key part of the face close to the edge? If the picture needs a change, return to your saved copy and print another proof before trimming the final photo.
Check the back as well as the front when a keychain holds two inserts. Plan which picture faces each side. A spare print can stay in the gift box for a later change if the keepsake is designed to open again.
Fit a photo in a keychain
Set the keychain on a clean, steady surface. Read its assembly steps before you remove the cover. Some parts snap in, while other designs use a different closure.
The Neil Enterprises snap-in keychain guide gives steps for one of its photo-and-mirror styles. Those steps belong to that item. Check your own keychain for its photo size, opening point, and cover type.
Trim the final print to the correct insert shape. Keep the photo flat as you place it. Before closing the cover, check that the face sits upright when the ring is at the top.
If the print bunches or the cover needs force, stop and check the fit against the instructions. Keep tools away from the photo face. Once the cover is seated as the maker directs, check the edges and the ring connection.
For a bag gift, let the person choose where to attach it. You can give the keychain in its own box with a note about the photo. That leaves the bag and its hardware as they are.
Fit a photo in a locket
Keep the locket supported as you work. Use the exact maker’s directions for lifting a cover, trimming the picture, and holding it in place. Add glue only when those directions call for it.
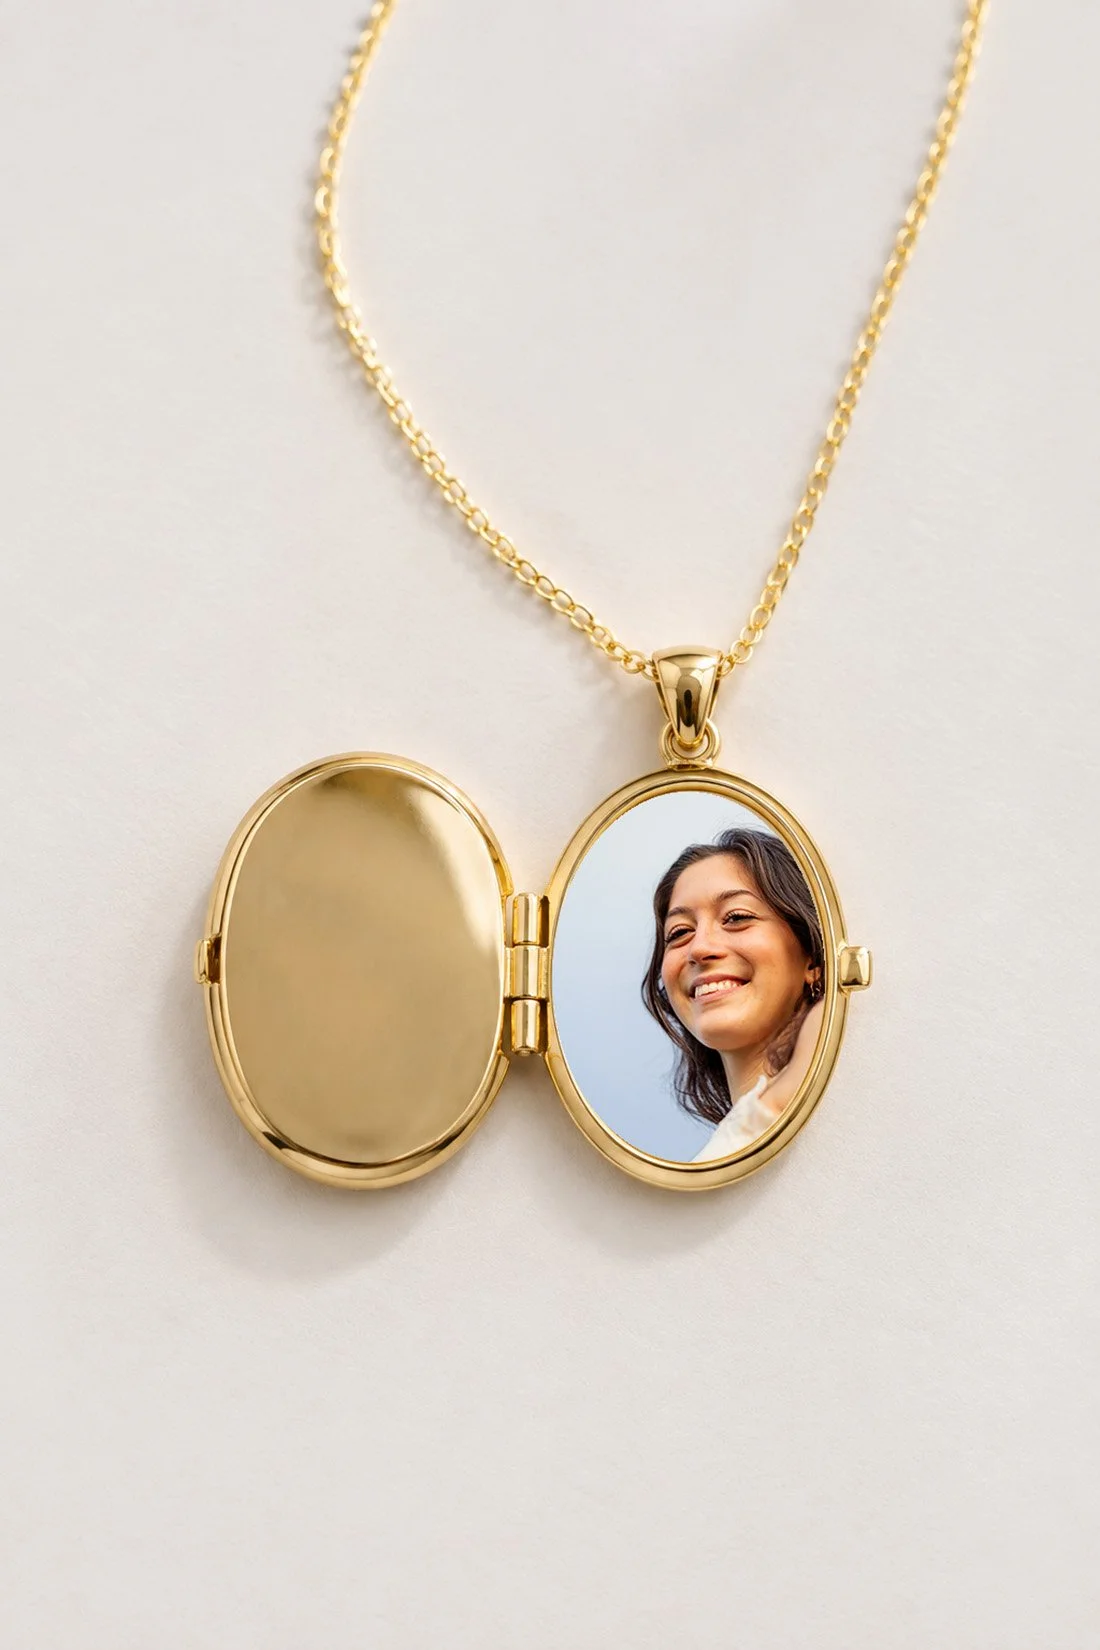
The Locket Tree’s fitting instructions explain how its locket types differ. For designs with a clear insert, its guide uses that insert as the cutting shape. It also calls for keeping the print clear of a peg or latch area.
Lay the shape guide over your printed photo before you cut. Turn it until the face sits where you want it. Use a new copy if the first cut misses the right spot.
After fitting the photo, check the cover and rim. Close the locket gently. If it meets resistance, reopen it and check the print’s size and position. Follow the seller’s next step rather than pressing harder.
For an old family picture, print a new copy for the locket. Keep the original with its records. If you also have letters, larger prints, or other keepsakes to give, a photo time capsule gives those pieces room.
Pack the keepsake so it stays in place
Choose a box with room for the whole item, including the ring or chain. Check the inside with the item laid in place before you wrap it. A small box can fit a photo holder while leaving too little room for its hardware.
For a keychain, keep the metal ring from rubbing across the clear front. Use the maker’s insert or fitting packaging to hold the pieces in place. Set aside any care card so it goes into the gift too.
For a locket, use the box’s chain slots or the supplied holder as directed. Check the chain for tangles before closing the lid. Keep the case supported and leave the photo opening clear of ribbon.
Add a short note on a separate card. You could name the day in the picture, share why you chose it, or say who helped make the gift. Use names and dates you know.
If you’re giving it during a visit in Bolivar, MO, or elsewhere in the 417, keep the box where it won’t be crushed during the drive. At handoff, let the person know how the item opens and where you placed any spare print or care guide.
Questions about photo keychains and lockets
What size photo goes in a locket?
Use the size and shape for your exact locket. Check the maker’s template or included insert. The outside width of the case can include a rim that reduces the photo space.
Can I use a photo from my phone?
Yes, if you have permission to print it and the file works at the needed size. Use the original file, choose a clear crop, and check a small print. Our tips for taking photos of friends can help if you want to take a new picture together.
Can I put two people in one small opening?
Try a photo with the faces close together. Preview both faces inside the shape and print a test. If each face becomes too small, choose a larger opening or separate photo spaces.
Should I use glue to hold the picture?
Follow the directions for the exact item. Some designs use a cover or a retaining part. Other makers call for an adhesive. Keep the hinge, latch, and photo face clear as the guide directs.