Photo magnet gifts give a few favorite pictures a spot you can see each day. For a parent, grandparent, or friend, start with a small set and check how each face looks at the finished size.
Three pictures and a cream envelope can make a sweet little gift. You might choose a close portrait, a photo together, and a snapshot from a day you both remember. The fun part is picking the pictures for that person. The rest of this guide helps you choose the shape, check the crop, compare ways to make the magnets, and pack them flat.
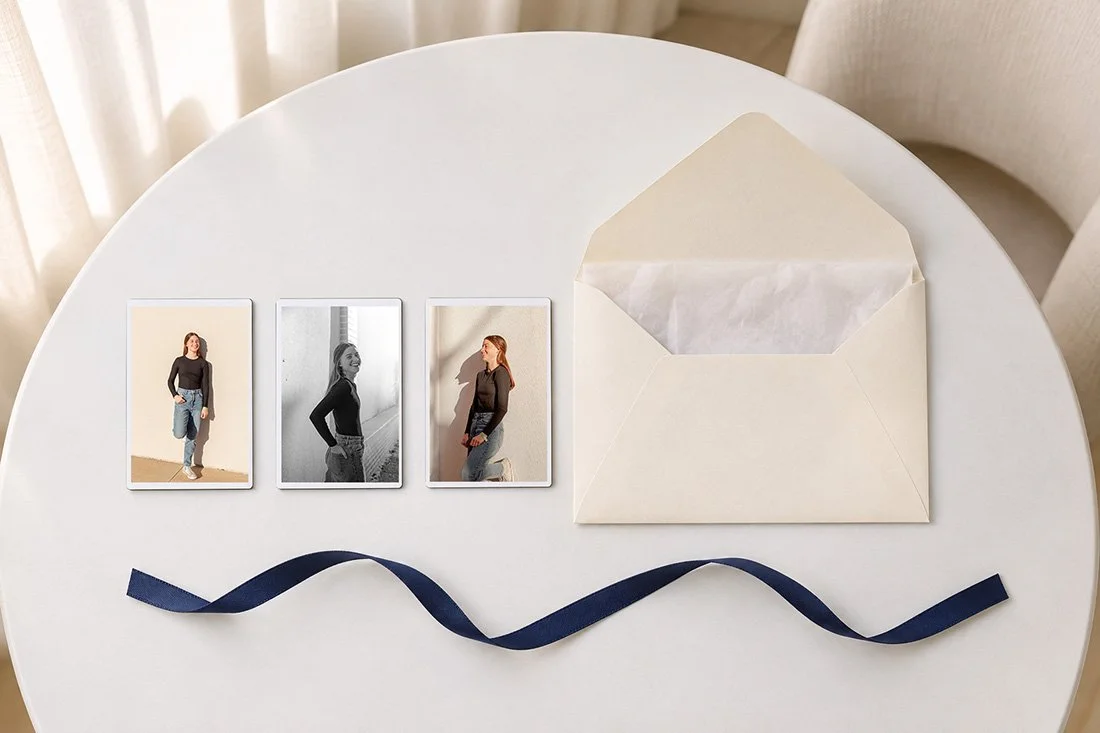
Choose a small set of photo magnet gifts
Start with the person who will open the gift. What pictures would they want on a board near their desk? A senior portrait might suit a parent. A photo of two friends might suit the friend who is in it. A pet photo can earn a spot, too. Very fair of the dog to make the final cut.
Pick about six possible photos, then lay the choices side by side. For a first set, try three that show something different. You could choose one close portrait, one wider view, and one candid. Three is a starting idea, so change the number to fit the person and the space.
For a senior gift, Tessa's senior photos at the Bolivar Square show how one outfit can give you both close and full-length choices. Use that mix as a way to sort your own photos. Choose the actual pictures for the person receiving them.
Check the display spot before choosing a magnet
Ask what surface the person wants to use. A magnetic memo board may suit a desk. A fridge may be the usual spot at home. If the gift is for a locker or school space, check the rules for that space first.
A metal-looking surface does not tell you whether a magnet will stick. Whirlpool's guide to magnets and stainless steel explains that the steel and its finish affect the result. Check the exact appliance maker's care directions before placing anything on it.
If the surface is unknown, keep the gift flexible. You could include a small display board made for magnets, with its own use instructions. Check the board's size and support before buying. A tabletop board needs a steady place to stand and room for the pictures.
The photos in this guide show a gift concept with thin photo magnets. They do not show a tested product or prove how much weight a magnet can hold. Plan to display the photos themselves. If you also want them to hold notes, check the exact magnet maker's guidance and test your finished set.
Match the photo shape to the magnet shape
Choose the magnet dimensions before making the final crop. A square and a tall rectangle leave room for different parts of a picture. A photo with the subject near an edge may need a wider shape or a border.
A 2-by-3-inch rectangle has the same shape as a 4-by-6-inch print. A square crop from that same photo cuts away part of its long side. The crop can work well, but check what it removes. Hair, shoes, a friend's shoulder, or a hand may sit near that edge.
Keep faces away from the trim area shown by the printer. Some products have rounded corners. Others place the photo inside a frame or clear cover. Check the actual template so you can see which parts stay visible.
To preserve the whole photo, choose a shape that fits it or use a layout with a border. Scale the photo evenly in both directions. Pulling only one side changes the person's shape. If the picture still feels cramped, try a different photo before forcing the crop.
Look at each photo at its finished size
A phone preview can make a small magnet look huge. Check the actual size before ordering a whole set. On plain paper, print a sample at the planned width and height. Measure it with a ruler. If the print menu uses “fit to page,” turn that off for this check.
Place the sample where you expect to see it. Can you tell who is in the photo without leaning in? Can you see the expression you picked it for? If the people look too small, try a closer photo or a larger size.
Keep tiny text out of the image when you can. A date or short name may fit a border, but a long message is better on the gift card. The picture needs room. The envelope can handle your full speech.
Use the original photo file when you have it. A screenshot may include screen controls or give you a smaller file. With professional photos, check the print-use terms for the gift you plan to make. Keep the original file and save any crop as a separate copy.
Review the printer's final preview after uploading. Its crop may differ from the one you tried at home. Check every image, even if all the magnets have the same size. One person's head may sit closer to the top in a different pose.
Compare the magnet construction
Photo magnets come in several forms. Read what the front and back are made from before choosing a style. The finish changes how the gift looks and how you put it together.
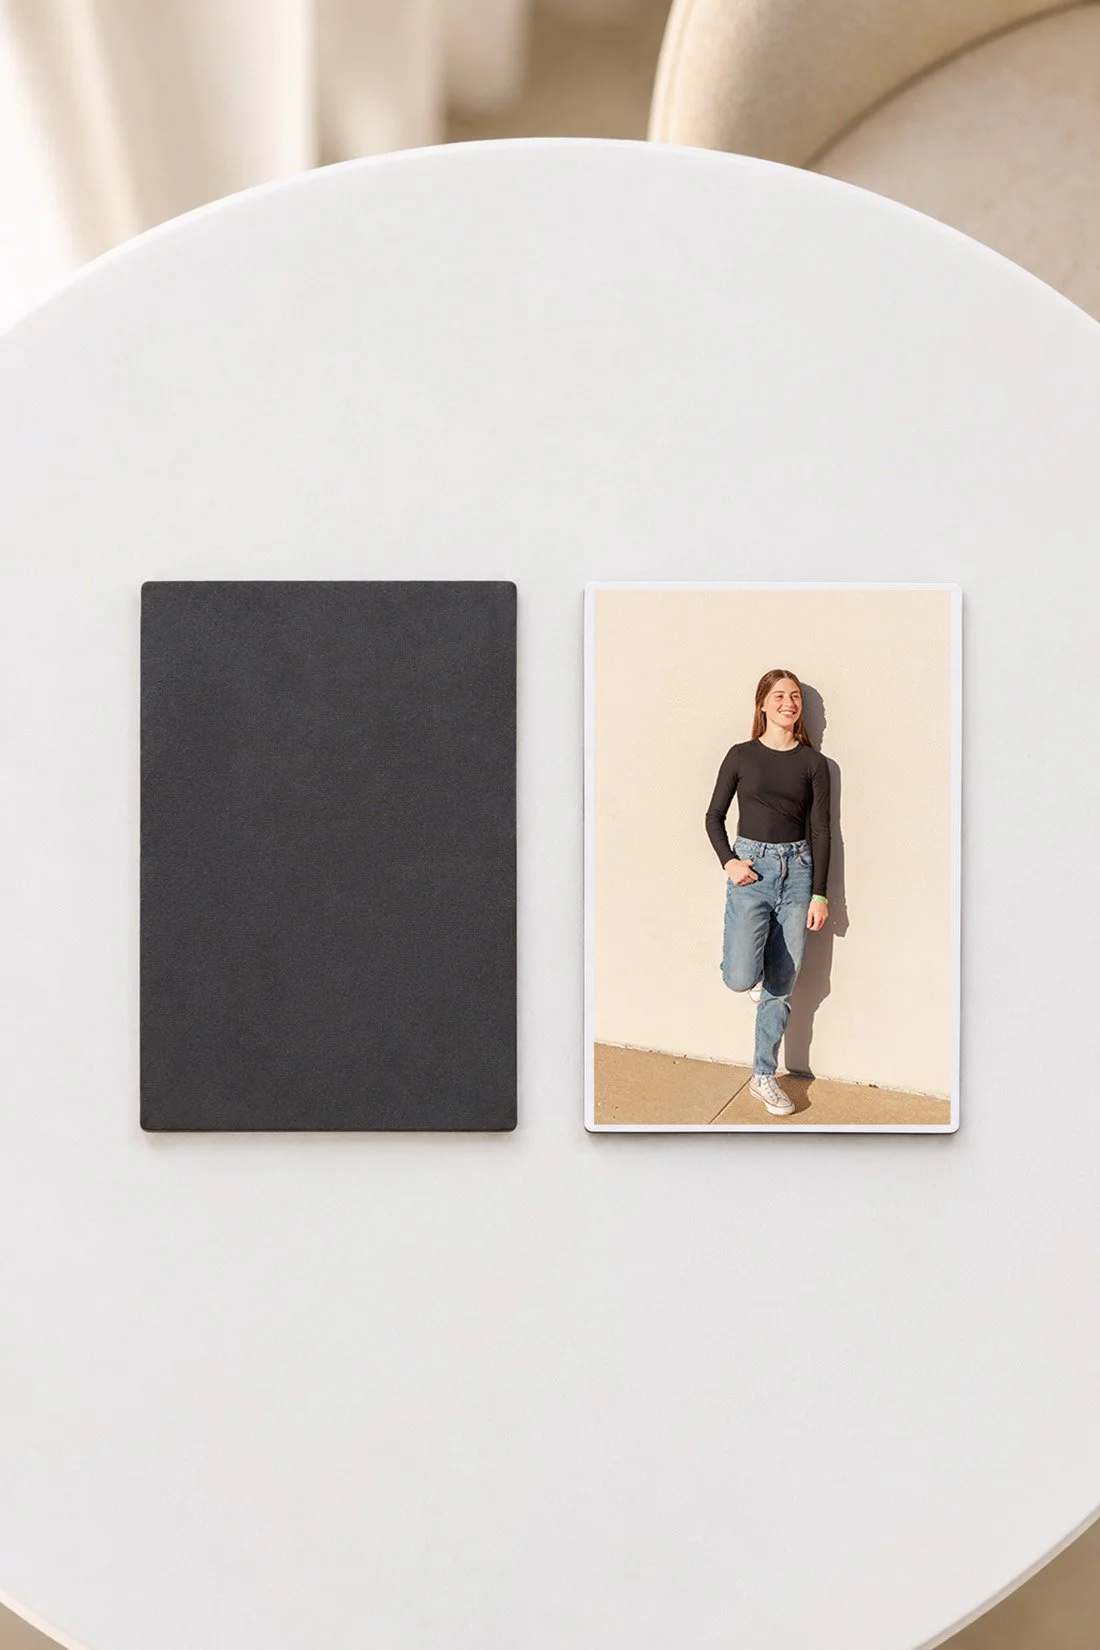
A lab-made photo magnet may use photo paper attached to a magnetic backing. For one current example, Mpix's photo magnet details list photographic paper on magnetic backing and two rectangular sizes. Use the current product page to check the size, paper, and crop for that product. Those details do not apply to every magnet.
A ready-made photo holder is another option. Some have a clear front or a small frame that takes an inserted print. Check the size of the opening, how the holder closes, and whether it hides any part of the picture. Use a print copy that fits without folding.
For a home project, you may find printable magnetic sheets or adhesive-backed magnetic sheets. They use different methods. A printable sheet goes through a compatible printer. An adhesive-backed sheet has a sticky face for a separate print. Read the package before putting any sheet in a printer.
Avery's printable magnet sheets are one inkjet example. Avery says the sheets can be cut with standard scissors. Follow that product's printing directions if you choose it. Do not use the same printer settings for a different material without checking its instructions.
Choose one method for the set, then make or order a sample. Check the edges, image size, and finish before making more. A generic photo in this guide cannot confirm the quality of a product you buy.
Make a home set with full-sheet backing
For a print mounted to adhesive magnetic sheet, begin with a fresh photo copy. Keep old family originals out of the craft pile. Follow the sheet maker's directions for compatible prints, cutting, and any wait time before use.
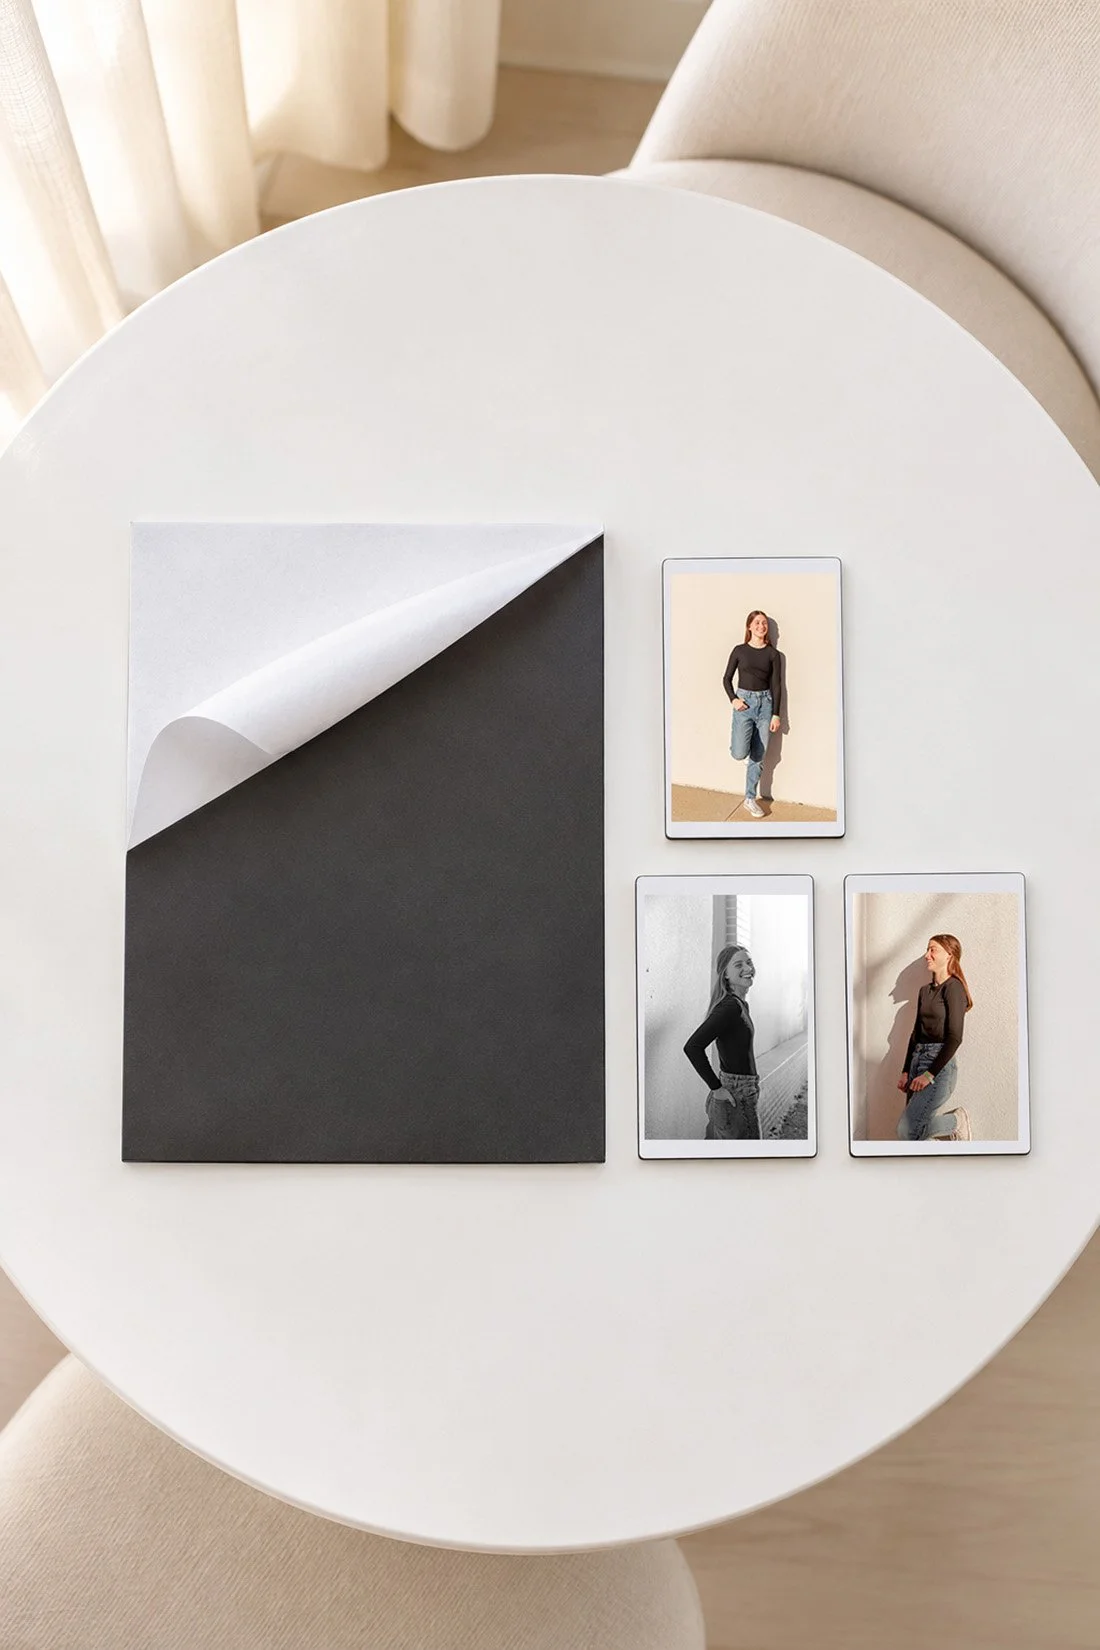
First, plan the finished size. Cut a plain-paper test piece and set it over your chosen photo copy. Check the face and edges before you cut the print. If several people are in the picture, check each person.
Next, use the maker's mounting steps on a clean, flat work surface. Keep the print and backing aligned. Work slowly enough to avoid trapping a crease. Trim only as the product directions allow, and check that no sticky edge remains exposed.
Let any adhesive or finish set for the time stated on its package. Then inspect the whole magnet. Look for lifting corners, a curled edge, or a photo that slips. Keep a failed sample out of the gift set and resolve the cause before making the rest.
Skip loose, high-powered button magnets for this project. The CPSC's high-powered magnet safety alert warns about severe harm from swallowed magnets and says to keep loose high-powered sets away from children. Photo gifts are display items. Keep the finished set and craft parts out of children's reach, and follow all product warnings.
Pack the magnets so the photos stay flat
Lay out the finished set before wrapping. Check each face in good light. Look at the edges and backs, too. Confirm the number of pieces so you know what goes in each package.
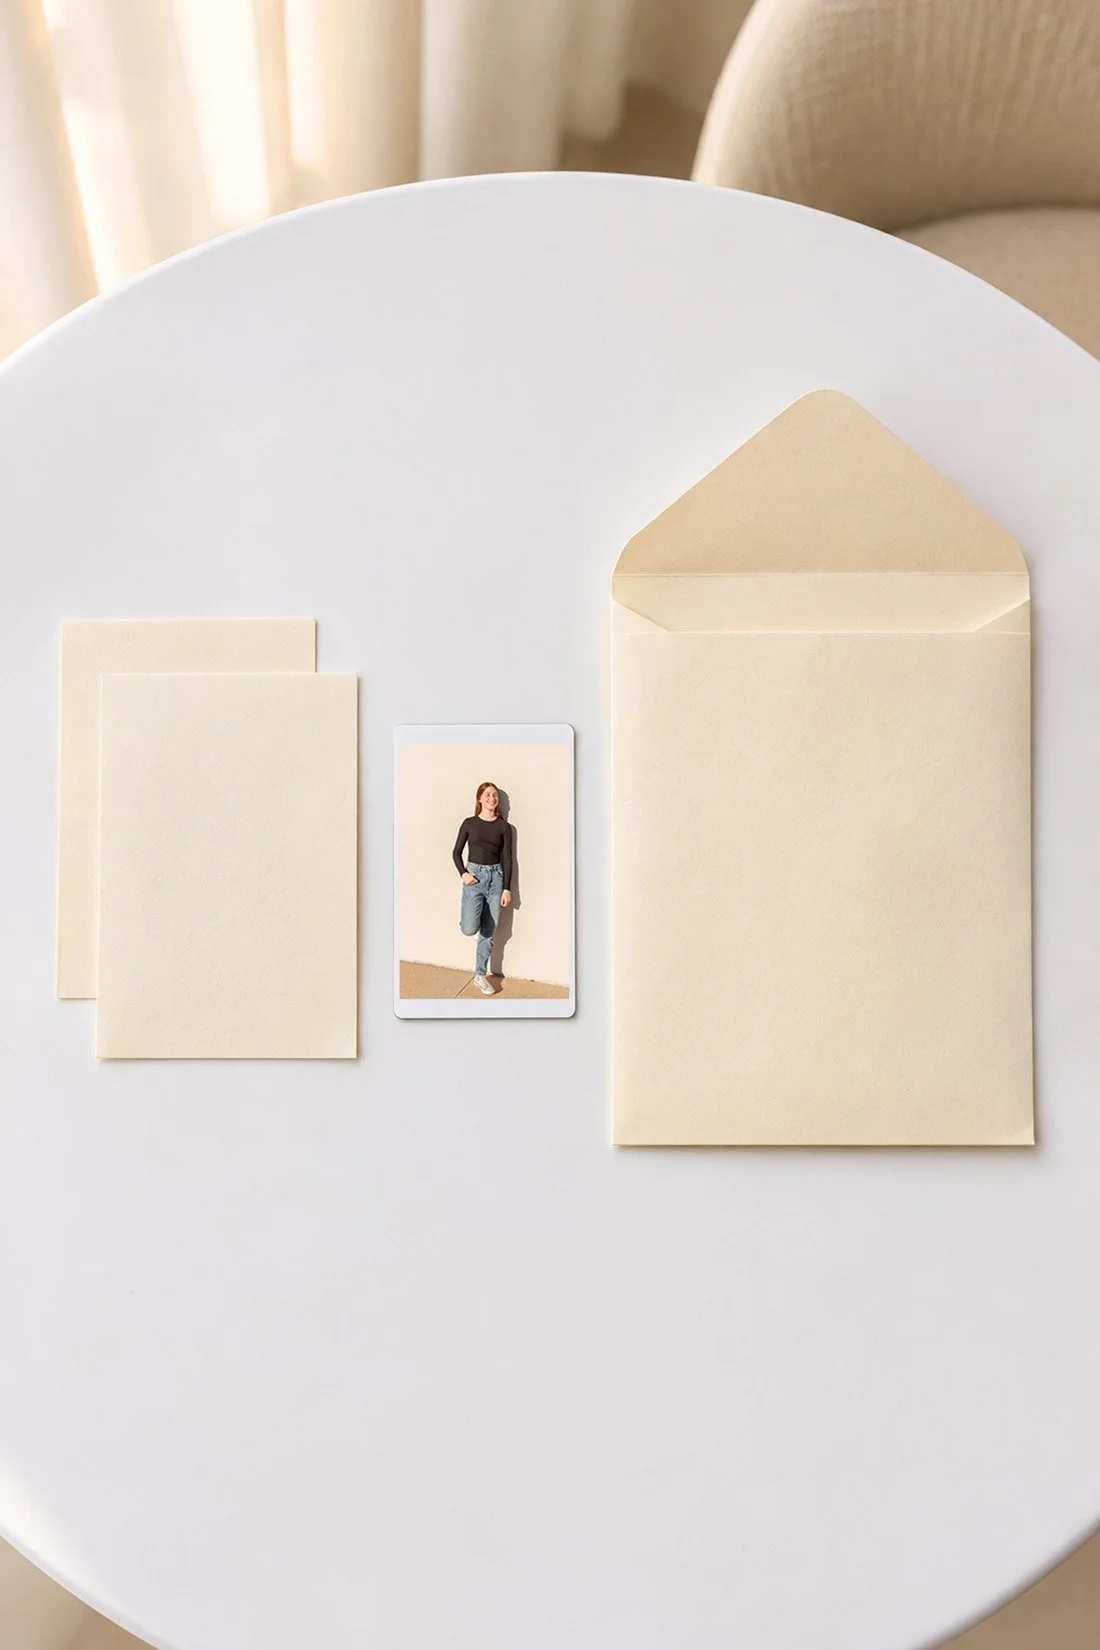
For a thin set, place clean protective paper between the photo faces and anything that might rub them. Use packaging sized for the actual thickness. A flat envelope may suit a hand-delivered set. Leave enough room to slide the magnets out without bending them.
If the package pulls tight or bulges, choose a larger one. Tie a ribbon around the outside only after the contents fit. Keep the knot loose enough that it does not press a ridge into the photos.
Add a separate card with a short note about your picks. You could name the day in the photo or explain why you chose that picture. Check names and dates first. A few true lines are plenty.
For mailing, use protective outer packaging and check the carrier's current rules for the exact contents. A gift envelope alone does not prove the set is ready for the mail. Keep order confirmation and tracking details separate from the recipient's card.
Check timing and care before giving the set
Work backward from the day you plan to hand over the gift. Include time to choose photos, check a sample, make or order the set, and review the result. For holiday orders, check current production and shipping information at checkout. A listed production time is only one part of the trip.
For a handmade set, do a sample before setting a batch date. The paper and backing need to work together. If the first sample curls or the photo is hard to see, change the materials or image before making copies for everyone.
Pass along the maker's care directions with the gift when they matter. Do not assume a paper-faced magnet is waterproof, washable, or safe for every surface. Keep a copy of those directions so the recipient can check them later.
If you're handing over gifts around Bolivar, MO, or meeting family elsewhere in the 417, label the outer packages before you leave. Put each person's name where you can see it. That way, the right set makes it to the right person when everyone is talking at once.
Questions about photo magnet gifts
How many photos should I choose?
Try three for a first set. Pick pictures that differ enough to earn their own spot. Add more when the recipient has room and you have more photos you want to give.
Can I mix color and black-and-white photos?
Yes. Look at the set together at the planned size. Keep the original edits you like and choose a common magnet shape if you want the set to feel connected.
Can a full-length photo work on a small magnet?
It can, though the face will look smaller than in a close portrait. Try a measured paper sample. If the expression is hard to see, choose a larger magnet or a closer photo.
Will a photo magnet hold papers on a fridge?
That depends on the exact magnet, the papers, and the surface. Check the maker's guidance and the appliance's care directions. Choose the gift for its pictures unless you have checked the extra job you want it to do.
What can I write on the gift card?
Name a true detail: the trip, the senior year, or the pet who joined the picture. Add your own message. If making the card becomes the fun part, these grandma hobbies for senior year have more ideas for a hands-on afternoon.