Mini accordion photo books make a small gift from a short set of pictures. For a grandparent, parent, or friend, choose one shared memory, then check how each panel opens before you print.
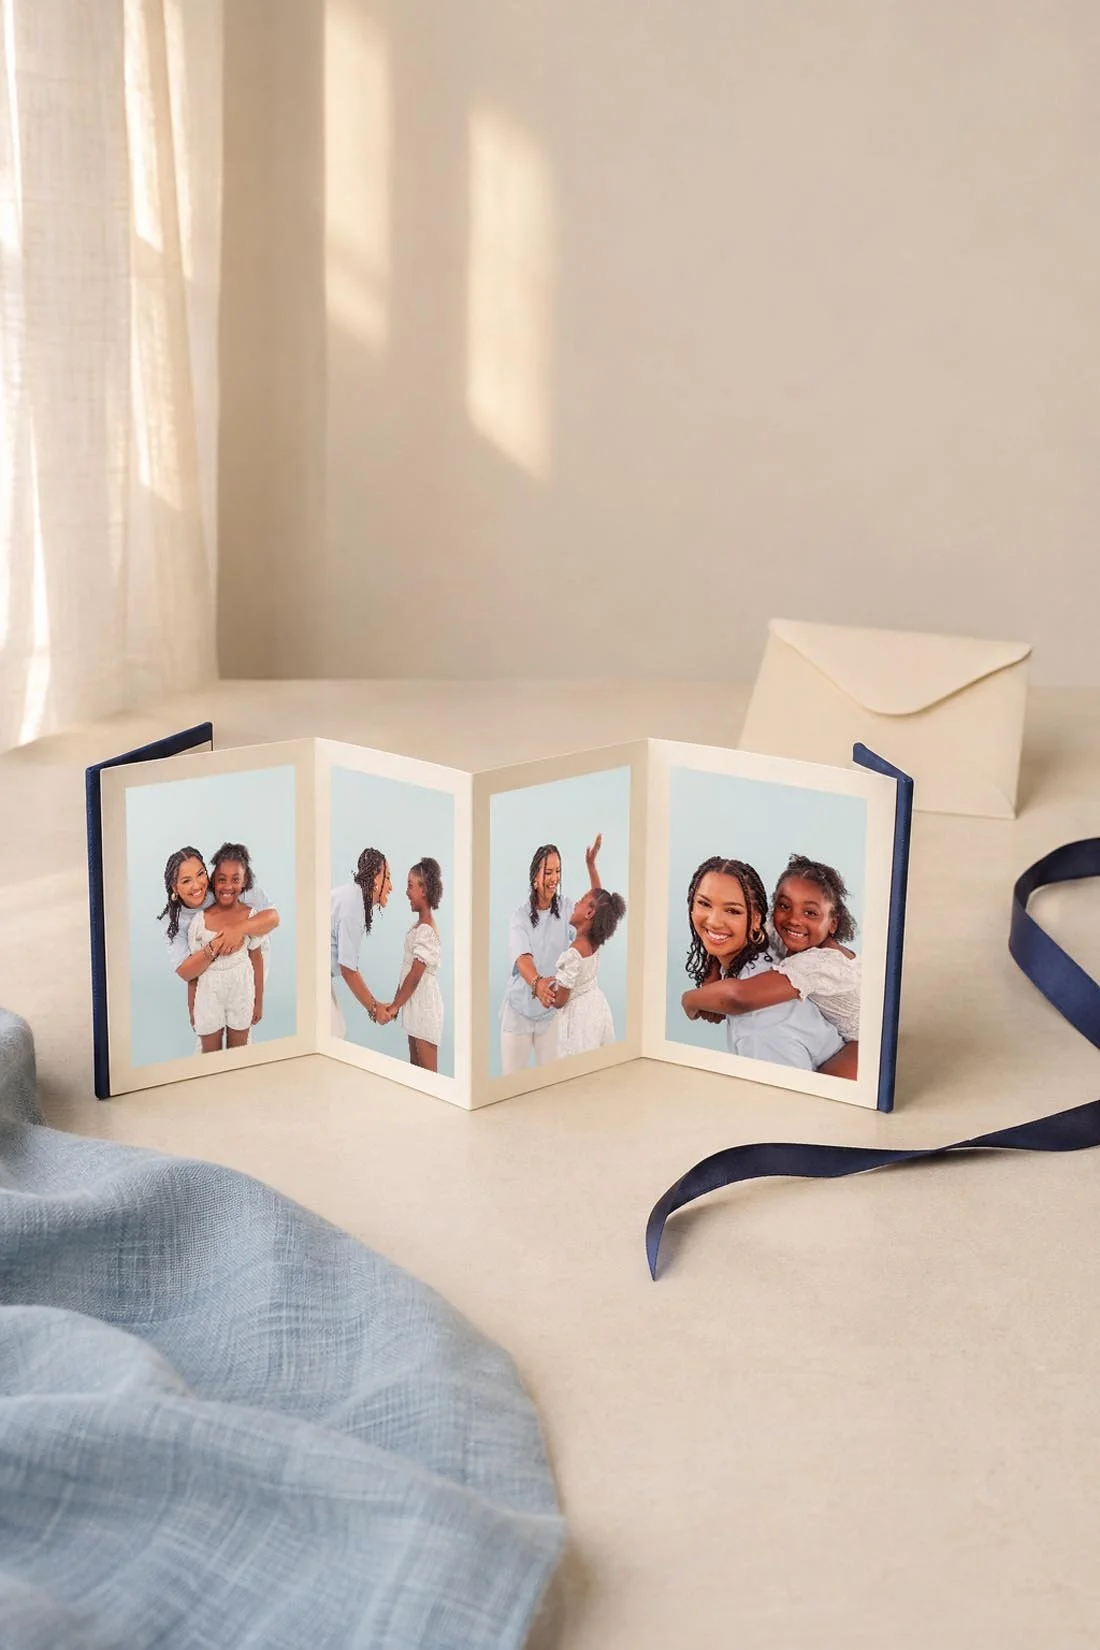
An accordion book has a strip of paper that folds back and forth. It can open into a row of photos and close into a small stack between its covers. Each flat section is a panel. The small size makes the photo choices matter: a clear face or shared moment has more room to shine than a crowded collage.
Who would enjoy mini accordion photo books?
Think about who will open the book and where they might keep it. A grandparent may like a few close photos of the grandkids. Our family picture ideas with grandparents can help you think about the people and shared moments to include. A parent might love a little book about one afternoon with their child. For a friend, choose a trip, a school play, or a season you spent together.
For a senior, pick one part of the year, such as fall with friends. Keep extra notes and larger keepsakes with a senior-year time capsule if the tiny book has no room for them.
Keep the idea narrow enough for a small foldout. “Our Weekend at the Lake” gives you a clearer photo set than “Everything We Did This Year.” You can still give the book at Christmas when the pictures come from summer. The memory sets the theme; the wrapping can mark the holiday.
For someone who likes to carry family photos, check the closed size and cover before you choose. For someone who wants a desk display, check whether the maker shows that exact book standing open. A small book can be a thoughtful gift without needing to fill a shelf.
If you want a larger family record with many chapters, a full photo book gives that story more room. Choose an accordion mini when a short row of pictures feels complete on its own.
Check the format before choosing every photo
Read the details for the exact book you plan to order. Size, panel count, cover choices, and photo areas can differ. A printed panel and an upload slot do not always mean the same thing. A cover may hold a photo, too, or it may use cloth instead.
For a current example, Mpix's accordion mini photo book options include 2.5 × 3.5-inch and 3 × 3-inch sizes, space for up to 12 photos, and several cover types. Those are that product's choices, rather than rules for every accordion book. Check the current builder before sorting a fixed number of files.
WHCC's accordion mini book details describe a printed front and back accordion spread with a photo or fabric cover. That is a useful reminder to inspect both sides. A complete front preview may leave half of your book unchecked.
You can also start with an empty book and add prints. Squared.one's accordion photo books use that approach. Check the inside panel size and how the maker says to attach photos before buying prints. Thick layers or decorations near a fold may keep a small book from closing well.
Pick a short set with one clear thread
Make a working folder with copies of your photo choices. Keep the originals where they are. Start with the number of photo areas in your chosen layout, plus a few backups for crops that do not fit.
Choose an opening picture that tells the person what the book holds. A photo of the people together often works well. Follow it with a few different moments: a closer view, an action, or a detail that belongs to the same memory. End with a photo you want the person to linger over.
For a small book about a parent and child, you could start with them together, add a hand-holding photo, then include a laugh and a hug. These are sample choices, so use what your own set offers. You do not need to stage a missing moment to make the order work.
Avoid filling several panels with near-matches unless the change tells a story. Three frames from one hug may show a lovely little sequence. Three photos where only one person's eyes change may use space you would rather give to another memory.
For a grandparent gift, choose pictures where each face stays clear at the finished size. A wide group photo can look good on a screen and feel much smaller on a mini panel. Give that photo a full panel, or choose a closer picture with fewer people.
Plan panel order with a folded paper test
Before you build the final layout, fold a strip of scrap paper into the same number of panels. Use the maker's template to mark the front cover, back cover, photo areas, and which edge counts as the top. Follow its fold map when one is provided.
Open and close the paper test the way someone will use the book. Number the panels in the order they appear to the reader. Write a short photo name in each space, such as “together,” “walking,” or “hug.” Turn it over and map the back, too.
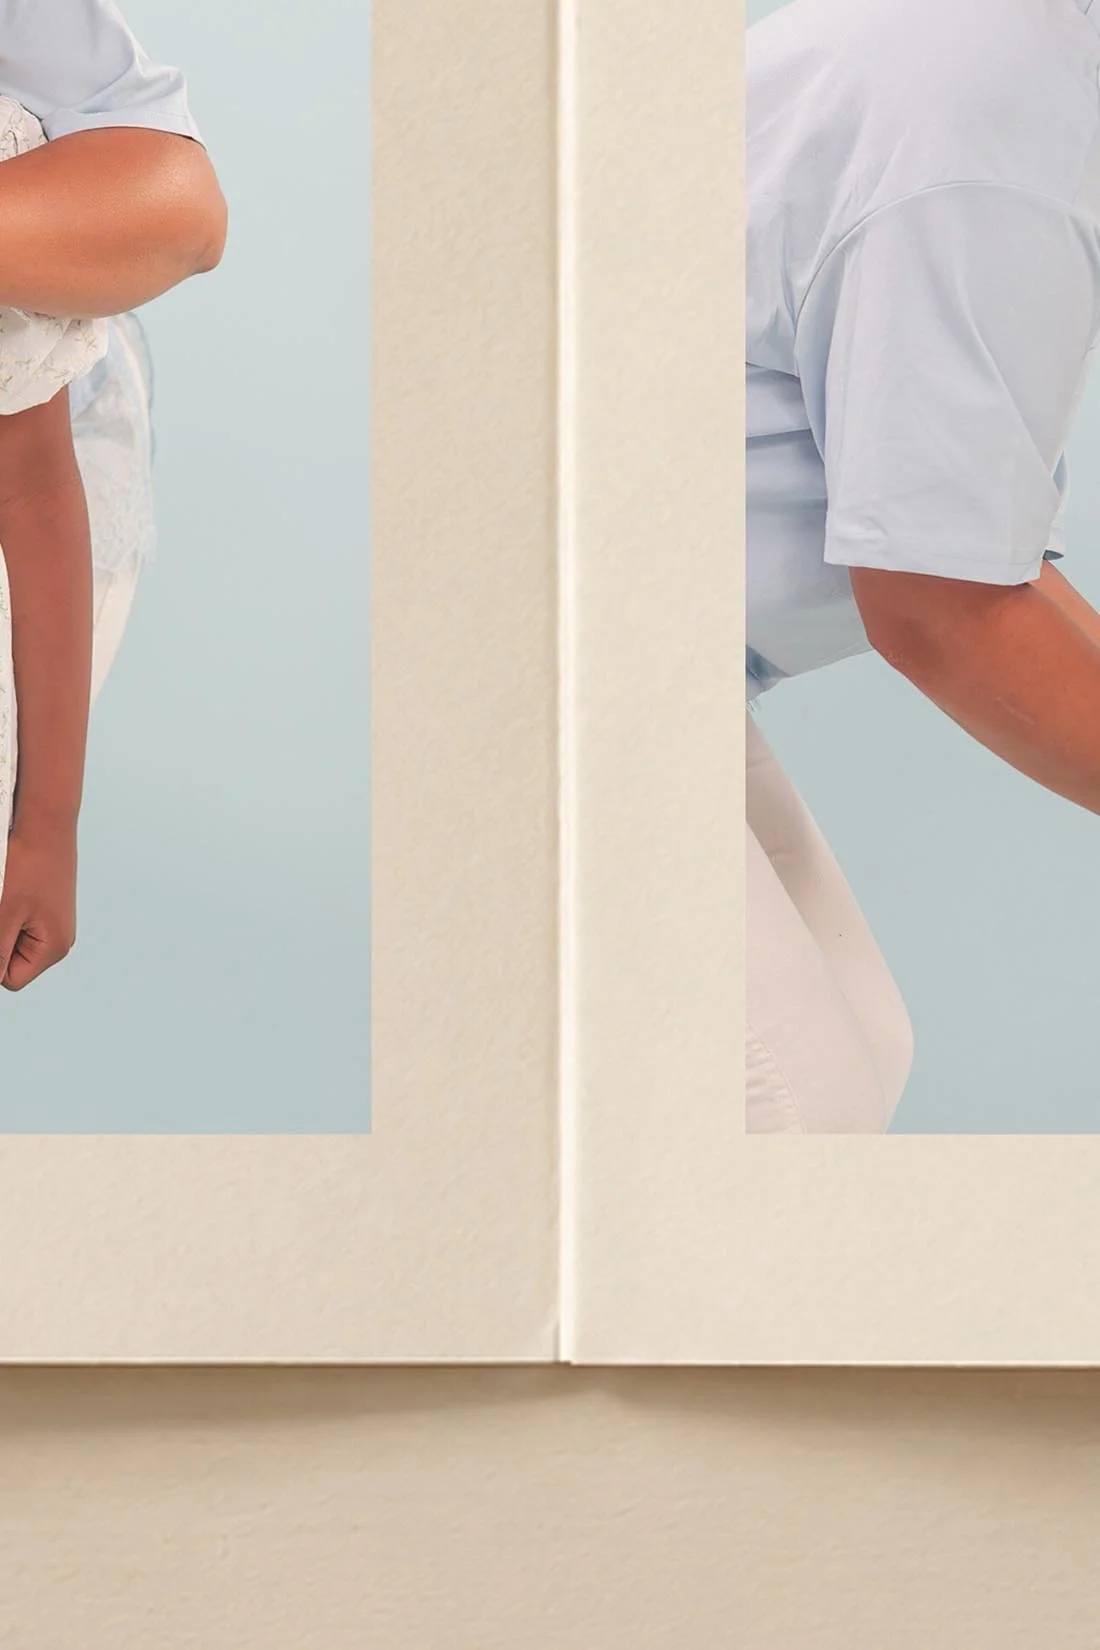
The folds alternate: one bends toward you and the next bends away. That does not mean every other photo should be upside down. Check photo direction in the maker's preview and with your paper test. Keep all the faces upright when you view the intended open side.
On the paper test, draw a small arrow toward the top of each panel. Then close it and mark the outside front and back covers. Take a picture of each side while it is open. Keep those two pictures beside your upload list so you can match a panel name to its place without turning the strip over in your head.
Do not guess the reverse-side order from a row of upload boxes. Depending on the template, a screen's left-to-right order may not be the order you see when you turn the book over. Use the labeled panel map, and ask the maker if its directions leave that unclear.
If you use a six-photo sequence, try an opener, a closer portrait, an action, a small detail, another shared moment, and a closing picture. This is a planning example, not a required layout. Split the order across the available sides only after you understand how the actual book opens.
Check crops at the size of the printed panel
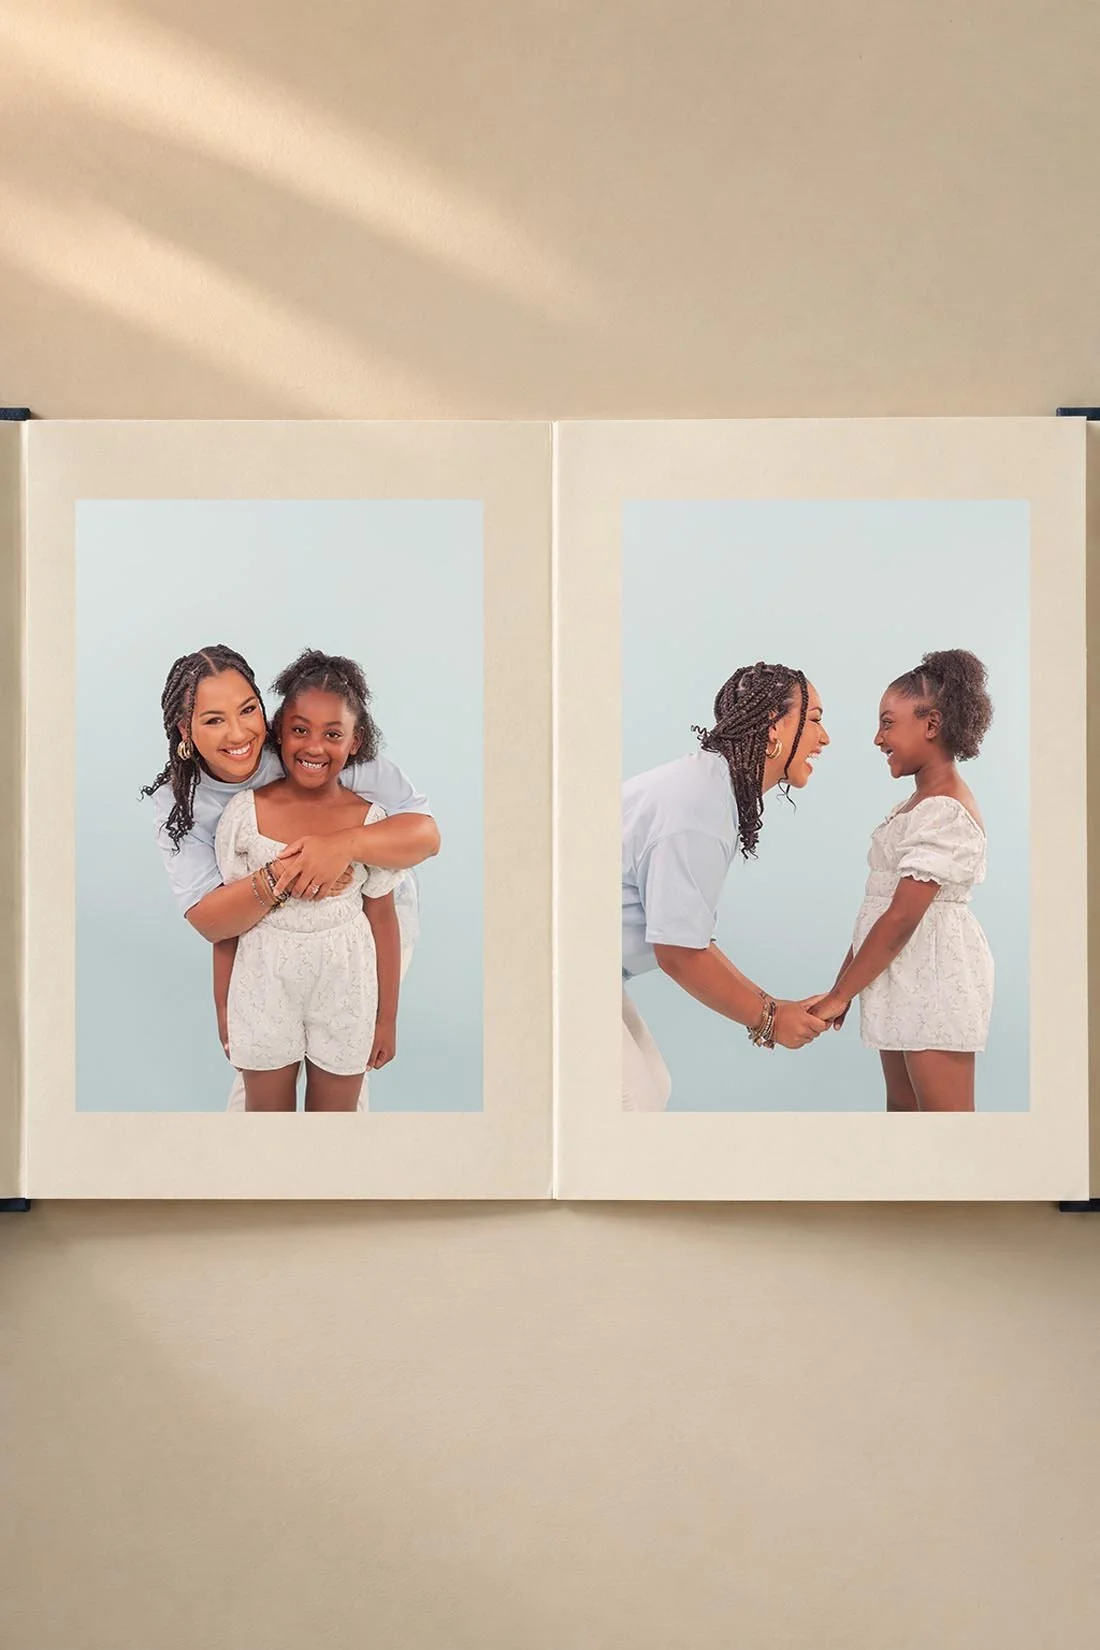
Place one photo in each small photo area first. Leave room around faces, fingers, and the detail that makes the picture matter. If a crop cuts through a chin or removes part of a hug, try a different picture or a layout with a border.
Keep faces and captions clear of fold lines. Treat each fold as a place where the paper changes direction, even when the preview shows the strip flat. A face across a crease will not read like the same face on a flat print.
When the book maker marks a trim area, bleed, or safe area, follow those guides. Bleed is the extra image past the cut edge. The safe area is the space where the maker wants key parts to stay. These limits belong to the exact template; do not borrow a margin from another product.
Use the original downloaded photo file when you have it. Avoid a screenshot of a photo. If the builder warns that an image is too small, replace it with a larger original or choose a smaller photo area. Zooming into a crop can leave fewer pixels for the printed face.
For a scale check, draw one finished panel on paper or print a draft at full size. Look at it from a normal reading distance. Can you see each person? Does a wide scene still show the part you wanted? A larger monitor view cannot answer those questions for a tiny book.
Keep captions short and the cover clear
Small panels may need no caption at all. When a note helps, use a name, place, date, or short phrase tied to that photo. “At the lake, July 2026” tells the reader something a picture may not. Use only details you can confirm.
Give the words their own space. Avoid placing small text over faces or a busy background. Check the font at the finished panel size, and make it larger when the person receiving the gift needs that. If the words will not fit, move them to a separate gift note.
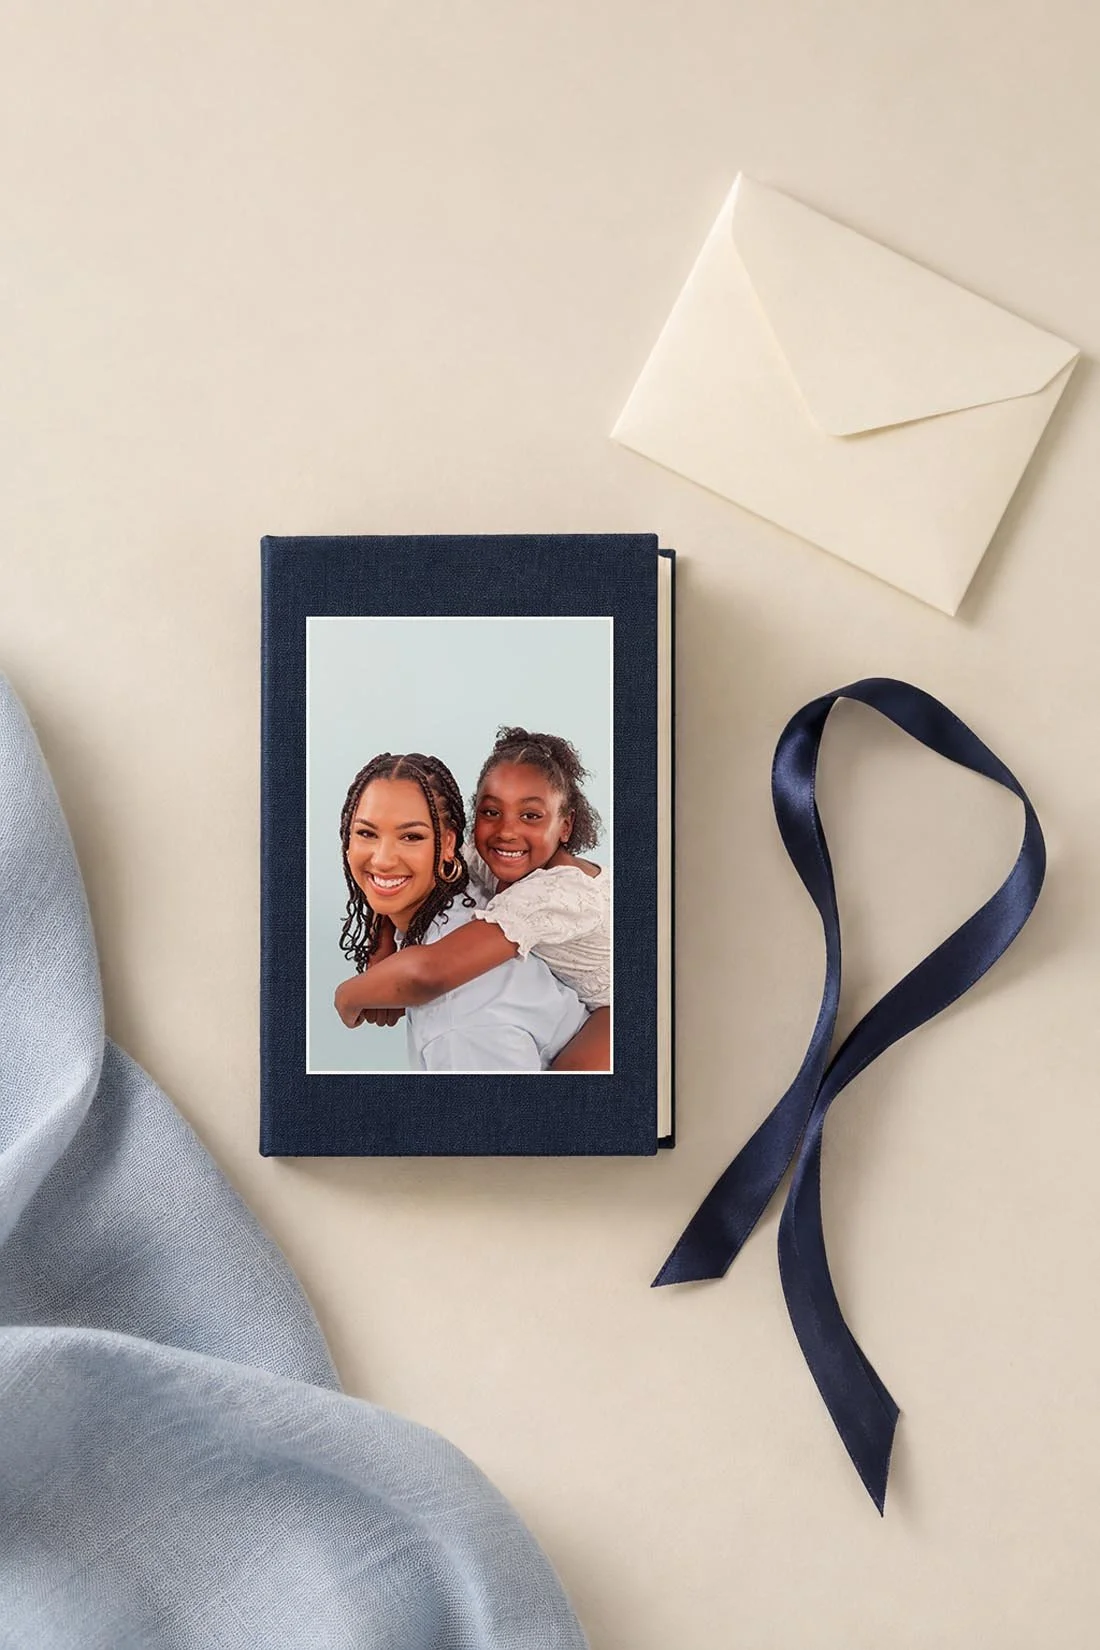
For a photo cover, choose a picture that still works with the book closed. Check where the cover wraps, folds, or meets its edge. Keep faces away from those areas. For a cloth cover, let the color support the photos inside. You do not need a long title to explain a small book.
Read the cover and every caption aloud. Check names, dates, and any words that the builder added for you. A duplicate copy will repeat the same typo, so finish this proof before you change the order quantity.
For a book you fill with loose prints, lay every picture in place before you attach any of them. Leave the fold lines clear. Close the empty book first, then test it with the loose prints resting inside. If the added thickness pushes the covers apart, change the print plan before you use adhesive. Follow the book maker's mounting steps.
Proof both sides before placing the order
Review the whole book once for the story, then once for print details. Keep the paper test beside you. Check the front cover, opening panel, each fold, reverse side, closing panel, and back cover against the template.
Look for missing pictures, repeated uploads, sideways faces, and crops that changed when you switched layouts. Confirm that the book closes in the direction you expect. Check that the cover belongs at the outside of the folded stack.
Next, inspect every panel at a larger view for focus and file quality. Return to full size for face size and caption size. Both views serve a purpose. A close preview helps you catch a soft file; a full-size test tells you whether the layout can be read.
Before checkout, confirm the exact size, paper, cover, number of copies, and delivery address. Check whether a set contains identical books or lets you make different versions. Read the maker's current production and shipping details for your destination. Keep a copy of the final preview or order proof so you can compare it with the book that arrives.
Open, pack, and give the finished book
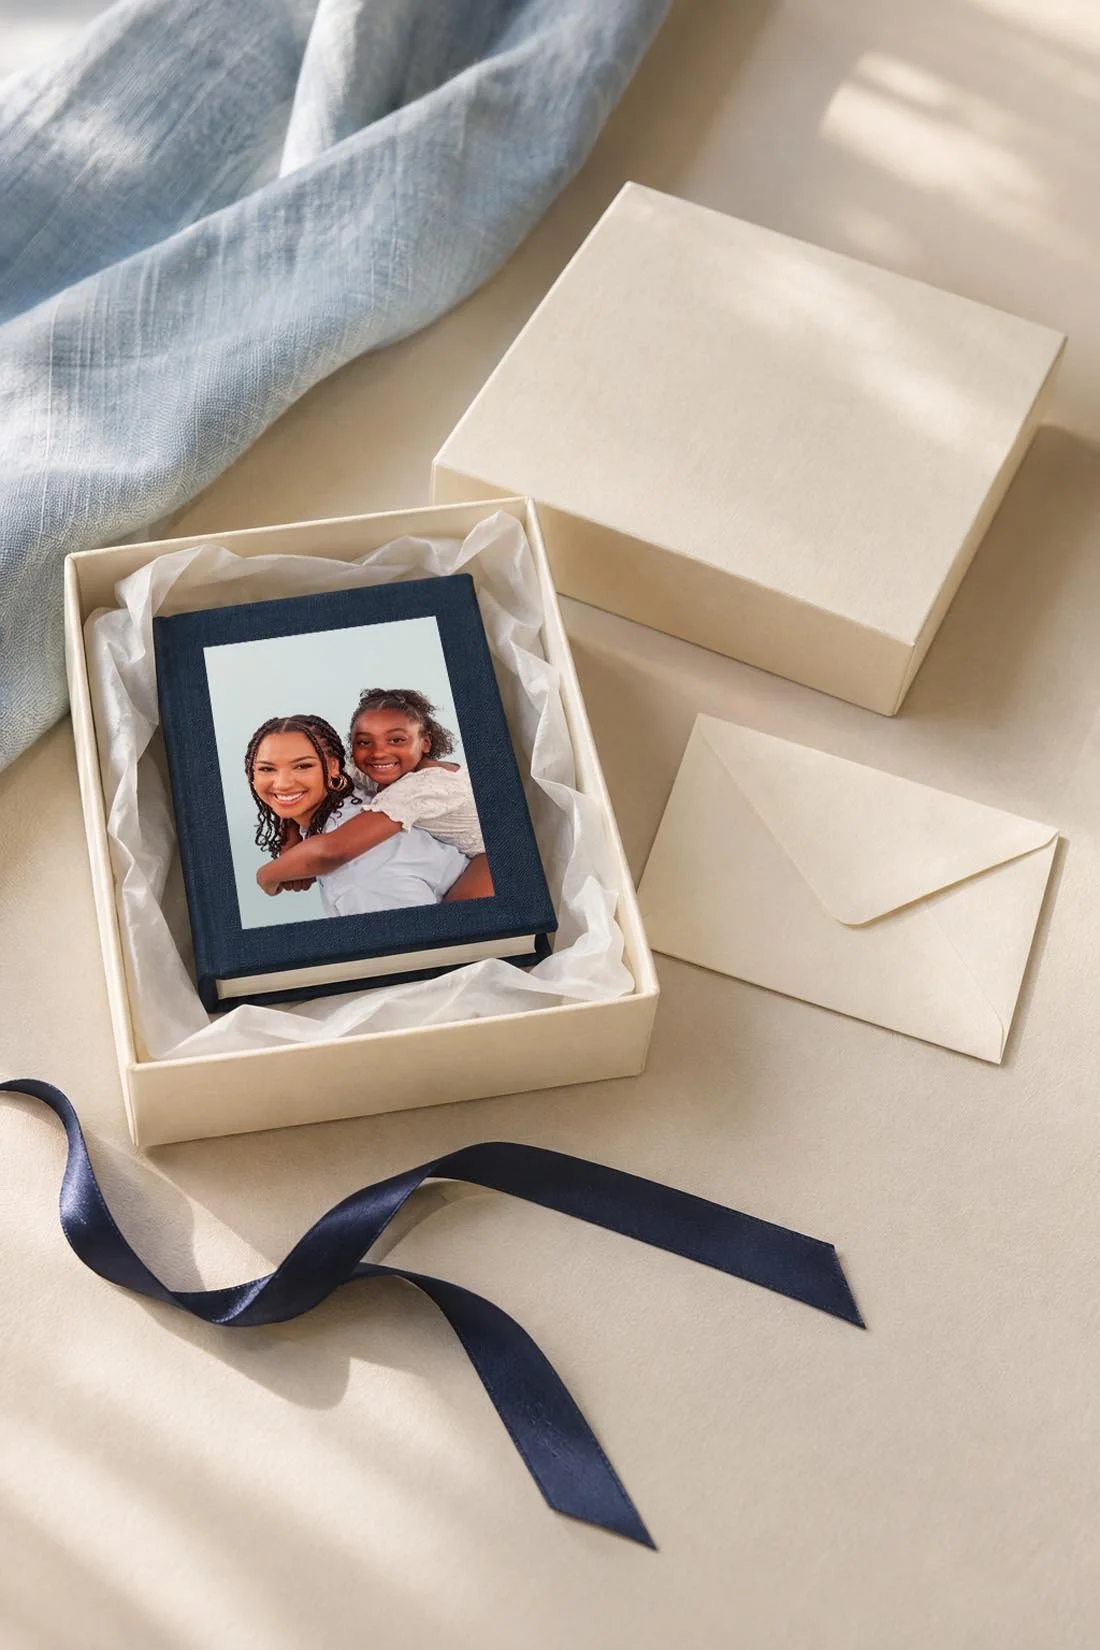
When the book arrives, place it on a clean surface and open it gently along its folds. Support the covers and paper instead of pulling the ends apart. Compare both sides with your saved proof. Check that the cover closes, the photos face the right way, and the folded edges are intact.
If the book comes with a sleeve, keep it with the gift. For a box, choose one with room for the closed book and a little tissue around it. Keep ribbon around the box rather than tight across the exposed folds. To mail it, protect the gift box inside a shipping box with space for padding.
Add a note that names why you picked this memory. A line such as “I loved this day with you” can stay on the gift card, leaving the panels for the photos. Give the book closed so the person can discover the foldout as they open it.
You might also like
A fall or winter walk to plan with someone you love
Senior Sunday captions for your favorite pictures