

A then-and-now photo frame puts two photos of the same person, group, or place beside each other. To make one as a gift, start with a pair you can identify, check what each photo shows, and plan the two openings before you order prints.
That pair can span a few months or many years. A snow-day portrait beside a spring sports photo works, too. The time between them can be short when the two pictures have a clear link.
A mat is the board around a printed photo. Its cut opening shows the picture and leaves a border around it.
This guide walks you through finding the pair, copying an older print, matching the layout, checking labels, and putting the gift together. You can use two frames you already own or choose one frame with two openings.
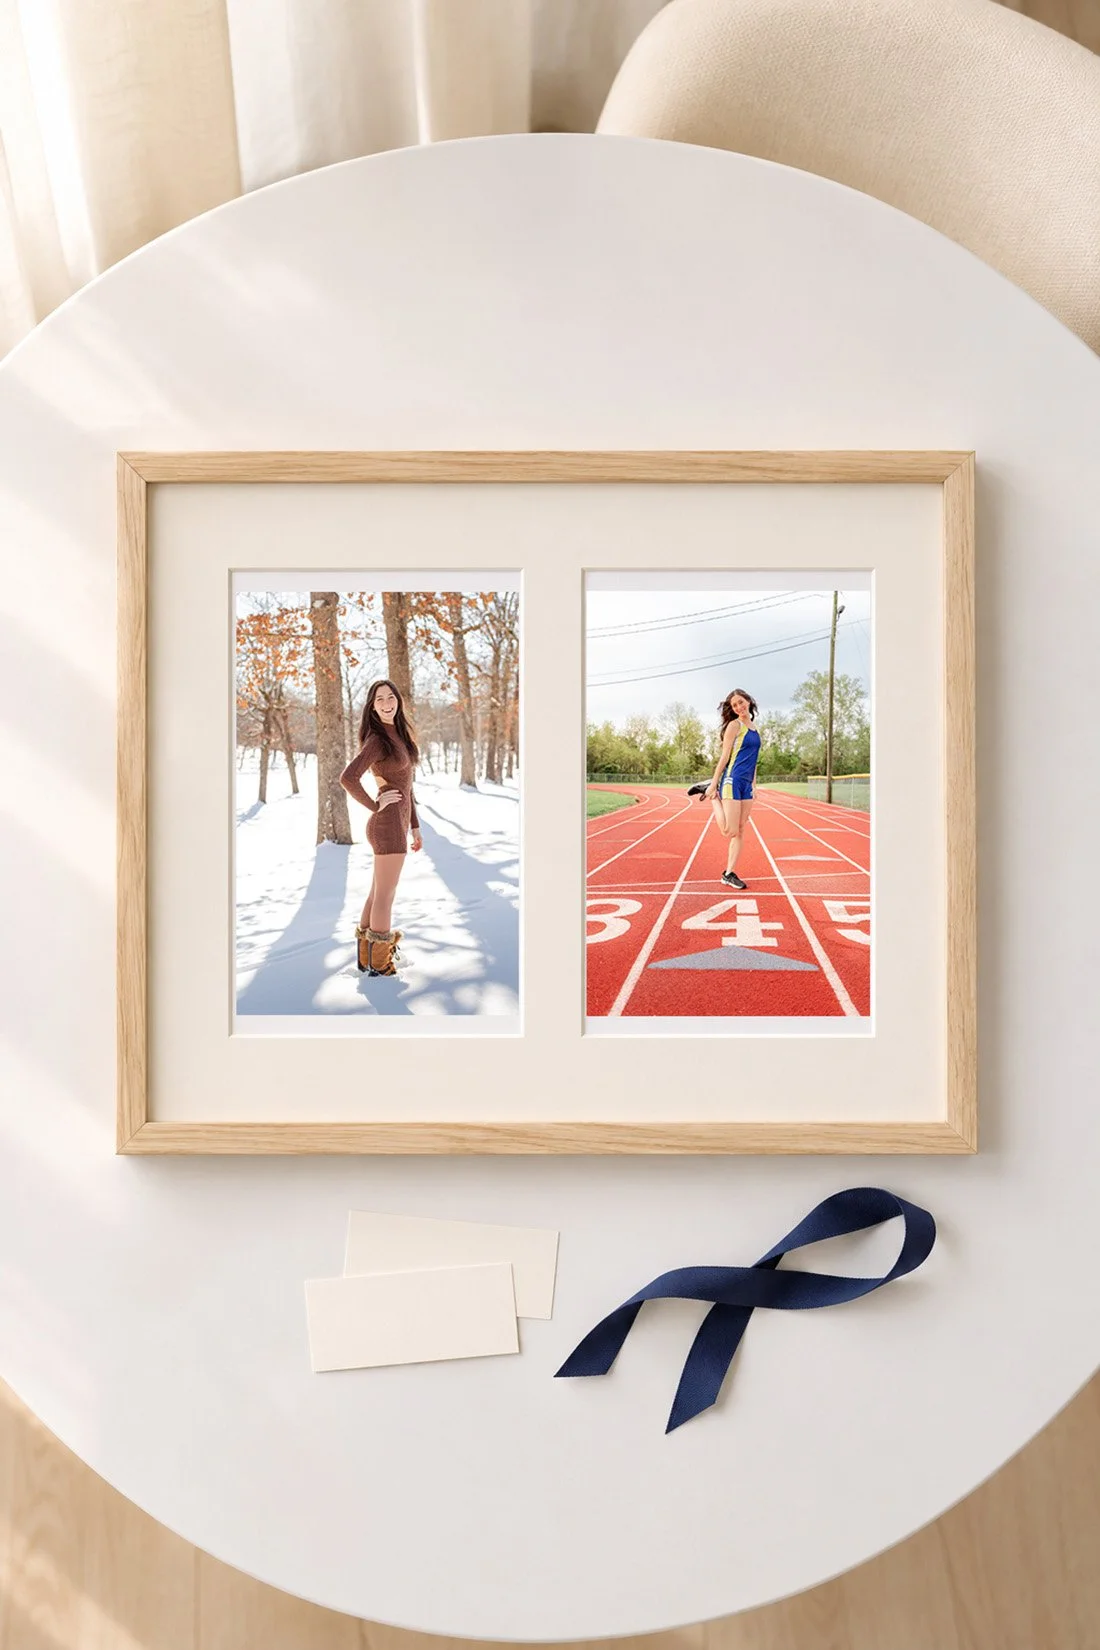
Choose a then-and-now photo frame around one clear connection
Start by finishing this sentence: “These two photos belong together because…”
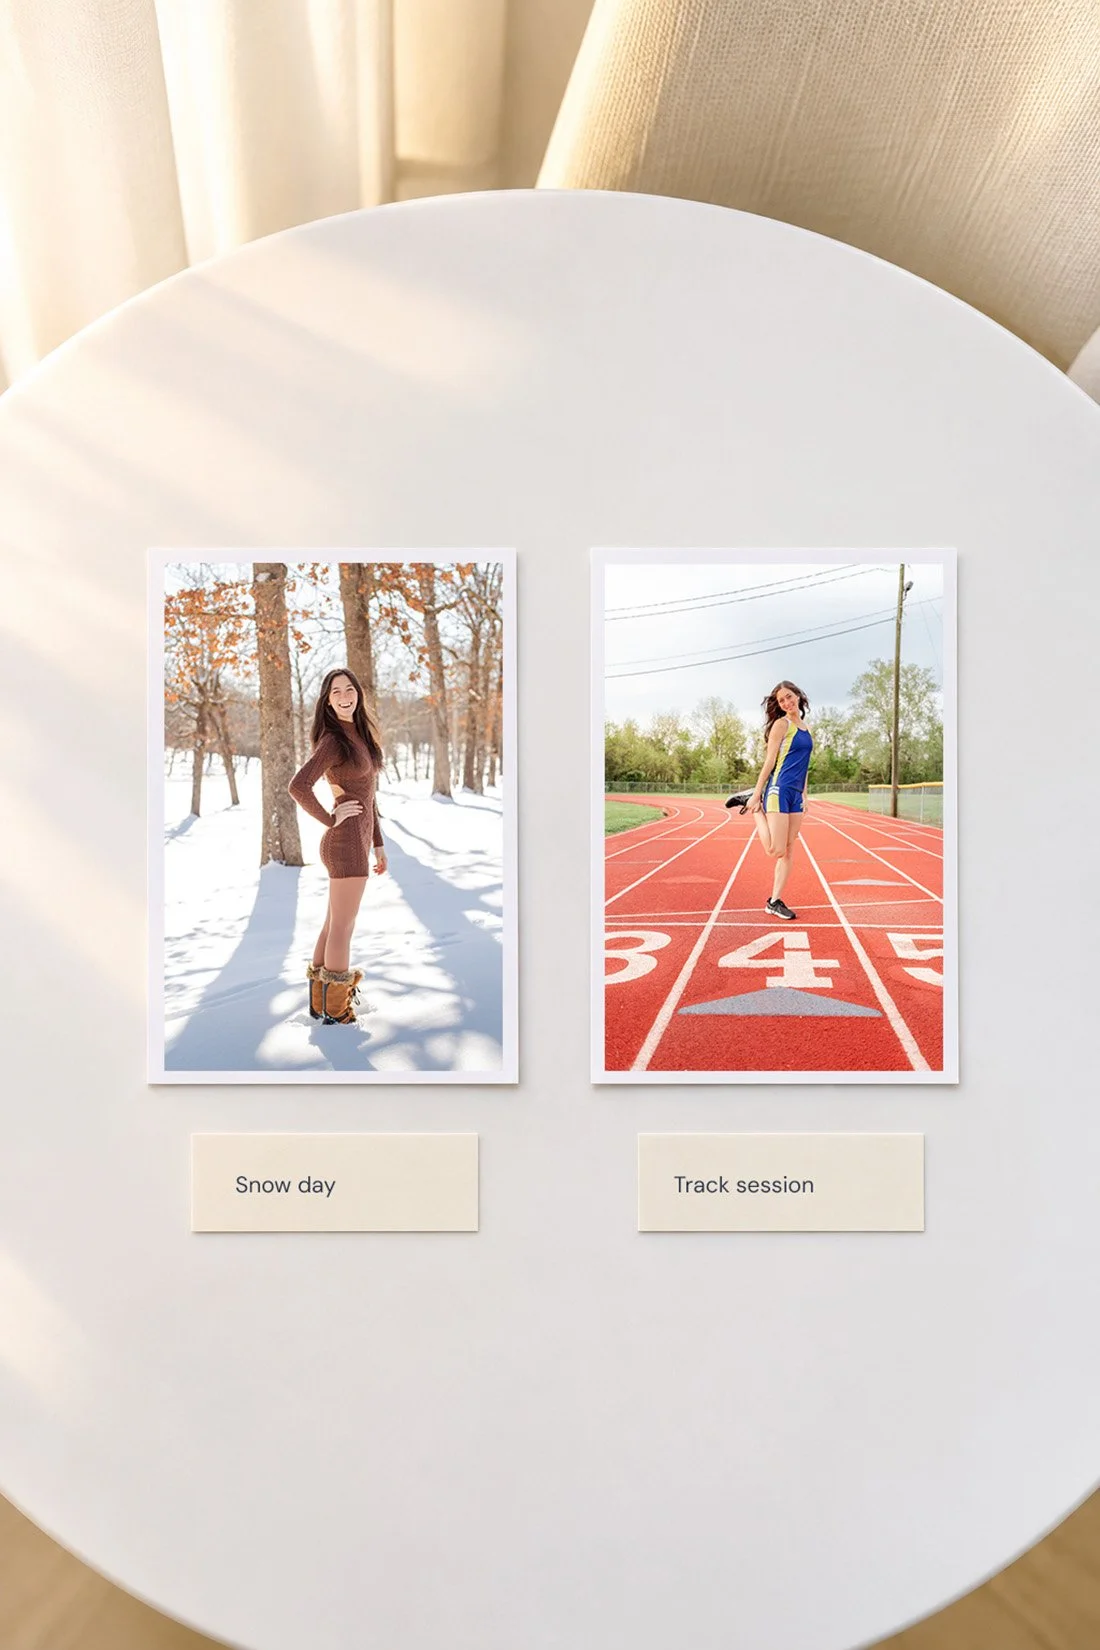
You might choose the same child on the first and last day of school. A parent in their school uniform beside their child in a similar uniform is a different kind of pair. Both can make a thoughtful gift. The label needs to tell the reader which story they are seeing.
For a gift about one person's growth, use the same person in both pictures. For a gift about two generations, name each person. A family resemblance can be fun to notice, but it does not make two people the same person.
Here are a few pairs to look for in your own photos:
- The same person at the start and end of a school year.
- A couple at an earlier celebration and a more recent one.
- The same family in two seasons, with each person identified.
- A house before and after a change you can verify.
- A childhood hobby photo beside a later photo of that person doing the same activity.
Keep the reason narrow enough to fit into one line. “First recital” and “Senior recital” give the pair a clear link when those details are true. A long explanation may fit better on a card tucked into the gift box.
The sample pair shown here uses Sophie's snow-day senior portrait and spring track senior photos. Both show Sophie Stimpson. The labels name the two sessions, so you can follow the season change within her senior portraits.
Check names and time before you print a label
Open each file and write down what you know about it. Check who is in the photo, where it came from, and what event or season it shows. Keep a separate note for anything you still need to confirm.
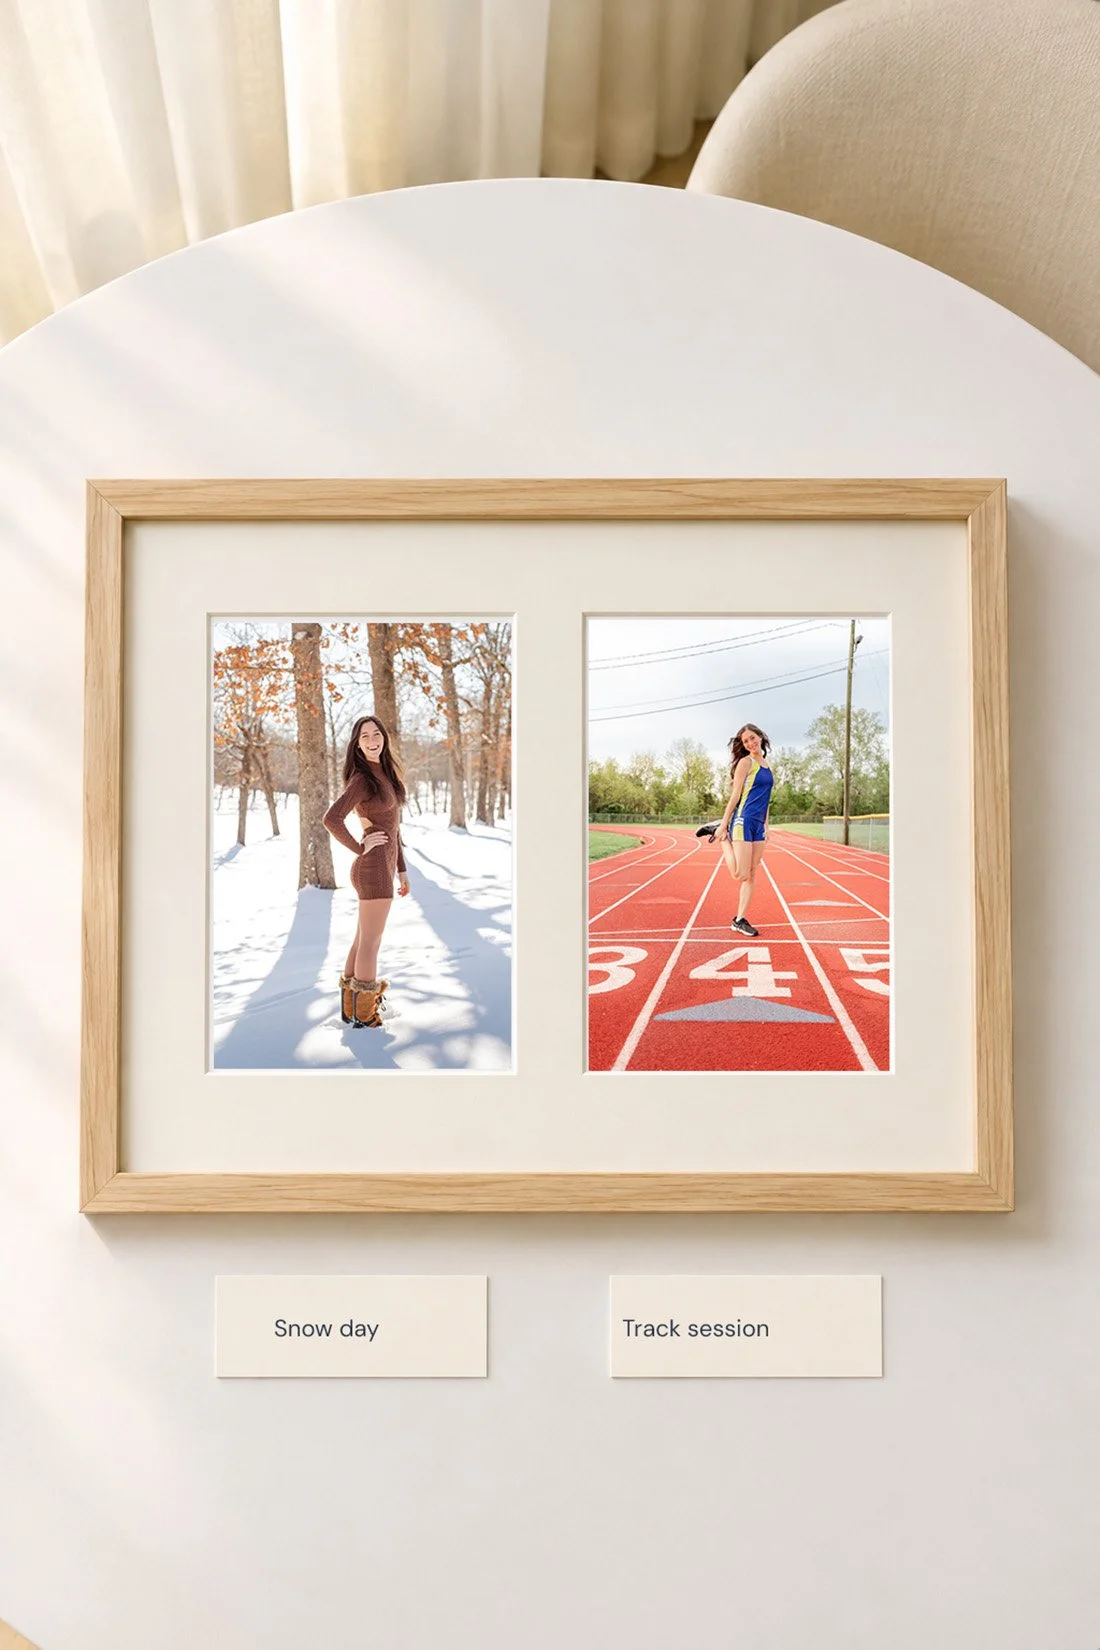
For a family print, ask someone who was there. If two relatives remember different years, check the album page, an event program, or another dated record. A penciled note on the back is a useful clue. Check it against the people and event before copying it onto the finished mat.
A scan's file date may show when someone copied the print. A gallery upload date may show when the photos reached the gallery. Neither one, by itself, proves when the camera took the picture.
When you know the event but not the date, use the event name. When you know only the order, use a short title without a year. You can also leave the front free of text and keep your source notes in the box.
For a surprise gift, a sibling or another relative may be able to help with names. Show them both photos together. Ask a clear question, such as, “Is this the same person, and do you know which school year this was?”
Before using someone else's photograph, check that you have permission to copy and print it. Keep any photographer print terms with the files. Owning a paper copy does not tell you what print rights came with it.
Make a working copy of an older print
If the older photo exists only on paper, plan to frame a copy. Keep the original with the family photos after you scan it.
The National Archives advises you to keep originals after digitizing. It also says a flat photo should fit fully on the scanner surface. A lid can crease a print that sticks out. For a photo still in a bound album, use a supported camera-copy setup rather than forcing the binding flat.
Start with a clean, dry work area. Keep drinks away from the print. Handle it by the edges and avoid pressing the picture surface. If the photo is stuck to glass or an album page, seek advice before pulling it loose.
Save the first scan as your master copy. Make a second file for cropping and print tests. Give the files names that help you tell the master from the gift version.
Before scanning, decide how large you want to print. Adobe's scan-resolution guide explains that scan settings depend on the final output size. Check the scanner settings and your printer's file guidance together. A larger copy needs enough source detail for that use.
For example, a 4-by-6-inch print at 300 pixels per inch uses 1,200 by 1,800 pixels. That is size math, not a promise that every file with those dimensions looks clear. A blurred original stays blurred when the file gets more pixels.
Keep a backup of the scan and your source notes. The National Archives recommends three copies on two kinds of storage, with one copy kept elsewhere. Check that you can open the backup before putting the paper original away. Include the finished print files so someone can make another copy without rebuilding the gift.
Keep faces, edges of clothing, and any useful handwritten note in your first scan. Crop a copy later. This saves another round of handling when you decide the full border belongs in the layout after all.
Match the people and pictures within the layout
Place both photos side by side before choosing a frame. Compare the shape, headroom, and space around the person.
A close head-and-shoulders portrait beside a distant full-body photo can make one person look much larger. Try a pair with similar framing first. If the full-body photo includes a detail you want, such as a uniform or instrument, keep it and give it enough room.
You can match the size of faces without matching the size of the paper. A wider mat border around one photo may help. Two custom mat openings can hold different photo shapes within one outer frame.
For a pair showing growth, keep the purpose clear. If you want to show height beside the same doorway, keep that doorway visible in both photos. Cropping each person to fill the opening removes the shared scale you wanted to show.
For two portraits, aim for a comfortable visual balance. Line up eyes roughly when the crops allow it. Keep room above heads. Check feet, hands, hair, and props before accepting any crop.
Scale the whole photo evenly. Pulling a picture wider to fill a window changes faces and bodies. Use a border, another opening, or a deliberate crop instead. Save the full original so you can try another layout later.
Choose two frames or one frame with two openings
Two matching frames give each photo its own space. This can help when one photo is wide and the other is tall. Check that both frames can stand in the directions you need.
One frame with two openings keeps the pair together. Read the sizes for both openings before ordering. The outside frame size, insert size, and visible opening size describe different parts of the frame.
For two portrait photos, a wide outer frame can hold the pictures side by side. For two wide photos, a taller frame can stack them. Keep the earlier photo on the left or at the top when you know the order. Put a short caption below each picture if the layout could be unclear.
Measure the shelf or wall where the gift may go. For a shelf, include the stand's depth. For a wall, check the hanging hardware and the maker's instructions. A frame can fit across a shelf and still need more space behind it to stand safely.
Choose a finish that fits the recipient's room. A pale wood frame and a cream mat can give the two pictures a shared border while keeping their own colors. If the person already has a row of dark frames, matching that finish may make more sense.
Our framed photo gift guide covers the wider frame, mat, and wrapping decisions. For this gift, spend the extra checking time on how the two openings work together.
Keep each photo's own color and detail
An older black-and-white photo can sit beside a newer color photo. Keep each photo's finish and use the labels to show their order.
Try a shared mat color before changing either file. Let the border connect them. If the older print has warm paper tones, hold the actual test print beside a cream and a white mat sample.
Keep a copy of each photo's original edit. For any repair, work on a duplicate and check what changes. Dust removal and a smaller crop serve different needs from changing a face or inventing missing parts of a scene.
If a scratch crosses a face, decide whether the gift needs professional repair or can keep that mark. Ask the person who owns the photo before making a change that alters its content. A small print with its original detail may suit the gift better than a much larger repaired copy.
Work through the pair before changing either photo
A few layout checks can help you keep the pictures you want. Use the one that fits your pair before you crop, repair, or place a new print order.
What if one photo is wide and the other is tall?
Try two frames with the same finish. Give each photo an opening that suits its shape. Set the frames beside each other and compare the size of the people within them. Matching the outside frame size is optional.
For one outer frame, ask a framer about a mat with two different openings. Bring both files or test prints. Show where each head and hand needs to stay. Ask to see a layout with both openings before the mat is cut.
A border around the narrower picture can also work. Keep the border color close to the shared mat so the layout feels connected. Check the actual paper proof with both photos in place. The extra border should look planned when you view the whole gift.
What if the family group changes between photos?
Name who appears in each picture. A newer photo may include a baby, a partner, or someone who missed the earlier gathering. The pair can still show your family's two occasions. Keep the captions tied to those occasions rather than implying the groups are identical.
If the gift is for one person, check that they are in both pictures when that is the connection you plan to show. If they are absent from one, a different pair may serve the gift better. You can keep the wider family photo for another print or a card in the box.
For a pair that includes someone who has died, use the recipient's preferences to guide the choice. For a surprise, ask someone close to the recipient whether they would welcome that photo. Keep the caption factual and let the people in the pictures lead.
What if the older photo looks soft beside the newer one?
Print a small test before deciding to enlarge it. Compare both pictures at the size you plan to display. Then view them from a few feet away. A scan that looks rough when you zoom far in may still suit a small frame.
If the smaller print works, build the mat around that size. A larger outer frame can still hold two smaller pictures. Give them enough border to keep the layout balanced. If the older photo does not show the person clearly at that size, try another original from the same time.
Keep the first scan and any print versions in separate files. If another relative later finds a better original, you can replace the display copy using the same layout. Save the final crop and opening sizes with your source notes so the next print starts from the right plan. Write down which file goes on the left and which goes on the right. Keep a picture of the assembled frame with those notes, too.
Can you put a scan and a repaired copy together?
You can show two versions of one photo when that is the gift you want to make. Label the versions by the work they show, such as the original scan and the repaired copy. Both pictures still show the same moment in the person's life.
For a gift about the passage of time, choose two separate moments instead. Check that the newer picture adds something you want to show, such as a later school year or another season. Keep the scan and repair files together in your source folder so you can tell them apart.
Before you print, ask someone to read the two labels without your explanation. Have them tell you what the pair shows. If their answer differs from the story you intended, revise the caption or choose another pair before ordering.
Print a proof of the whole pair
Before ordering the final prints, make a paper layout at the planned size. Cut two paper windows or place the mat over the test prints. Check the pair from the distance where someone will see it on a shelf.
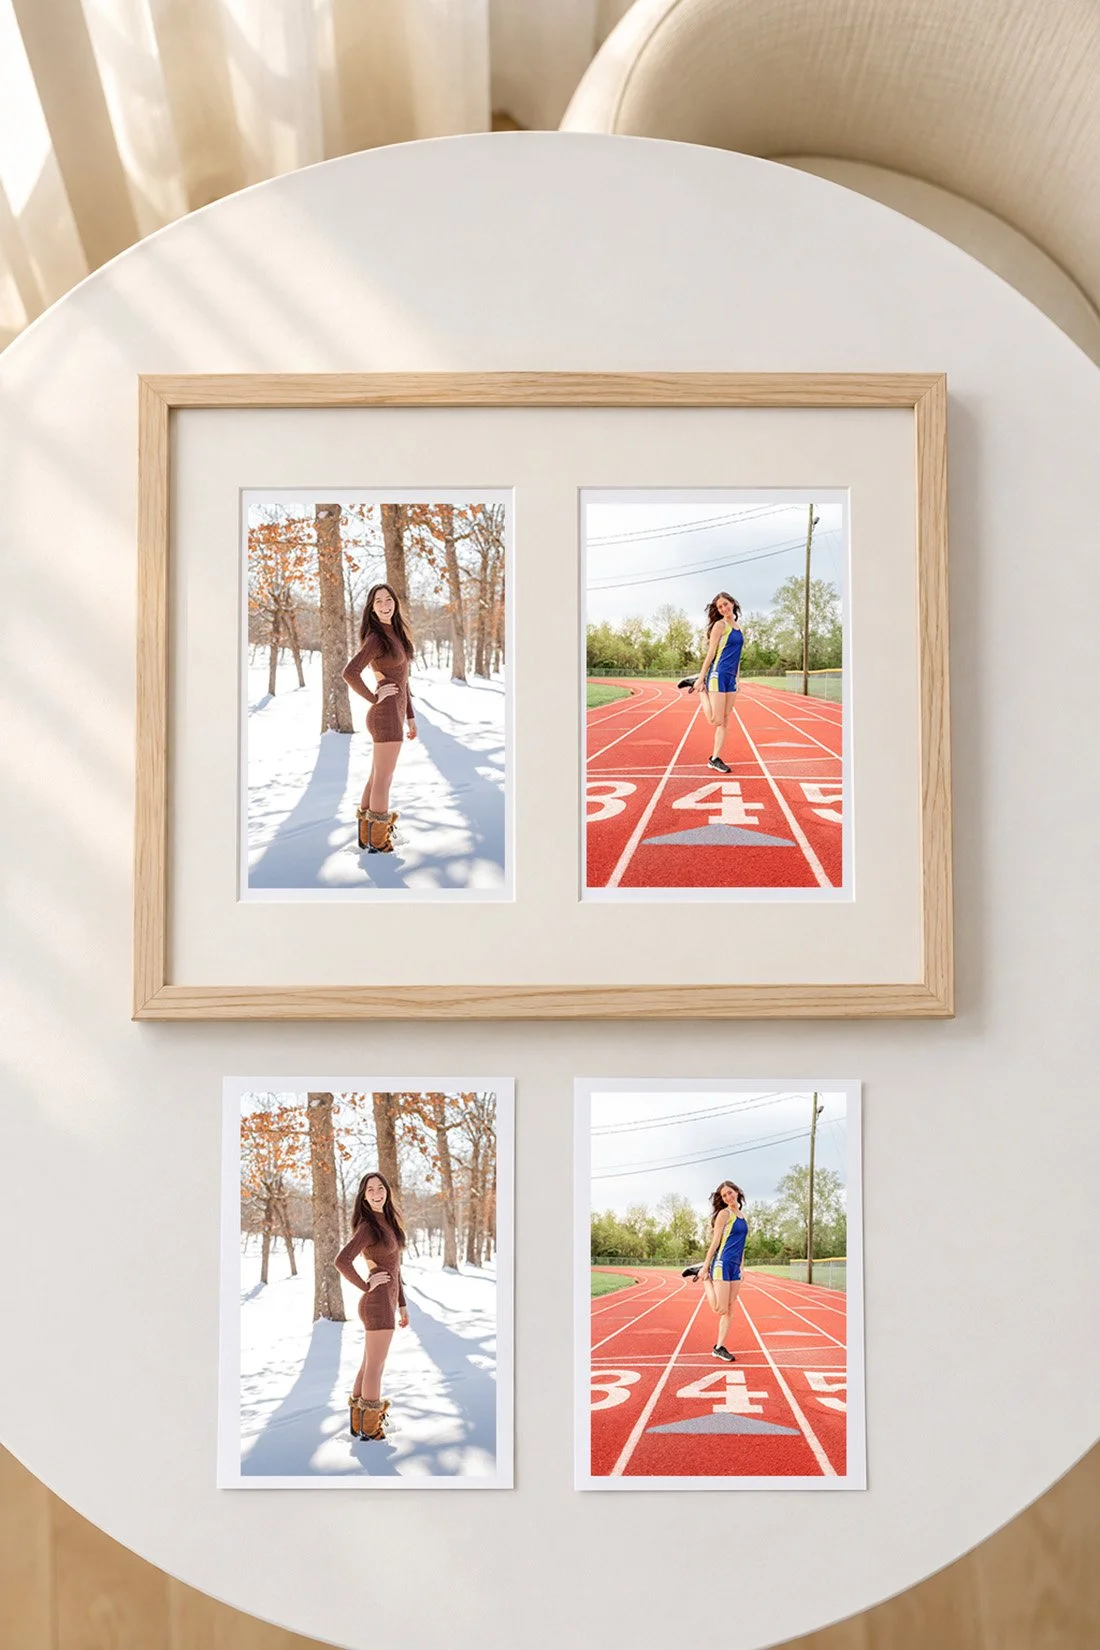
Look at both pictures together, then check each one on its own. Make sure the older image still has enough detail. Check that the mat does not hide a face, a medal, the end of a name, or part of the setting that connects the photos.
Read every label out loud. Check spelling and date order against your source notes. If you use years, make sure the years belong to the photos, not the dates someone scanned or shared them.
For a holiday order, check the shop's current production and delivery estimate for your address. Leave time to inspect the prints and assemble the frame. There is no shared Christmas cutoff that applies to every lab and frame order.
If you are putting the gift together in Bolivar, MO or elsewhere in the 417 area, include travel or pickup time in that plan. Check the actual shop hours before making a trip. A local pickup still needs time for a wrong crop or a frame that arrives with damaged corners.
Assemble the gift and keep the source notes
Follow your frame's instructions on a clean table. Set the parts in order so the photos stay clear of the glass and hardware while you work.
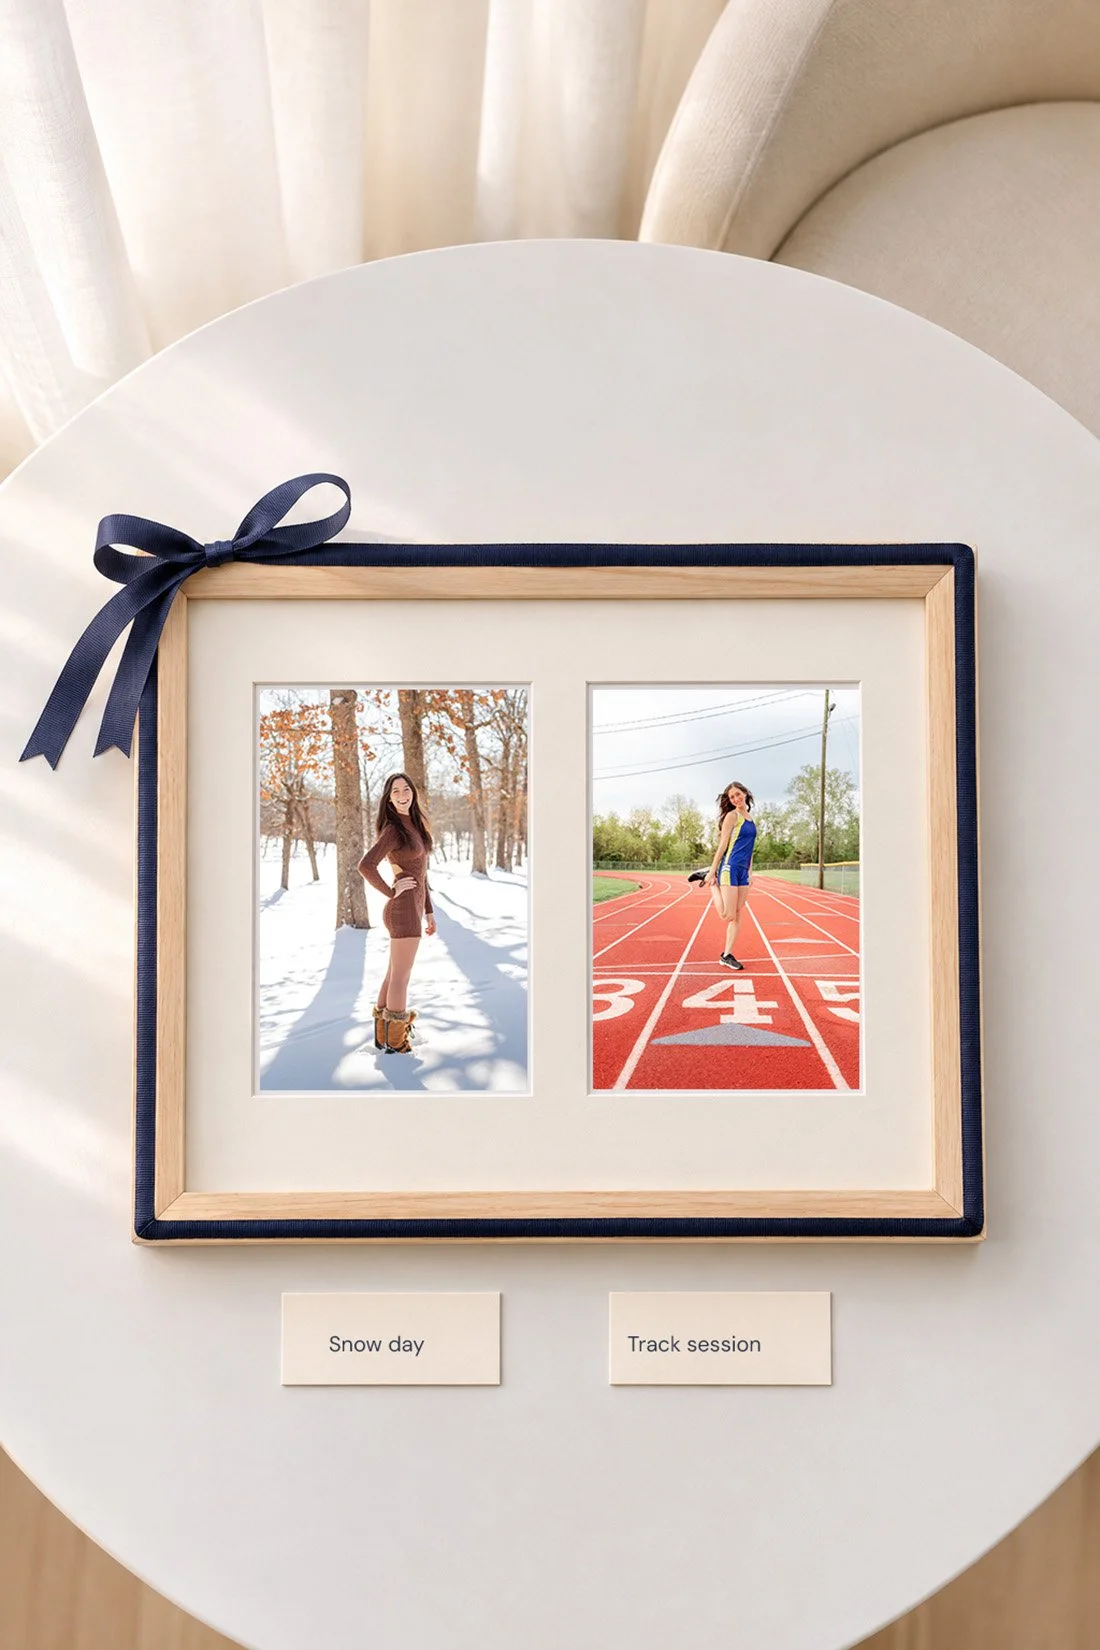
The Library of Congress recommends a mat or spacers between the print and frame glass. It also suggests displaying a copy of a valuable original because light exposure can cause lasting damage. Use materials intended for photographs and keep the original safe.
Fit each print behind its own window. Check the front before closing the backing. Look for dust, crooked borders, and a photo that has slipped behind the mat. Keep labels on a separate mat area or card so the picture stays clear.
Add a small note with names, known dates or session names, and where the original files live. If someone helped identify a photo, record that in your private source notes. The recipient can enjoy the frame now and still know what the pair shows later.
For hand delivery, protect the frame's corners and pack it so it cannot move around in the box. Follow the carrier's packing guidance if you ship it. Keep ribbon on the packaging or outer rail, clear of the pictures.
When the box is ready, take one last look at the pair and the labels. Both photos should show the connection you chose at the start, with enough detail to enjoy each one.
You Might Also Like
Ideas for giving one framed photo
Ways to plan a senior year time capsule
